Fresh strawberry ice cream turns out best when it tastes like real fruit first and dessert second. The color stays bright, the texture stays scoopable, and the flavor has that clean berry finish that makes a second bowl feel like the obvious choice. When the strawberries are ripe, the mixture needs very little help to taste full and balanced.
The trick is in how the berries are handled. Puréeing the strawberries with sugar draws out their juices and softens the fruit before churning, which gives the ice cream a smoother base and a stronger strawberry flavor. Straining the purée matters too, especially if you want a silky scoop instead of little seed specks running through every bite. The dairy keeps the base rich, but it doesn’t crowd out the fruit.
Below you’ll find the small details that keep the texture creamy instead of icy, plus the swaps that still work when fresh berries are all you’ve got left in the fridge.
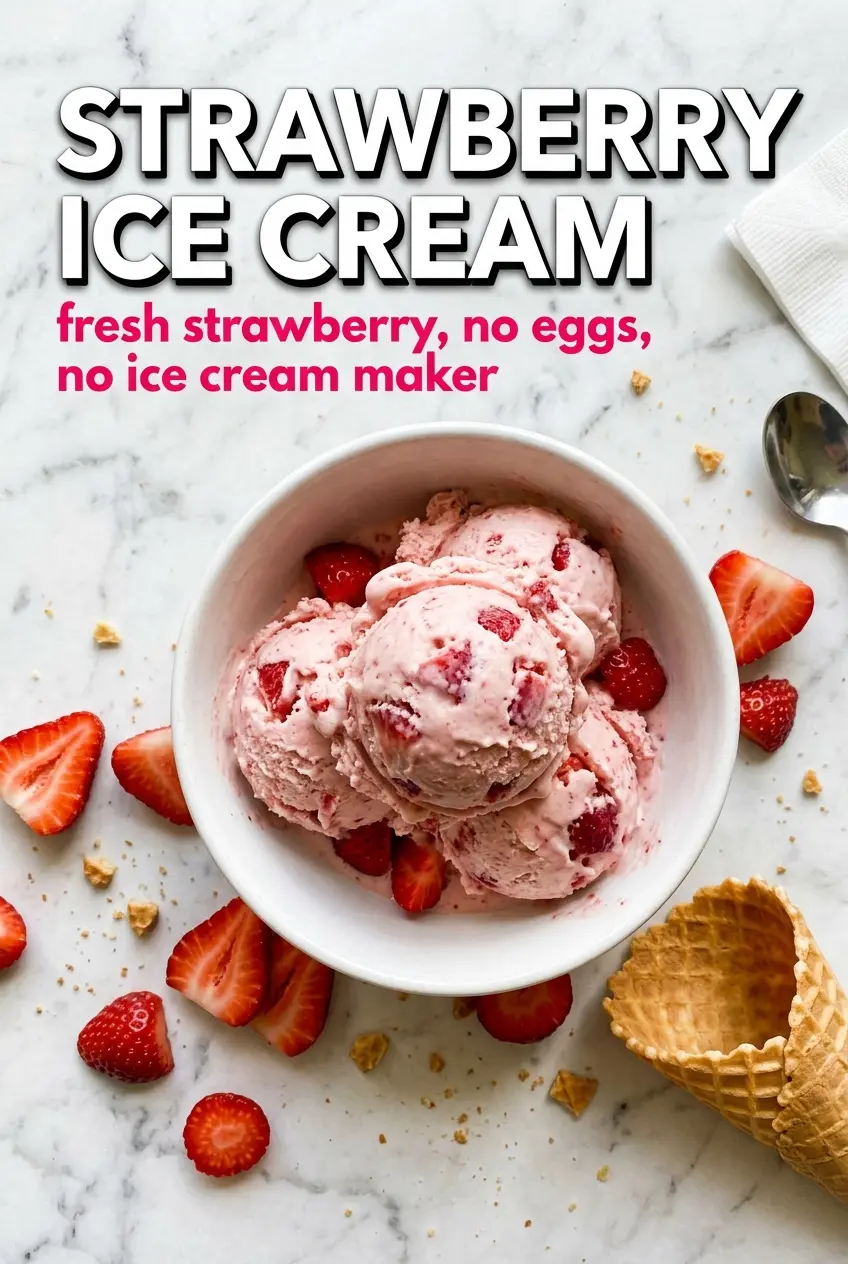
The strawberry flavor came through beautifully, and straining the purée made the texture smooth instead of icy. It churned in about 22 minutes and froze up with perfect scoops by the next day.
Save this strawberry ice cream for the days when you want bright fruit flavor and a creamy scoop straight from the freezer.
The Part That Keeps Strawberry Ice Cream From Tasting Flat
Most homemade strawberry ice cream runs into the same problem: the berries taste good before freezing and muted after. That happens when the fruit is underseasoned or buried under too much dairy. This version gets around that by letting the sugar pull juice from the strawberries before anything else goes into the bowl. You end up with a purée that tastes concentrated instead of watery.
Straining the purée is the other step that changes the final texture in a big way. Strawberry seeds don’t melt, and they can make a smooth ice cream feel gritty. If your strawberries are especially soft and sweet, the flavor will carry on its own. If they’re a little pale, give them a few extra minutes with the sugar before blending so the juices really come out.
What Each Ingredient Is Doing in the Bowl
- Fresh strawberries — These are the whole point, so use berries that smell fragrant and taste sweet-tart on their own. Pale, flavorless fruit will freeze into pale, flavorless ice cream. If fresh berries aren’t great, thawed frozen strawberries can work in a pinch, but drain off excess liquid after thawing so the base doesn’t turn icy.
- Granulated sugar — Sugar does more than sweeten here. It pulls moisture from the fruit, helps the purée stay smooth, and keeps the finished ice cream softer in the freezer. Cutting it too far will make the base hard and dull the strawberry flavor.
- Heavy cream and whole milk — This ratio gives the ice cream body without making it heavy or greasy. Heavy cream brings richness, while whole milk keeps the base from feeling too dense. Lower-fat milk will freeze harder and less creamy, so don’t swap it unless you’re fine with a firmer scoop.
- Vanilla extract — Vanilla rounds out the strawberry flavor without taking over. It’s not there to make this taste like vanilla ice cream with berries mixed in. A small amount is enough.
- Salt — Just a little salt wakes up the fruit and keeps the sweetness from flattening out. It won’t taste salty; it just makes the strawberry flavor clearer.
How to Churn It So It Freezes Creamy, Not Icy
Bloom the Strawberries First
Blend the strawberries with the sugar until smooth, then give the mixture a few minutes to sit before straining. That short rest helps the sugar dissolve and draws out more juice, which means better flavor and a smoother churn. When you press the purée through the sieve, scrape the underside of the strainer often so you don’t leave a lot of good fruit behind. If you skip the straining step, the seeds will stay in the finished ice cream and the texture won’t be as clean.
Build the Base Without Whipping It
Whisk the cream, milk, vanilla, and salt together just until combined. You’re not trying to add air here. Ice cream base should be smooth and uniform, not foamy, because excess bubbles can give the churned ice cream a lighter but less creamy finish. Fold in the strawberry purée until the color is even throughout, with no streaks of white dairy left at the bottom of the bowl.
Churn Until It Looks Like Soft-Serve
Pour the mixture into your ice cream maker and churn according to the manufacturer’s instructions, usually around 20 to 25 minutes. The finished texture should look thick, glossy, and soft-serve-like, pulling away from the paddle in soft ribbons. If it still looks thin after the usual churn time, keep going a few minutes longer; if you stop too soon, the base will freeze into a denser, icier block later. Don’t overchurn until it looks stiff.
Freeze Hard Enough to Scoop Cleanly
Transfer the churned ice cream to a freezer-safe container and smooth the top. Press a piece of parchment or plastic wrap directly against the surface if you want to slow ice crystal growth. Four hours is the minimum for a firm scoop, but overnight gives the cleanest texture. If your freezer runs warm, place the container toward the back where the temperature stays steadier.
How to Adapt This Strawberry Ice Cream for Different Kitchens
Dairy-Free with Full-Fat Coconut Milk
Replace the heavy cream and whole milk with full-fat coconut milk for a dairy-free version. The texture stays creamy, but the coconut flavor will sit underneath the strawberry instead of disappearing completely. Use well-shaken canned coconut milk, not the carton kind, or the ice cream will freeze too hard.
Strawberry Swirl with Chunks
Reserve a few spoonfuls of the strawberry purée before churning and swirl them in after the base comes out of the machine. You’ll get ribbons of bright fruit and a few soft berry pockets instead of one uniform pink scoop. Don’t add raw chopped strawberries unless you want firmer little frozen bits in every bite.
Lower-Sugar Version
You can reduce the sugar a little, but don’t cut it aggressively. Sugar controls both sweetness and texture, so too little will make the ice cream harder and icier. If you want a lighter version, trim back by 2 to 3 tablespoons and lean on very ripe berries for natural sweetness.
Make-Ahead Storage
Store the ice cream in a shallow, airtight freezer container for the best scooping texture. Freezer: It keeps well for about 2 weeks before the texture starts to get noticeably icier. Serving: Let it sit at room temperature for 5 to 10 minutes before scooping, and run the scoop under warm water if the top feels too firm. The most common mistake is trying to serve it straight from the deep freeze, which tears the surface and makes the texture seem harder than it really is.
Answers to the Questions Worth Asking
Strawberry Ice Cream
Ingredients
Equipment
Method
- Purée the fresh strawberries with granulated sugar in a blender until smooth and bright pink, then strain through a fine-mesh sieve to remove seeds.
- Whisk the heavy cream, whole milk, vanilla extract, and salt in a large bowl until fully combined.
- Fold the strawberry purée into the cream mixture until evenly distributed throughout, with no streaks of unmixed purée.
- Churn in an ice cream maker according to the manufacturer’s instructions, typically 20-25 minutes, until thick like soft-serve.
- Transfer to a freezer-safe container and freeze for at least 4 hours until firm before serving, so scoops hold their shape.