Strawberry oatmeal crumble bars bake up with a sturdy bottom, a jammy fruit layer, and a golden top that gives each bite a little crunch before it melts into the filling. The best part is how the oat mixture does double duty: it becomes both the base and the crumble, so the bars taste like a bakery treat without a lot of moving parts.
The filling stays bright because the strawberries are tossed with lemon juice and cornstarch before they go into the pan. That little bit of cornstarch is what keeps the fruit from running all over the cutting board later, and the lemon keeps the sweetness from flattening out. Pressing the first layer firmly matters too; if it’s too loose, the bars fall apart when you slice them.
Below, I’ve included the small details that make these bars cut cleanly, plus a few easy variations if your strawberries are extra juicy or you want to change up the fruit.
The strawberry layer set up beautifully and the bars held together once they cooled. I was worried they’d be messy, but the filling turned jammy instead of runny and the oat topping stayed crisp.
These strawberry oatmeal crumble bars are the ones to keep on hand when you want a fruit-filled dessert with a crisp oat topping and a clean slice.
The Reason These Bars Hold Their Shape Instead of Crumbling Apart
The biggest mistake with fruit bars is a loose base. If the bottom layer isn’t packed firmly into the pan, the filling slides around and the bars break when you lift them out. Pressing the oat mixture down with the heel of your hand or the bottom of a measuring cup gives the bars enough structure to slice cleanly after cooling.
The other thing that matters is restraint with the topping. You want the remaining crumble scattered evenly, then lightly pressed so it bakes into the fruit instead of sitting on top like dry granola. That touch of pressure helps the top and bottom layers bake into the filling as one cohesive bar.
- Firm packing — This is what gives the bars a sturdy base. A loose layer looks fine going into the oven and falls apart the minute you cut it.
- Cooling time — The filling thickens as it cools. If you cut too early, the fruit layer will look underbaked even when it isn’t.
- Gentle pressure on the topping — Enough to help it cling, not so much that you flatten out the crumbly texture.
What the Oats, Butter, and Strawberries Are Each Doing Here
- Old-fashioned oats — These give the bars their chewy, rustic texture. Quick oats turn softer and less defined, so use old-fashioned oats if you want that true crumble-bar bite.
- All-purpose flour — Flour helps bind the oat mixture so it bakes into a sliceable crust. A 1:1 gluten-free baking blend can work here, but the bars may be a little more delicate.
- Brown sugar and granulated sugar — Brown sugar brings a deeper, caramel note, while granulated sugar keeps the texture crisp and the fruit bright. Using only brown sugar would make the bars softer and heavier.
- Softened butter — Butter is what turns the dry mix into crumbs that bake into a tender, golden layer. Melted butter changes the texture and can make the crust greasy instead of crumbly.
- Fresh strawberries — Fresh berries hold their shape and give you a clean, bright filling. If your strawberries are very ripe and juicy, toss them well with the cornstarch so the bars don’t turn soggy.
- Cornstarch and lemon juice — These are the difference between a fruit layer that slices and one that leaks. Cornstarch thickens, and lemon wakes up the flavor so the filling tastes like strawberries, not just sugar.
Building the Layers So the Filling Stays Jammy
Mixing the Crumble
Start by combining the oats, flour, sugars, baking powder, and salt, then cut in the softened butter until the mixture looks like coarse crumbs with some pea-sized bits. Those little buttery chunks matter because they bake into the best nooks and crannies. If the mixture turns paste-like, the butter is too warm and the topping will bake up dense instead of crumbly.
Pressing the Base
Take about half of the oat mixture and press it firmly into the parchment-lined pan. You want an even layer all the way into the corners so the bars bake at the same rate edge to edge. A shaky base leads to crumbling slices, especially at the center where the filling is softest.
Cooking the Strawberry Layer
Toss the sliced strawberries with sugar, lemon juice, and cornstarch until every piece looks lightly coated. Spread the mixture evenly over the base, right to the edges, so the filling doesn’t pool in one section. If the berries look extra wet after tossing, keep the bowl close and scrape in every bit of the juices; that’s where the flavor is.
Finishing and Baking
Scatter the remaining crumble over the strawberries and press it down very gently with your fingertips. Bake until the top is a deep golden color and the filling is bubbling at the edges. If the top is pale, the oat layer will taste floury; if you wait for a dark brown top, the fruit may overcook and turn thin.
Make Them With Blueberries or Raspberries
Swap the strawberries for blueberries, raspberries, or a mix of berries using the same total amount of fruit. Blueberries bake up a little thicker and raspberries are looser, so raspberries benefit from an extra teaspoon of cornstarch if they’re especially juicy. The bars will still slice well as long as you let them cool completely.
Gluten-Free Version
Use certified gluten-free oats and replace the all-purpose flour with a 1:1 gluten-free baking blend. The texture stays close to the original, though the bars may be a touch more crumbly when warm. Let them cool all the way before lifting them from the pan.
Dairy-Free Swap
Use a plant-based butter that’s made for baking, not a soft tub spread. You’ll still get a golden crumble, but the flavor will be a little less rich and the topping may brown faster, so watch the last few minutes in the oven closely.
Storage and Reheating
- Refrigerator: Store in an airtight container for up to 5 days. The topping softens a little after day one, but the flavor stays good.
- Freezer: These freeze well. Wrap individual bars tightly and freeze for up to 2 months, then thaw in the fridge so the filling doesn’t weep.
- Reheating: For a warm bar, heat in a 300°F oven for 8 to 10 minutes. The microwave softens the crumb topping, so it’s best only if you don’t mind losing the crisp edges.
Answers to the Questions Worth Asking
Strawberry Oatmeal Crumble Bars
Ingredients
Equipment
Method
- Preheat oven to 350°F and line a 9x13 baking dish with parchment paper so the bars lift out easily.
- Combine old-fashioned oats, all-purpose flour, granulated sugar, brown sugar, baking powder, and salt in a large bowl.
- Cut in softened unsalted butter until the mixture resembles coarse crumbs.
- Press half of the oatmeal mixture firmly into the prepared baking dish to form an even base layer.
- Combine sliced fresh strawberries, granulated sugar, lemon juice, and cornstarch in a bowl.
- Spread the strawberry filling evenly over the base layer so it covers to the edges.
- Spread the remaining oatmeal mixture over the strawberries and press gently to help it adhere.
- Bake for 30-35 minutes at 350°F until the top is golden brown and the filling looks set around the edges.
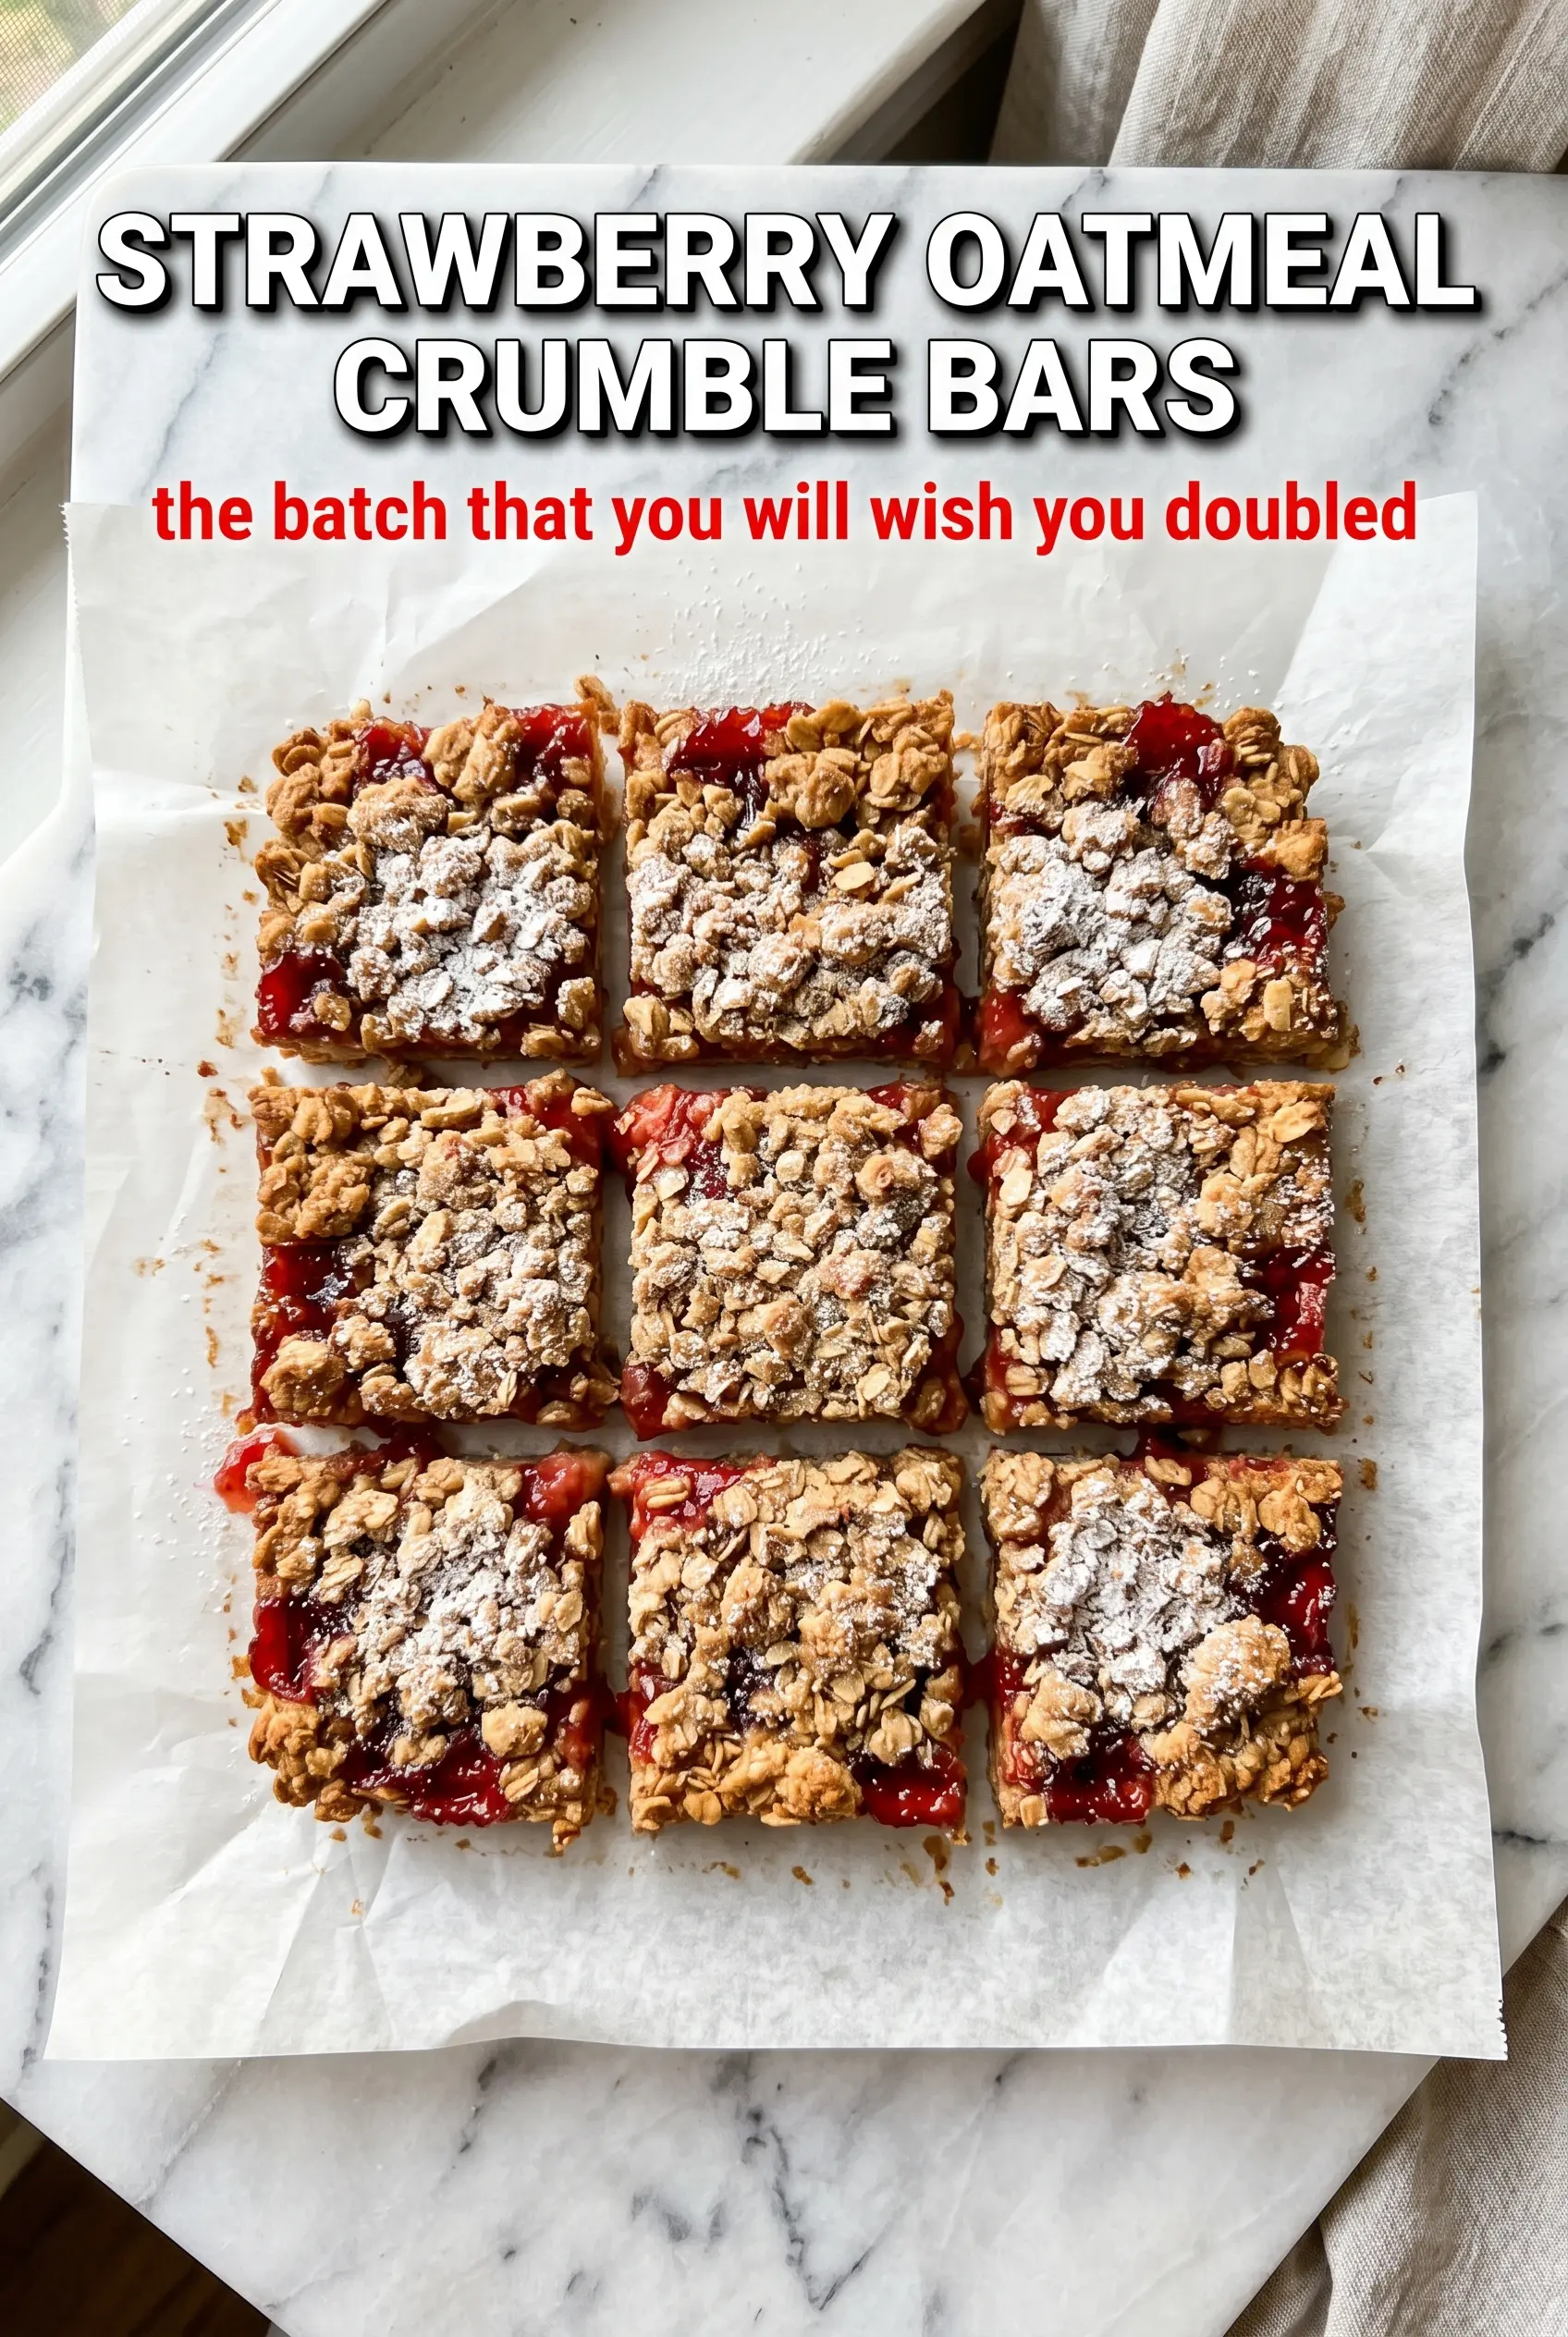
- Allow to cool for 15 minutes before cutting into bars so the layers hold together.
- Dust with powdered sugar before serving for a simple finishing touch.