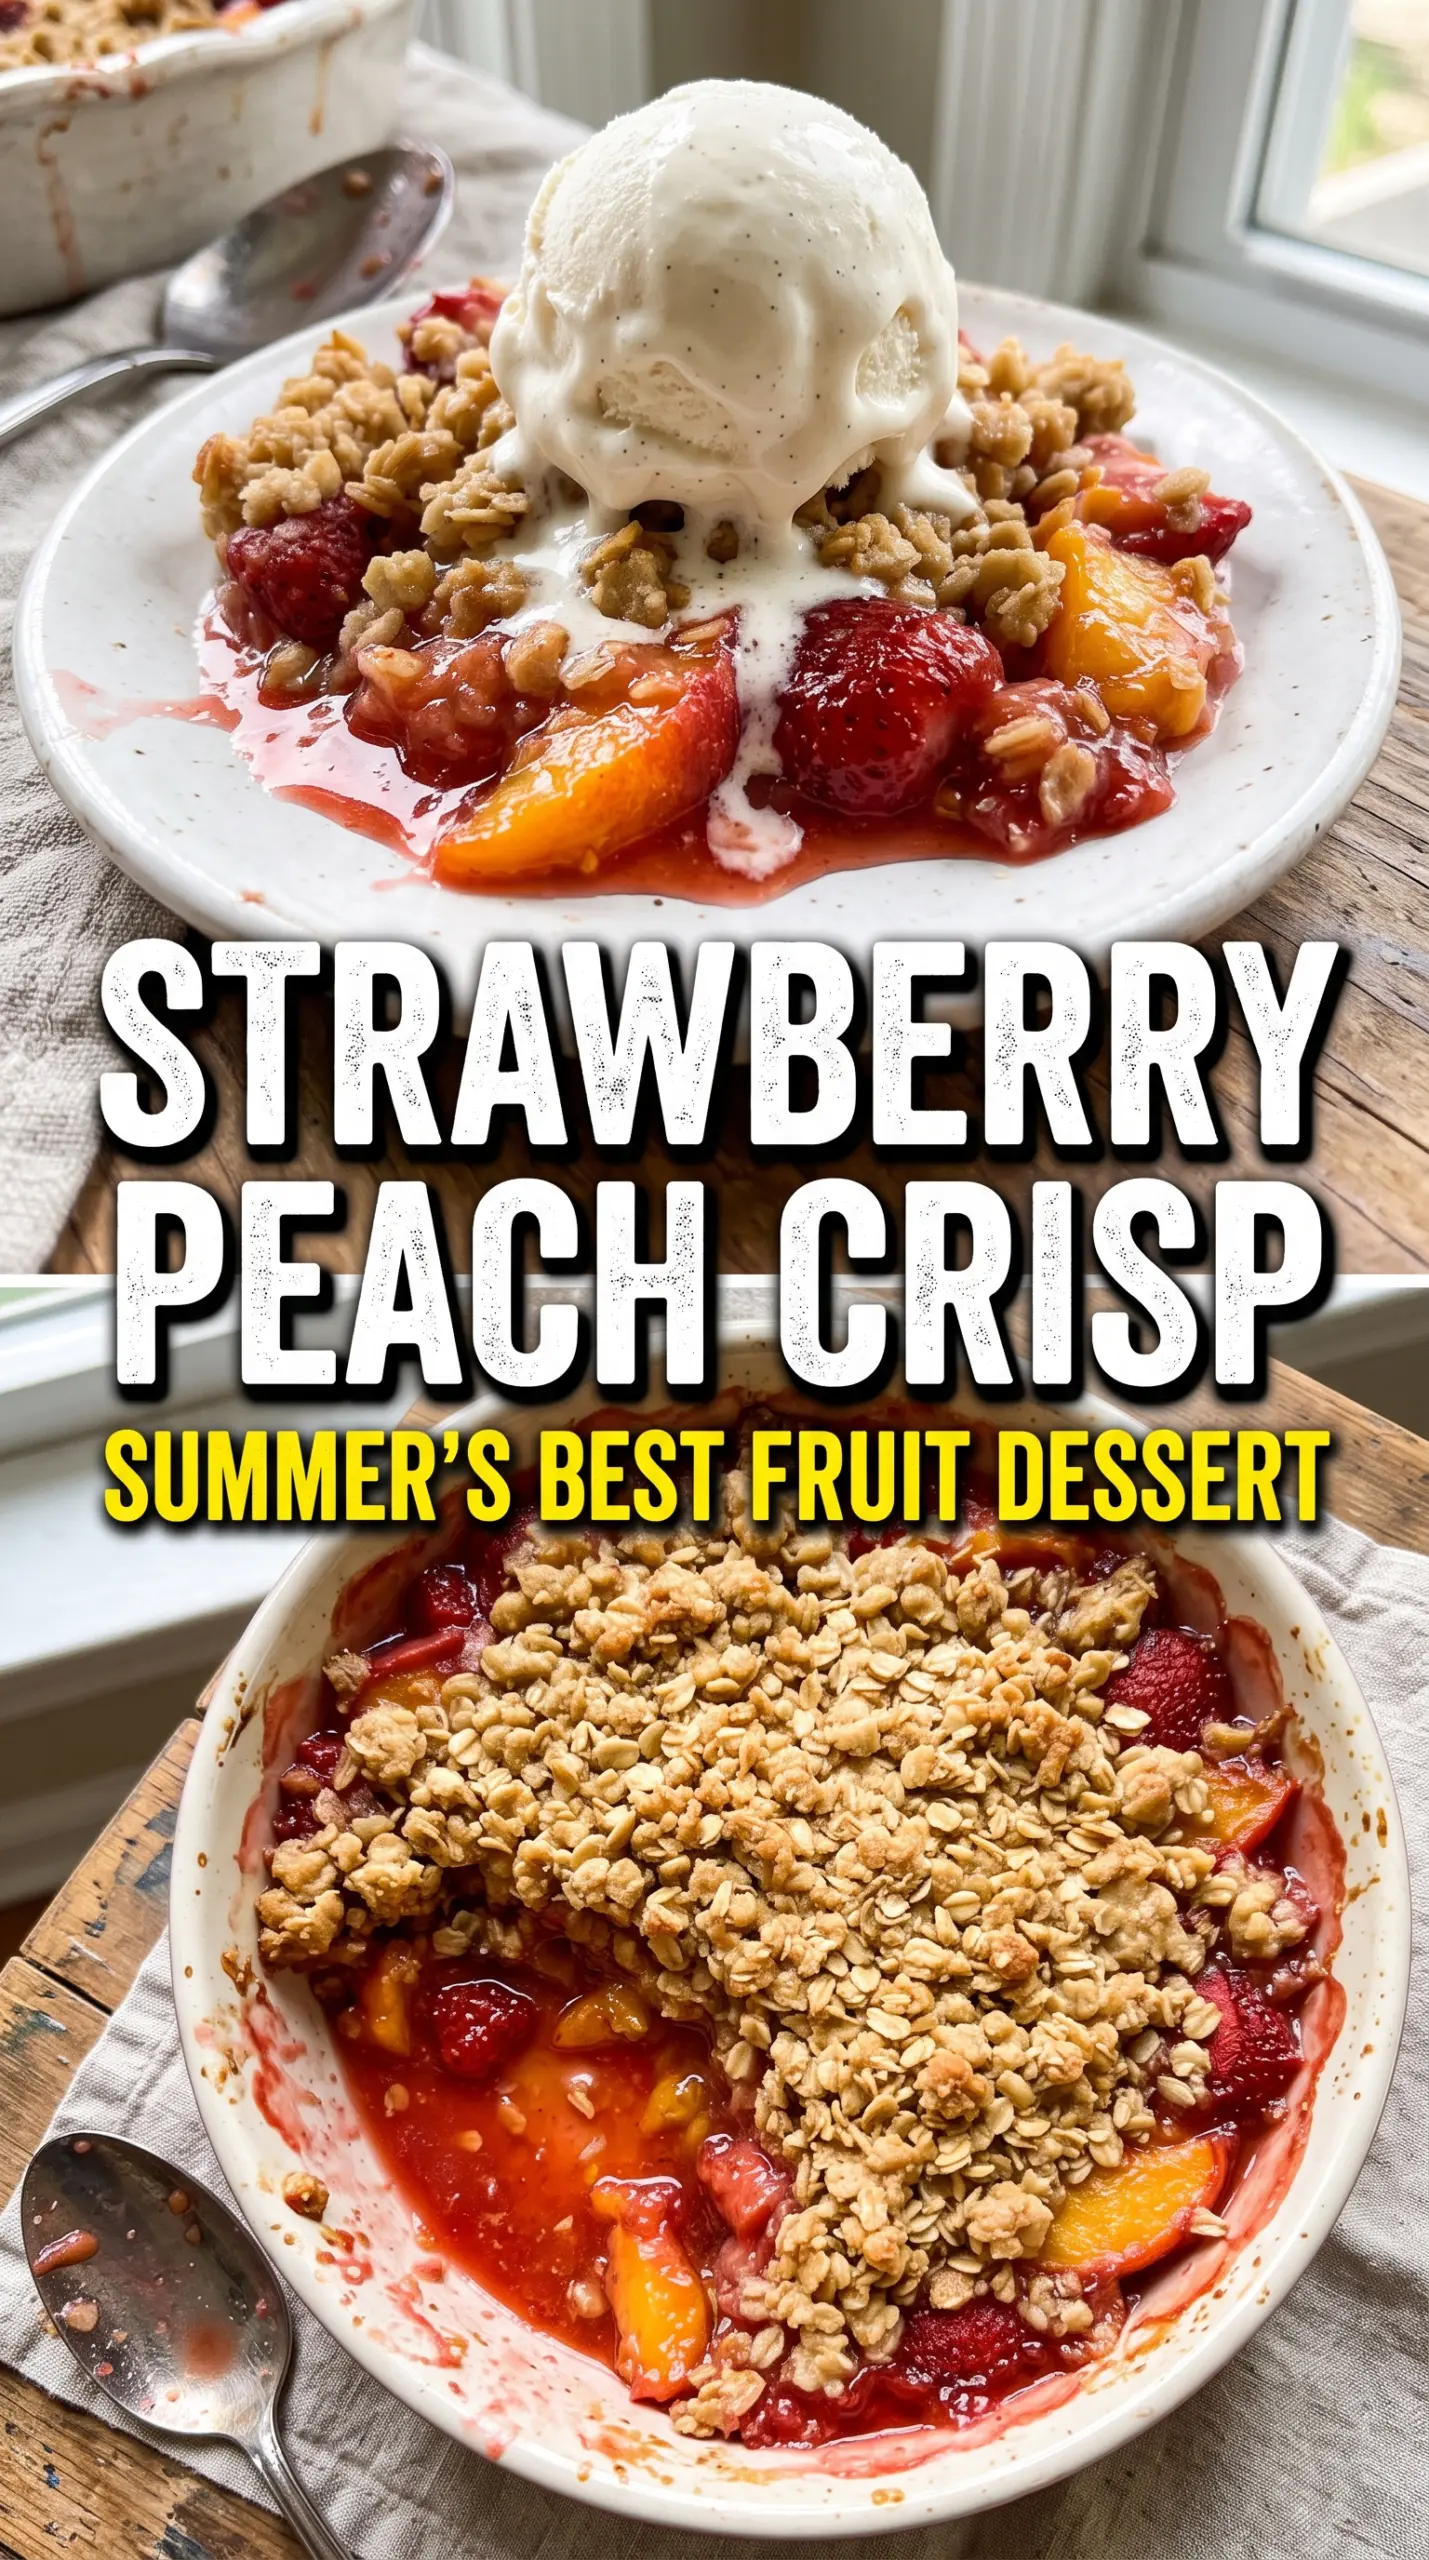
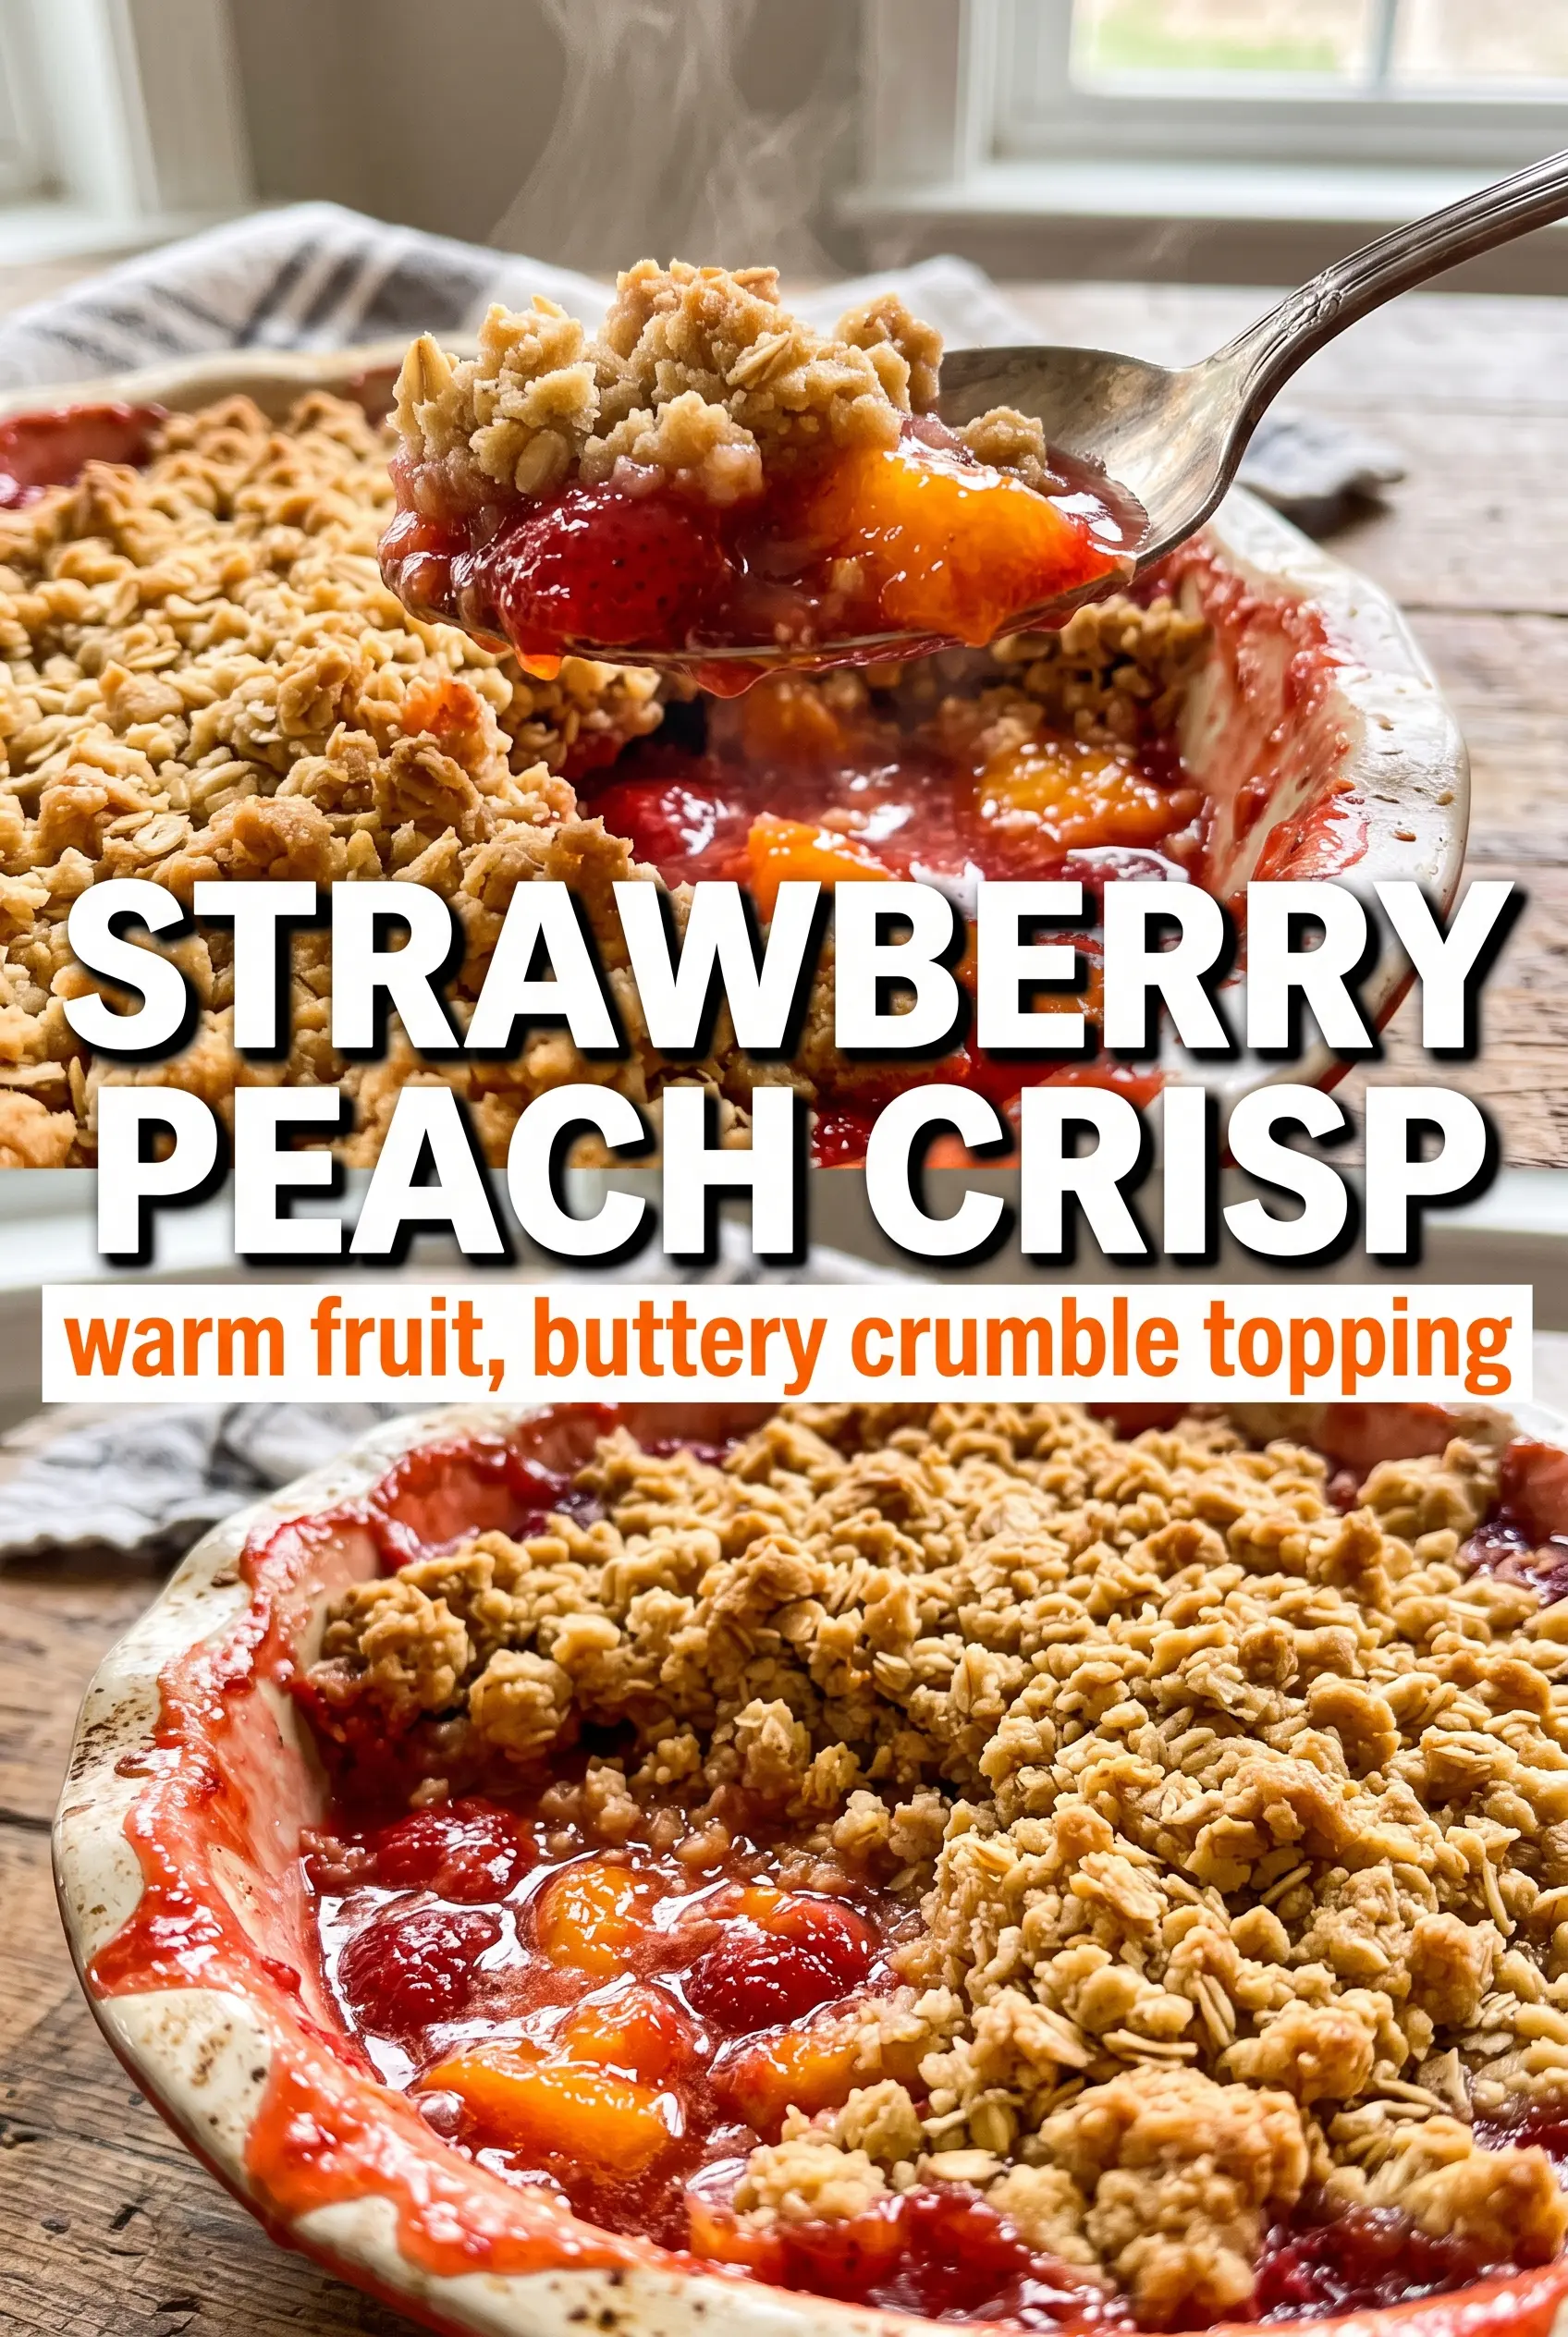
Bubbling strawberry and peach filling under a thick oat crumble is one of those desserts that disappears fast at the table. The fruit turns jammy and bright, the topping bakes into a golden layer with crisp edges and little buttery clumps, and the whole pan smells like warm sugar and toasted oats before it even comes out of the oven. A scoop of vanilla ice cream on top is the kind of finish that makes people linger for a few extra minutes with their spoons.
What makes this version work is the balance between juicy fruit and a topping that stays crumbly instead of sandy. Cornstarch thickens the fruit just enough to hold everything together without turning the filling pasty, and the lemon juice sharpens the sweetness so the berries and peaches taste like themselves. Cold butter matters here. It has to stay in pieces as you work it into the oats, flour, and sugar so the topping bakes up with texture instead of melting into a flat layer.
Below, I’ll walk through the part that matters most: how to keep the fruit from turning watery and how to get that crumble deeply golden before the peaches go soft.
The filling thickened perfectly and the topping stayed crunchy even after sitting for a bit. I used very ripe peaches, and it still baked up with no watery bottom at all.
Like this strawberry peach crisp? Save it to Pinterest for the nights when you want a bubbling fruit dessert with a thick oat crumble and vanilla ice cream on top.
The Secret to Keeping the Fruit Thick Instead of Soupy
The biggest mistake with crisp is treating the fruit like it needs a lot of help. Strawberries and peaches both give off a good amount of juice as they bake, and if you skip the cornstarch or underbake the pan, that juice stays loose and runs across the plate. Here, the starch thickens the fruit right in the oven, so the filling turns glossy and spoonable instead of wet.
Peaches add their own challenge because some batches are firmer and some are so ripe they almost collapse when sliced. That’s fine, but the pieces should still hold some shape when they go into the dish. If the fruit looks especially juicy after tossing, leave that liquid in the bowl and let the starch do its job in the oven. Don’t drain it off, or the filling can end up thin and the topping won’t get the same bubbling edges.
What the Oats, Brown Sugar, and Cold Butter Are Each Doing
- Strawberries — They bring color and a sharp, jammy sweetness that keeps the filling from tasting flat. Smaller berries can be left halved; larger ones should be cut into even pieces so they soften at the same pace as the peaches.
- Peaches — Their job is body and perfume. Use ripe but not mushy peaches if you can; overly soft fruit will bake down faster and make the filling looser.
- Cornstarch — This is what turns the fruit juices into a thick syrup. Arrowroot can work in its place, but use a little less because it thickens more aggressively.
- Rolled oats — They give the topping that nubby, craggy texture that stays crisp around the edges. Quick oats soften too much and lose some of that bite.
- Cold butter — This is what creates the crumb structure. If the butter melts before the dish goes in the oven, the topping turns dense instead of sandy and crisp.
Building the Crisp So the Topping Stays Golden
Tossing the Fruit
Mix the strawberries and peaches with the sugar, cornstarch, lemon juice, and vanilla until every piece looks lightly coated. The bowl should have a little syrup pooling at the bottom, but not a full puddle of liquid. Spread the fruit in a greased 9×13 dish in an even layer so the filling cooks consistently instead of steaming in the center.
Cutting in the Butter
Combine the oats, flour, brown sugar, cinnamon, and salt first, then work in the cold butter with your fingertips until the mixture looks like coarse crumbs with a few pea-sized pieces. Those larger bits melt into little pockets of crisp texture. If the mixture starts to smear or clump like dough, the butter has warmed too much; stop and chill it for a few minutes before continuing.
Baking Until It Bubbles at the Edges
Sprinkle the topping evenly over the fruit and bake until the top is deep golden and the filling is bubbling thickly around the perimeter, about 38 to 42 minutes. That bubbling is the sign that the cornstarch has activated. If the top browns before the fruit bubbles, lay a sheet of foil loosely over the dish for the last few minutes so the crisp doesn’t overcolor before the filling finishes.
Letting It Set Before Serving
Give the crisp about 10 minutes to rest after it comes out of the oven. That short pause lets the syrup settle so the servings hold together instead of running all over the plate. It should still be warm enough for the ice cream to melt into the crumble, which is the whole point.
How to Adapt This Crisp When the Fruit or Pantry Needs a Swap
Make It Gluten-Free
Swap the all-purpose flour for a 1:1 gluten-free baking blend that includes xanthan gum. The topping will still bake up crisp, though it may be a touch more delicate when you scoop it. Keep the oats certified gluten-free if cross-contamination matters.
Make It Dairy-Free
Use a firm dairy-free butter style spread that’s meant for baking, not a soft tub spread. You still need something cold enough to cut into crumbs. The topping won’t taste exactly the same, but it will brown and crisp properly if the fat holds its shape in the oven.
Use Frozen Fruit
Frozen strawberries and peaches work when fresh fruit isn’t around. Don’t thaw them first; toss them with the sugar and starch while still frozen so they don’t flood the bowl. Add a few extra minutes to the bake time and watch for the same thick bubbling around the edges.
Storage and Reheating
- Refrigerator: Store covered for up to 4 days. The topping softens a bit, but the flavor holds.
- Freezer: Freeze baked crisp in portions or the whole dish for up to 2 months. Wrap it well after cooling completely, then thaw in the fridge before reheating.
- Reheating: Warm in a 325°F oven until the filling is hot and the topping wakes back up, about 15 to 20 minutes for a small portion. The microwave will heat the fruit, but it turns the crumble soft.
Questions I Get Asked About This Recipe
Strawberry Peach Crisp
Ingredients
Equipment
Method
- Preheat the oven to 350°F and grease a 9x13 baking dish.
- Make sure the dish is evenly greased so the fruit and crumble lift out cleanly.
- Toss the strawberries and peaches with granulated sugar, cornstarch, lemon juice, and vanilla extract, then spread the mixture in the prepared dish.
- Press the fruit into an even layer so it bakes consistently and bubbles at the edges.
- Combine rolled oats, all-purpose flour, brown sugar, cinnamon, and salt, then cut in the cold butter with fingertips until coarse crumbs form with pea-sized pieces.
- Stop when the butter is broken into small bits so the topping bakes up crisp and golden instead of sandy.
- Sprinkle the crumble topping evenly over the fruit so it covers most of the surface.
- Bake for 38–42 minutes at 350°F until the topping is deep golden brown and the fruit is bubbling thickly around the edges.
- Cool for 10 minutes.
- Serve warm with vanilla ice cream so it melts over the hot, caramelized oat crumble.