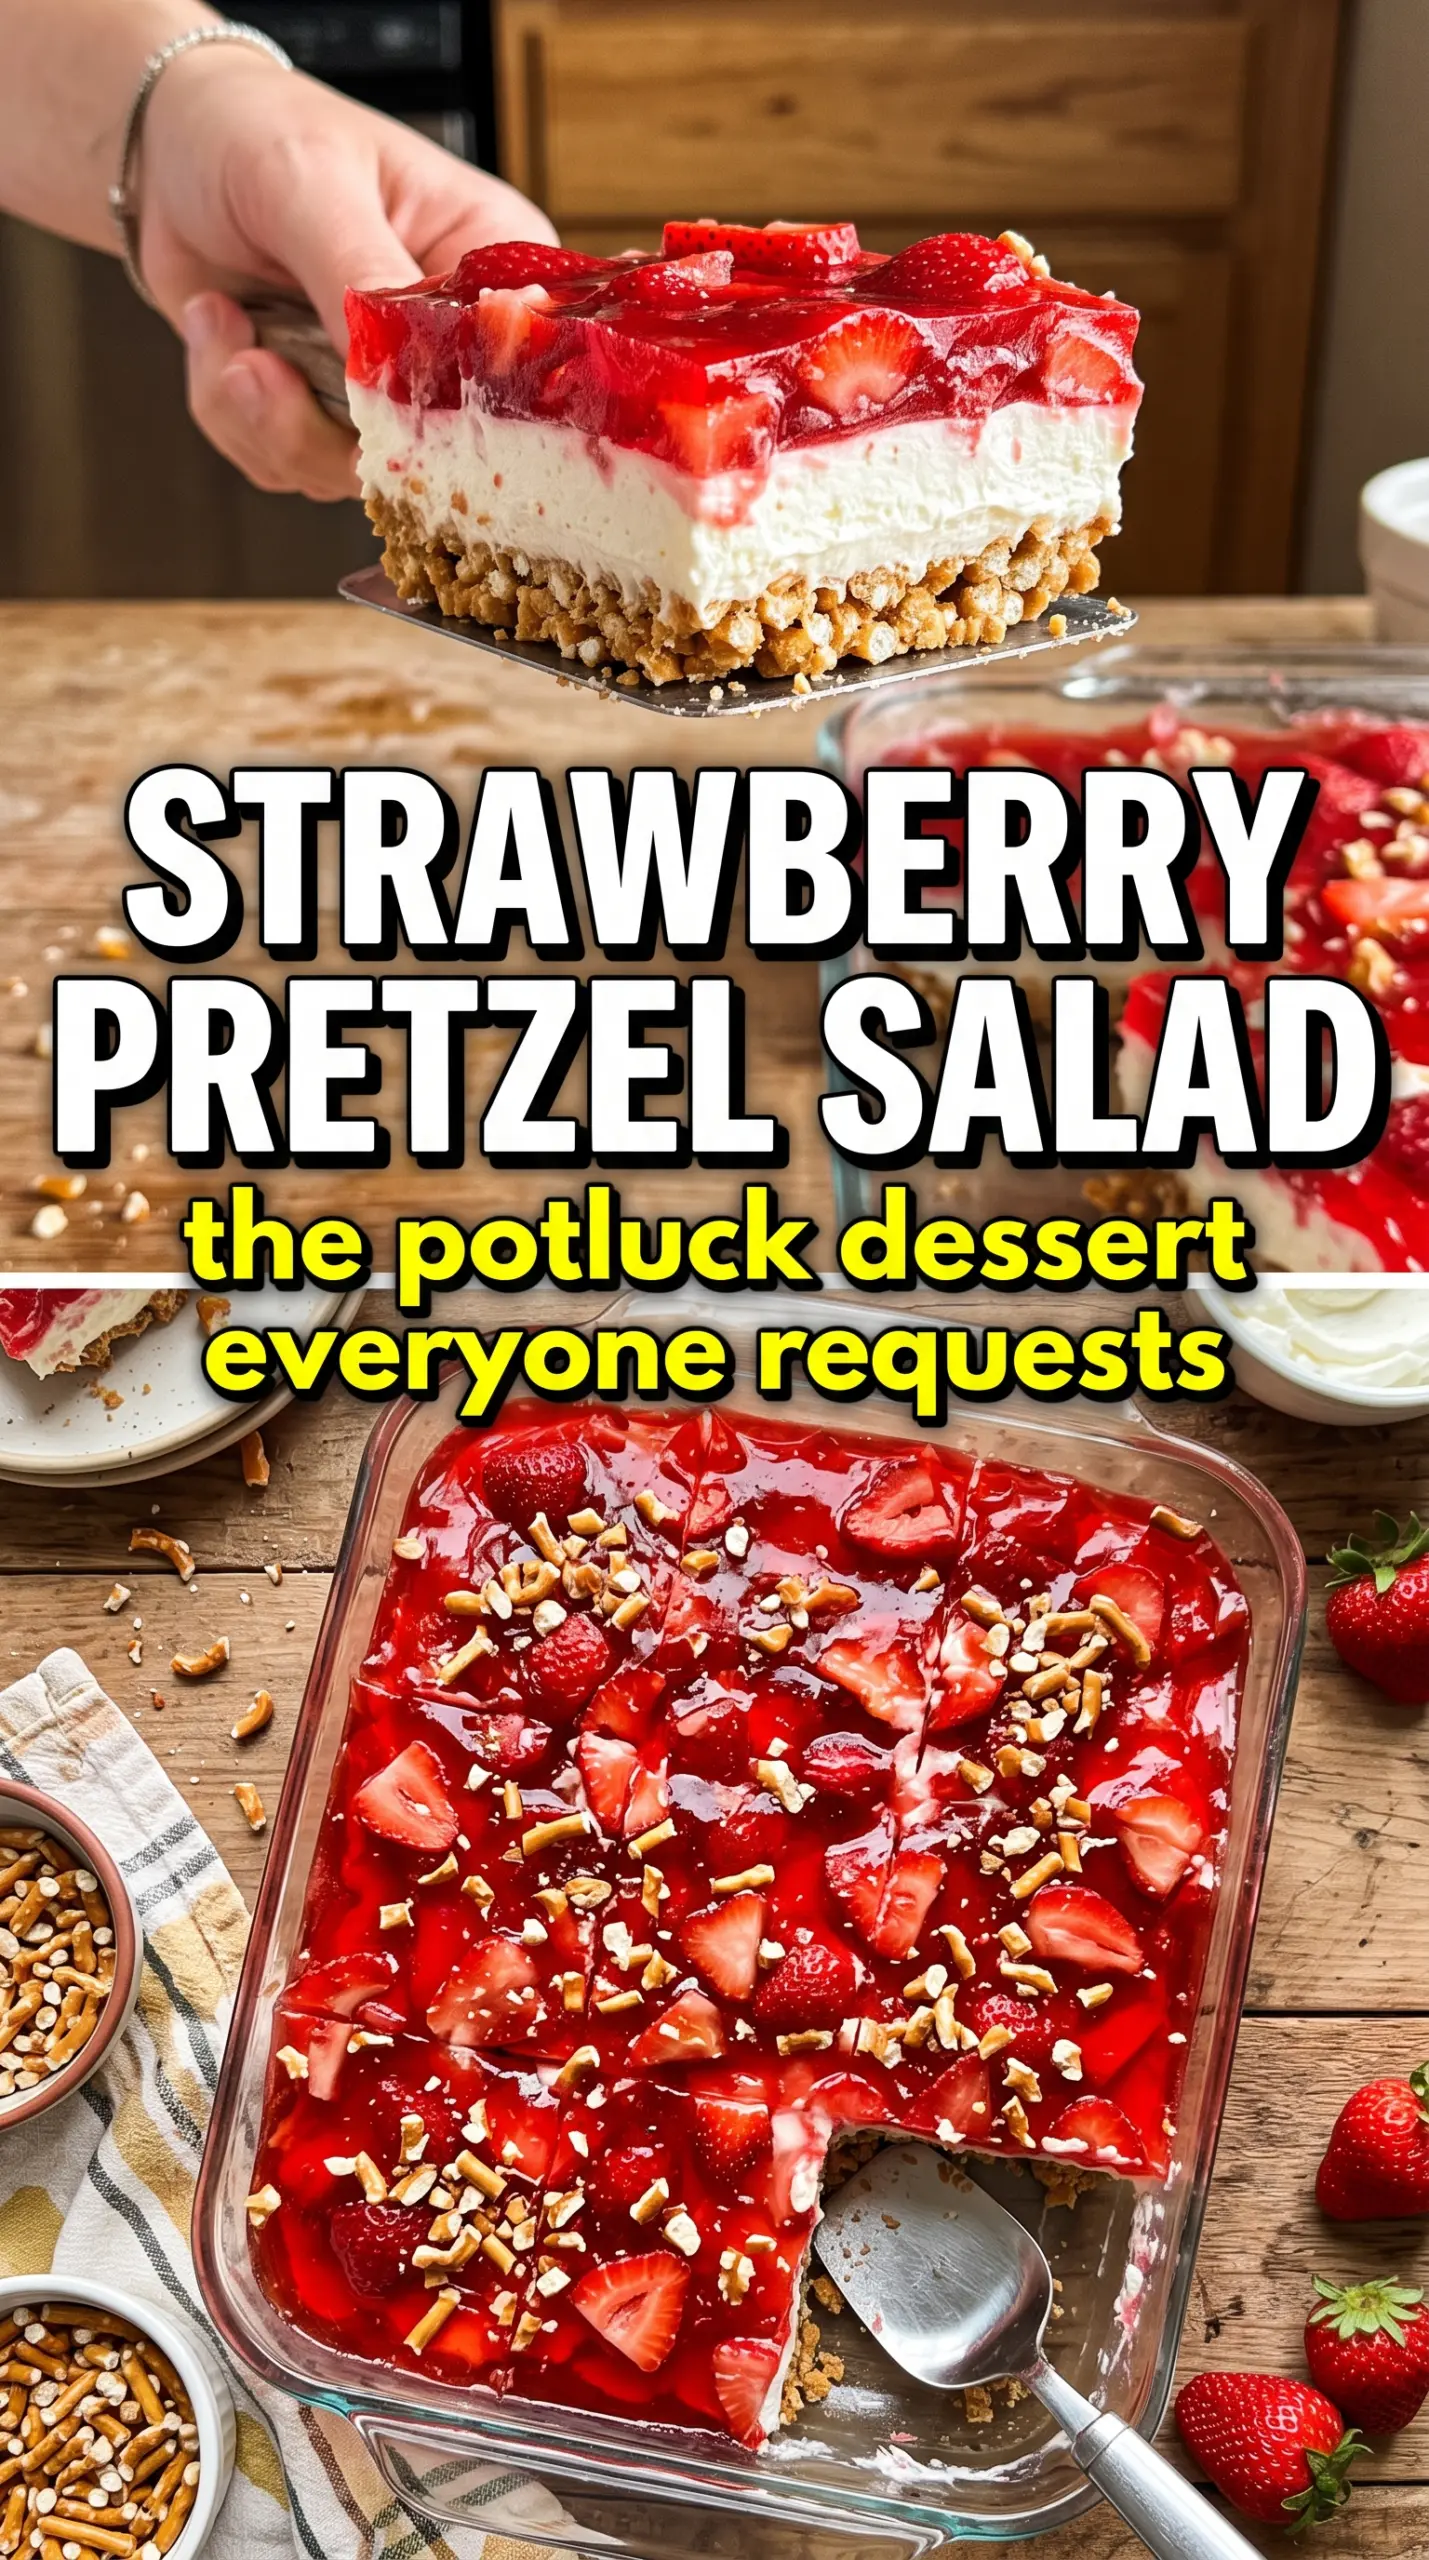
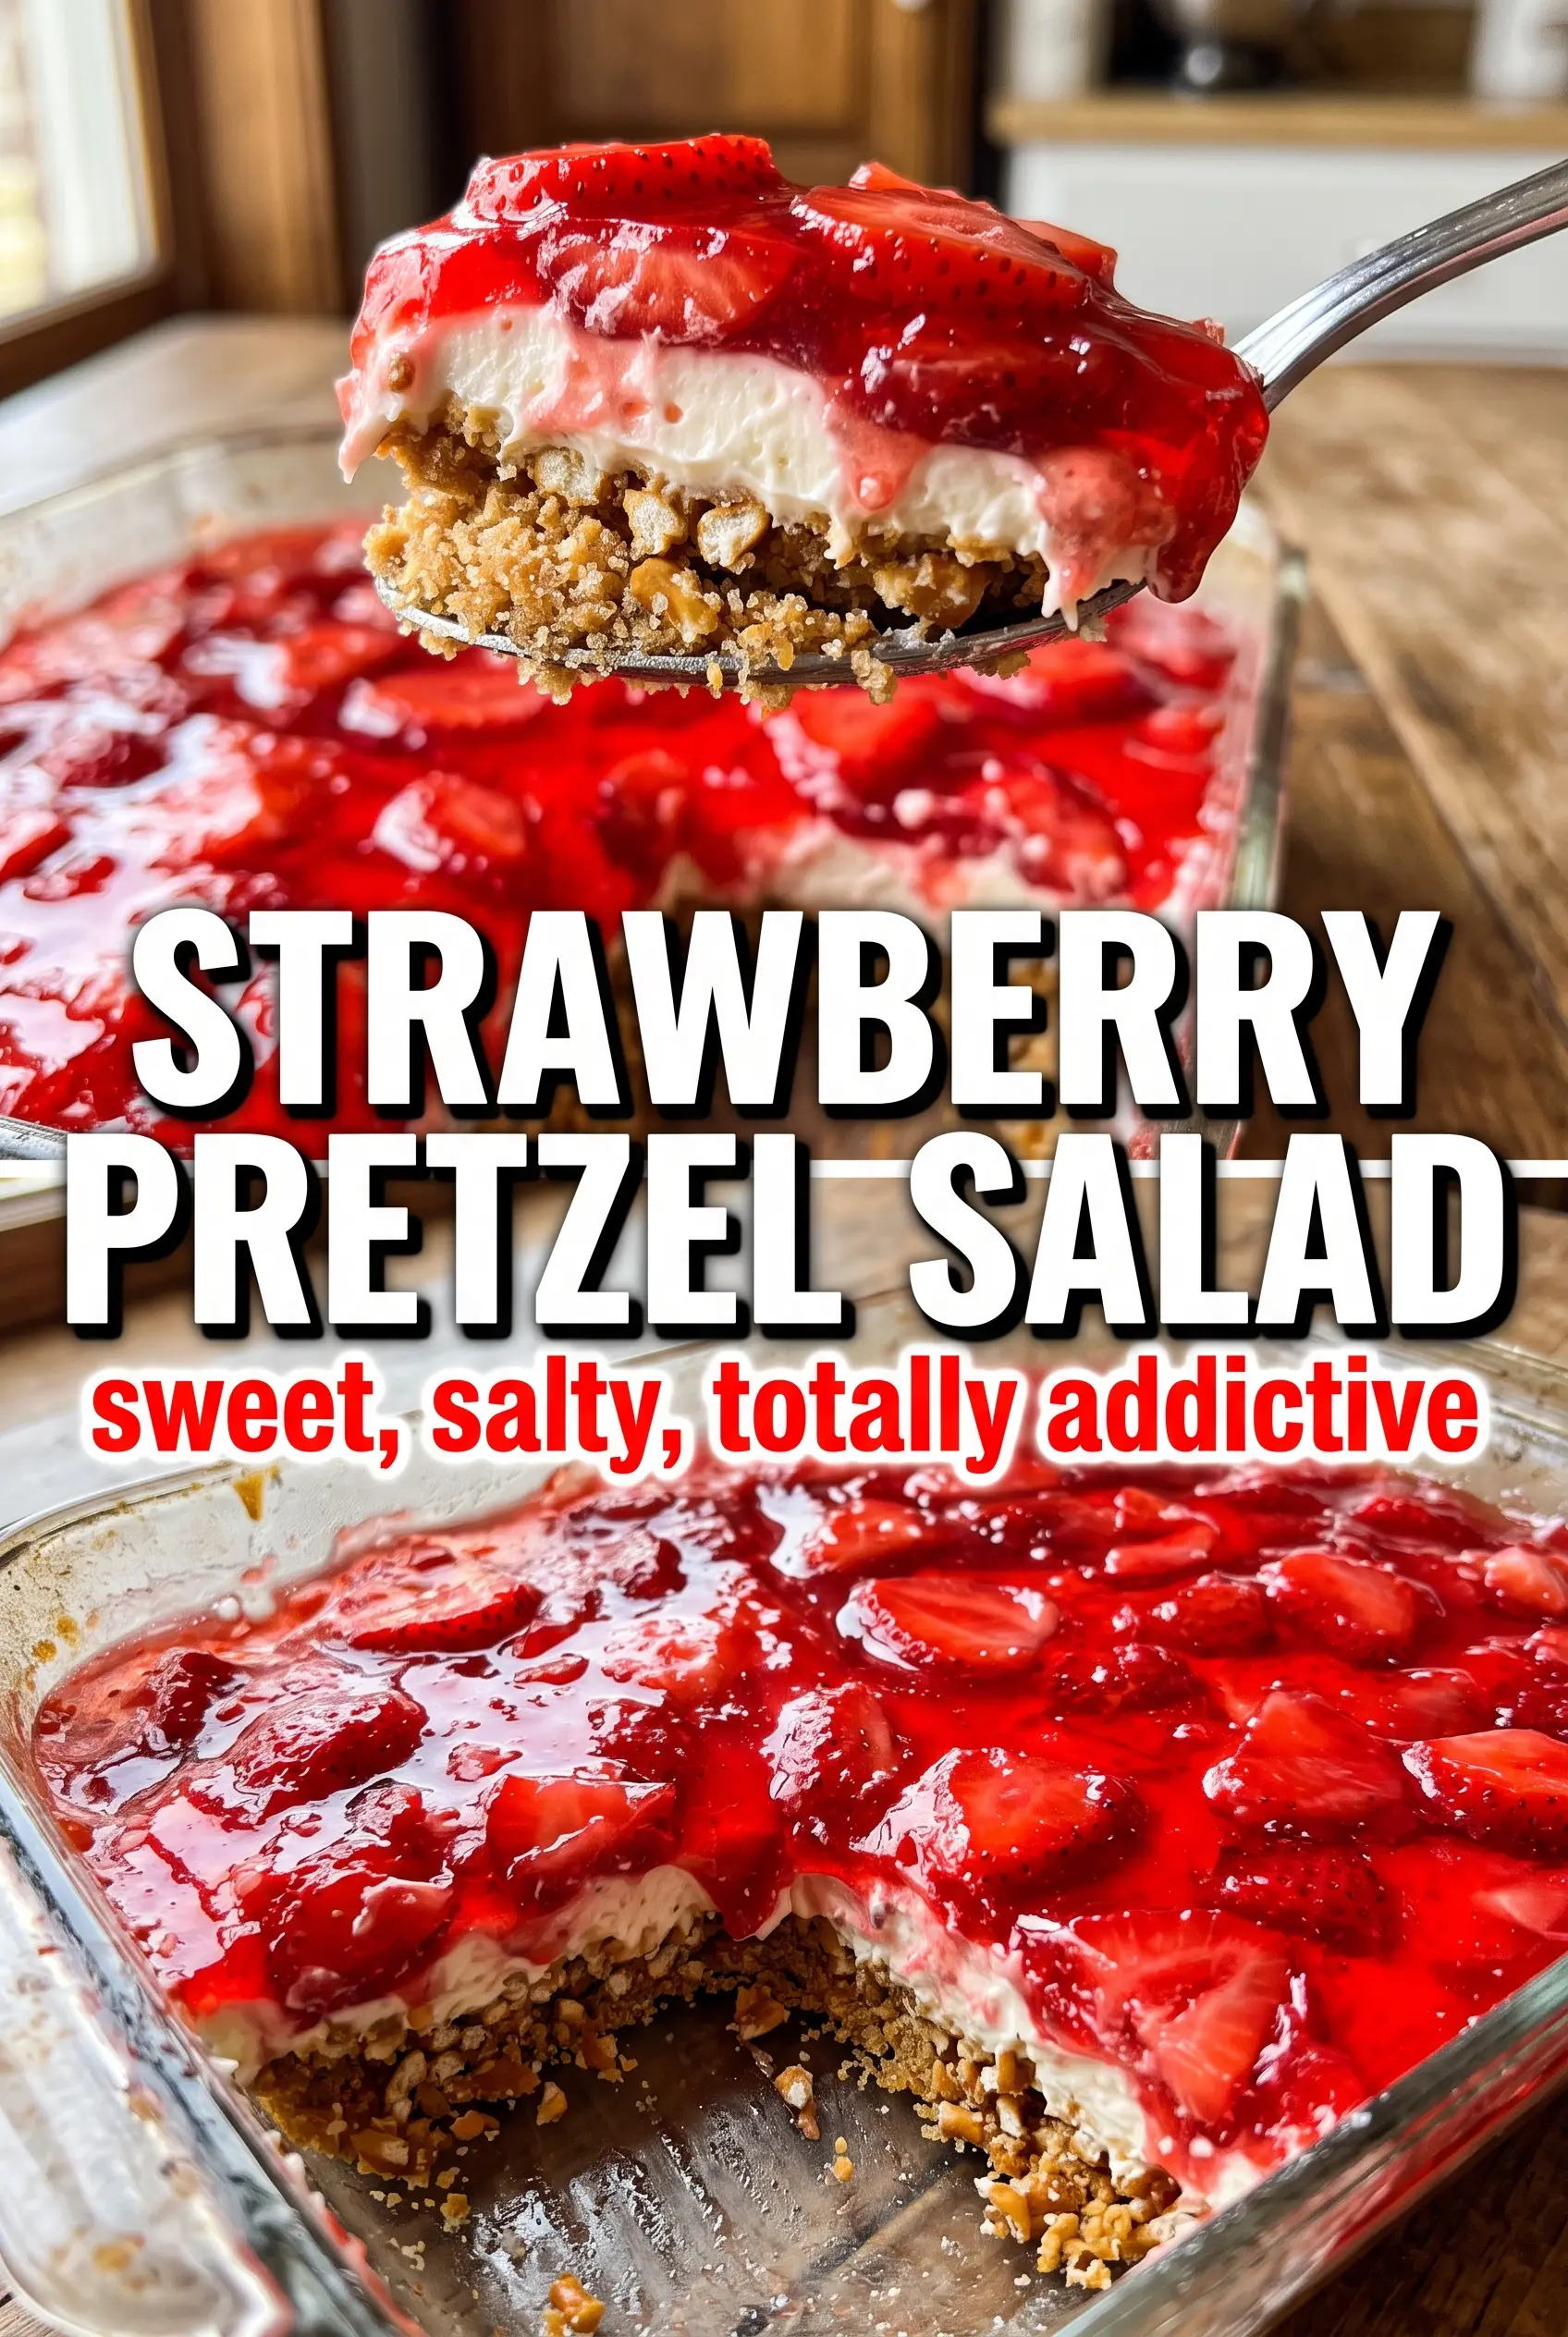
Strawberry pretzel salad lands in that rare dessert category where the first bite makes complete sense: salty, crunchy crust; cool, sweet cream cheese; and a glossy strawberry top that slices clean instead of sliding apart. The contrast is the whole point, and when it’s built right, each layer stays distinct enough to give you a little bit of everything in every forkful.
The part that makes this version work is patience with the layers. The pretzel crust has to cool all the way before the cream cheese mixture goes on, or the base softens and loses its crunch. The Jello needs to thicken just enough that it hugs the strawberries instead of sinking straight through, which is what keeps the top layer looking neat when you cut it.
Below, I’ll show you the one timing detail that keeps the layers from mixing, plus a few smart swaps if you want to make it ahead or change up the fruit.
The Jello layer set up beautifully and the pretzel crust stayed crisp even after chilling overnight. I followed the cooling time exactly and the slices came out clean with those perfect salty-sweet layers.
Like this strawberry pretzel salad? Save it for the next potluck when you want a chilled dessert with crisp crust, creamy filling, and a bright strawberry finish.
The Layer That Turns Soggy When You Rush It
The pretzel base is the part people underestimate. It looks sturdy going into the oven, but the sugar and butter only create that crisp, salty shell if the crust cools completely before the cream cheese layer goes on. If you spread the filling over a warm crust, the bottom softens fast and the dessert loses that clean crunch that makes the first bite so good.
- Pretzels — Coarsely crushed pretzels give you texture and salt in every bite. A fine crush makes the crust dense and sandy, while bigger pieces hold up better and keep the base from tasting like plain sweet cracker crust.
- Butter — Melted butter binds the crust and helps it bake into a firm layer. Don’t cut it back much or the crust turns dry and crumbly instead of holding together when sliced.
- Cream cheese — This gives the middle its tang and body. Soften it fully before beating, or you’ll end up with little lumps that never smooth out once the whipped topping is folded in.
- Whipped topping — It lightens the filling and helps the layer stay fluffy and easy to spread. Homemade whipped cream doesn’t hold quite the same shape for long chilling times, so if you swap it in, serve the dessert the same day for the best texture.
What Each Ingredient Is Actually Doing in This Recipe
- Primary ingredient (the star) — Quality matters most. Choose the best you can find.
- Cooking medium (oil, butter, or broth) — This carries flavors and prevents dryness.
- Seasonings (salt, pepper, spices, herbs) — Layer flavors so nothing overpowers. Build depth gradually.
- Aromatics (garlic, onion, herbs) — Cook with fat to bloom flavors. Become the foundation.
- Supporting ingredients — Complement the main ingredient without overpowering it.
- Sauce or liquid (if applicable) — Brings flavors together. Balance richness with acid.
- Acid (lemon, vinegar, wine, or other) — Brightens and prevents flat-tasting results.
- Final finish (garnish, glaze, or sauce) — Prevents one-dimensional taste and adds visual appeal.
What the Jello Needs to Do Before It Hits the Pan
First, the Jello has to cool down and thicken a little. If it’s still thin like water, it runs straight between the strawberries and into the cream layer, which gives you a messy slice instead of a neat red cap. You want it just barely syrupy — still pourable, but with enough body that it sits on top when you spoon it over.
The strawberries matter more than they seem to in a recipe like this. Halved berries give the top a fresh look and keep each slice from feeling overly soft, and arranging them before pouring the Jello helps the fruit stay evenly distributed. Once the top is assembled, chill it long enough for the Jello to fully set. Cutting too early is the fastest way to destroy those clean layers.
Building the Pretzel Crust
Mix the crushed pretzels with melted butter and sugar until every piece looks evenly coated, then press the mixture firmly into a 9×13 pan. Bake it just until set and lightly toasted; overbaking makes the crust bitter, while underbaking leaves it sandy and weak. Let it cool all the way to room temperature before you move on. If even a little heat remains in the pan, the cream layer starts melting at the edges.
Whipping the Cream Layer Smooth
Beat the softened cream cheese and sugar until the mixture looks completely smooth and glossy, with no grainy streaks. Fold in the whipped topping gently so you keep the filling airy instead of deflating it. Spread it all the way to the edges of the crust to form a seal, because that cream layer acts like a barrier and helps protect the pretzels from the Jello.
Setting the Strawberry Top
Stir the boiling water into the Jello until every granule dissolves, then add the cold water and chill it until it thickens slightly. Arrange the strawberries over the cream layer, then pour the Jello slowly over the fruit, using a spoon if needed to keep the flow gentle. Refrigerate until fully set, at least 4 hours. If you cut it early, the middle will slump and the top won’t hold the neat layered look.
How to Adjust It for Different Pans, Fruits, and Diets
Make it gluten-free with gluten-free pretzels
Use sturdy gluten-free pretzels in the crust and keep the rest of the recipe the same. The texture will be a little more fragile, so press the crust firmly and let it cool before adding the filling. The salty-sweet balance stays just as good.
Swap the strawberries for mixed berries
Blueberries, sliced raspberries, or a mix of berries work well if you want a little more color contrast. Softer berries release more juice, so keep the Jello slightly thicker before pouring it on. The finished dessert will taste a touch less classic and a little brighter.
Use homemade whipped cream instead of whipped topping
You can replace the whipped topping with about 3 cups of freshly whipped cream, but the filling won’t hold quite as long in the fridge. It’ll taste a little richer and less sweet, which works well if you’re serving it the same day. For overnight chilling, the packaged topping gives the most stable slice.
Make it ahead for a potluck
This dessert is best when made the day before serving. The extra chill time helps the Jello set firmly, and the layers slice more cleanly after a full overnight rest. If you’re holding it longer than that, cover it well so the pretzels don’t dry out at the edges.
Storage and Reheating
- Refrigerator: Store covered for up to 3 days. The pretzel crust softens a bit as it sits, but the flavor still holds up well.
- Freezer: Don’t freeze it. The cream layer and Jello both turn watery and grainy after thawing.
- Reheating: No reheating needed. Serve it cold straight from the fridge, and use a sharp knife wiped clean between cuts for the neatest squares.
Answers to the Questions Worth Asking
Strawberry Pretzel Salad
Ingredients
Equipment
Method
- Preheat the oven to 350°F. Mix the pretzels, melted butter, and granulated sugar, then press into a 9x13 baking pan.
- Bake for 10 minutes. Cool completely in the pan before adding the next layer.
- Beat the cream cheese and granulated sugar until smooth. Fold in the whipped topping until no streaks remain.
- Spread the cream cheese mixture over the completely cooled pretzel crust. Refrigerate for 30 minutes.
- Dissolve the strawberry-flavored Jello in 2 cups boiling water. Stir in the cold water until fully combined.
- Refrigerate until just beginning to thicken but still pourable, about 30-40 minutes. Watch for a syrupy consistency you can pour.
- Arrange the strawberry halves over the cream cheese layer in an even layer. Keep them close together so berries show in every slice.
- Pour the slightly thickened Jello carefully over the top. Pour slowly to avoid disturbing the cream cheese layer.
- Refrigerate for at least 4 hours or overnight until the Jello is fully set. Let it rest until the center is firm when gently touched.
- Cut into squares and serve cold. Wipe the knife between cuts for clean layers.