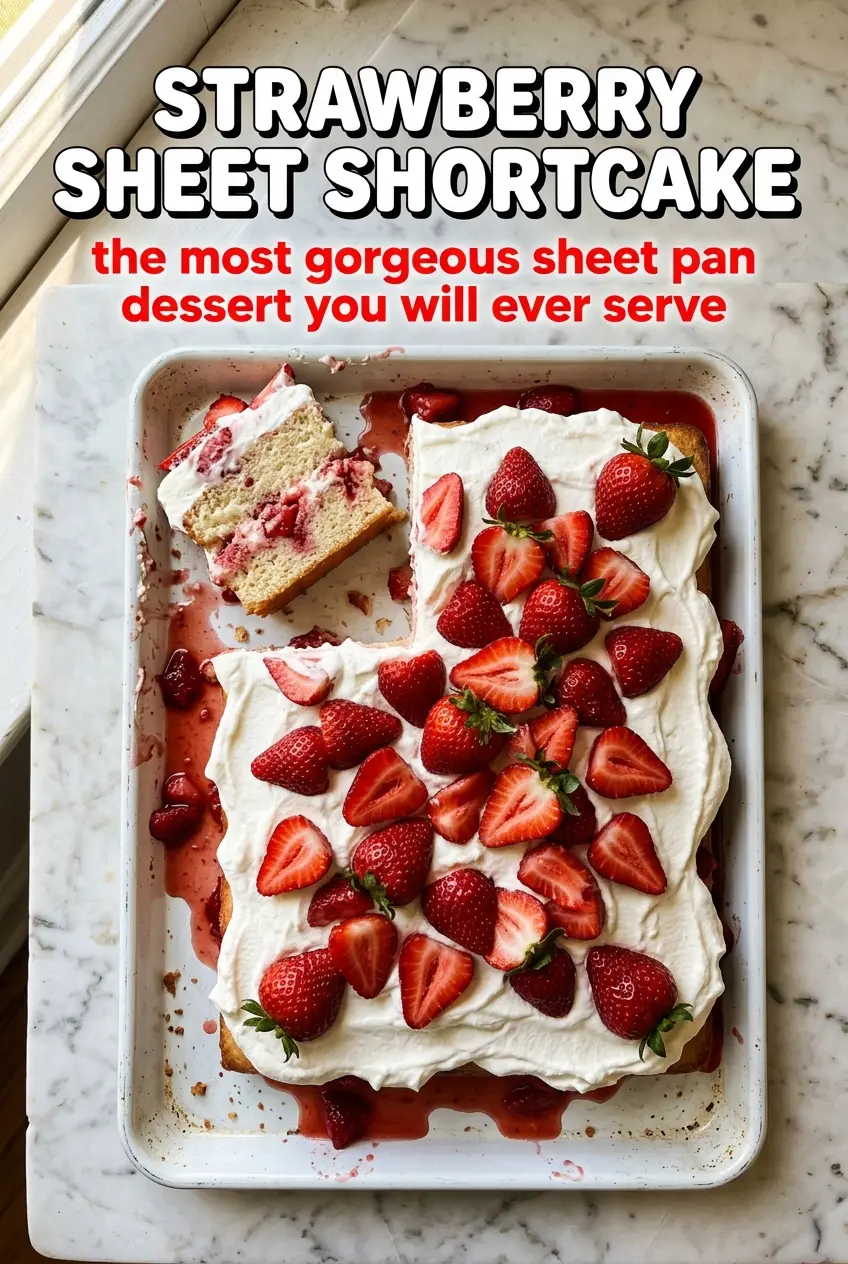
Strawberry sheet shortcake disappears fast because it lands right in the sweet spot between tender cake, juicy berries, and billowy whipped cream. The cake bakes up soft and buttery, but it still has enough structure to hold a generous layer of strawberries without turning soggy the second it’s sliced. That balance is what makes it worth repeating for birthdays, cookouts, and any dessert table that needs something people will actually go back for.
The key is in the texture contrast. Sour cream keeps the vanilla cake plush and moist, while the macerated strawberries bring their own syrup so you don’t need extra sauce or fuss. Whipping the cream to stiff peaks matters here too; it should hold its shape on the cake instead of melting into the berries before serving. Letting the cake cool completely is nonnegotiable, since even a little warmth will soften the whipped cream and blur the layers.
Below, you’ll find the timing that keeps the strawberries glossy instead of watery, the one mixing method that keeps the cake tender, and a few practical ways to adapt this dessert when you need to make it ahead or serve a crowd.
The strawberries made their own syrup after about 30 minutes and the cream held up all the way through dessert. The cake stayed soft even after chilling overnight, which I didn’t expect.
Save this strawberry sheet shortcake for the kind of dessert that serves a crowd and still slices cleanly.
The Part That Keeps the Cake From Going Heavy
Sheet cake shortcakes fall apart when the batter gets overmixed or the berries go on before the cake is fully cool. This version avoids both problems. The flour goes in alternately with the sour cream, which keeps the batter light instead of dense, and the finished cake needs that full cooling time so the whipped cream stays fluffy on top instead of sliding off. That’s the difference between a clean slice and a muddy pan of dessert.
The other mistake people make is skipping the maceration step for the strawberries. Sugar pulls out their juices and turns them into a glossy topping that tastes brighter than plain sliced berries. Give them at least 30 minutes, and don’t rush the assembly. The fruit should look juicy and shiny, not drowned in a bowl of watery syrup.
What Each Ingredient Is Actually Doing Here
- All-purpose flour — This gives the cake enough structure to hold the berries and cream without becoming bready. Cake flour will make it softer, but it can tip this dessert toward fragile, especially if you’re serving it from a pan.
- Sour cream — This is what keeps the crumb plush and moist. Plain Greek yogurt works in a pinch, but it brings a little more tang and can make the texture slightly tighter.
- Fresh strawberries — Use ripe berries here. Frozen strawberries soften too much when they thaw and won’t give you the same clean, jammy topping.
- Heavy whipping cream — You need the fat content to get whipped cream that holds its shape on the cake. Lighter cream won’t give you the same stable topping.
- Butter and sugar — Creaming them well traps air, which helps the cake rise and keeps the crumb tender. If the butter is too cold, the mixture stays grainy and the cake comes out heavier.
How to Build the Layers Without Losing the Texture
Creaming the Butter the Right Way
Beat the softened butter and sugar until the mixture looks pale and fluffy, not just combined. That stage matters because it creates the lift that gives the cake its soft, even crumb. If the butter is too cold, the sugar won’t cut into it properly and the batter stays dense. Scrape the bowl halfway through so the mixture stays uniform from edge to center.
Adding the Flour and Sour Cream in Turns
Add the flour mixture and sour cream in alternating additions, starting and ending with flour. This keeps the batter from getting overworked and prevents the sour cream from making it wet in one spot. Stop mixing as soon as the last streak of flour disappears. If you keep going, the cake turns tight instead of tender.
Baking Until the Center Springs Back
Pour the batter into a greased 9×13-inch pan and bake until a toothpick comes out clean and the top springs back lightly when touched. The edges should just start pulling away from the pan. Pulling it too early leaves a gummy middle, but overbaking dries out the crumb and makes the finished cake less able to hold the fruit.
Finishing With Berries and Cream
Wait until the cake is completely cool before adding anything on top. Beat the cream to stiff peaks so it holds its swoops after it’s spread across the cake. Spoon the strawberries and their juices over the whipped cream just before serving, or chill the assembled cake if you want the layers to mingle a bit more. Either way, the cream should stay cloudlike and the berries should look glossy, not sunken.
How to Adjust This for Different Crowds and Dietary Needs
Make it gluten-free
Use a 1:1 gluten-free flour blend that includes xanthan gum. The cake will still bake up tender, but it may need a few extra minutes in the oven and should be cooled completely before slicing so it sets cleanly.
Swap the whipped cream for a lighter finish
If you want a topping that holds even longer, fold a few spoonfuls of mascarpone into the whipped cream after it reaches soft peaks. The result is a richer, more stable cream with a little extra body.
Use mixed berries instead of all strawberries
Raspberries or blueberries work well mixed in with the strawberries, but keep at least half the fruit strawberries so the topping still has that classic shortcake feel. Raspberries release more juice, so the top will look looser and a little more rustic.
Storage and Reheating
- Refrigerator: Store assembled cake covered for up to 2 days. The cake stays soft, but the strawberries will continue to release juice.
- Freezer: Freeze the plain baked cake only, tightly wrapped, for up to 2 months. Don’t freeze the topped dessert; the whipped cream and berries lose their texture after thawing.
- Reheating: This dessert is meant to be served cold or lightly chilled, not reheated. If you froze the cake layer, thaw it at room temperature, then top it after it’s fully defrosted.
Questions I Get Asked About This Recipe
Strawberry Sheet Shortcake
Ingredients
Equipment
Method
- Preheat the oven to 350°F and grease a 9x13 baking dish. Set the dish aside so the batter is ready to go.
- Whisk together all-purpose flour, baking powder, and salt in a mixing bowl. Whisk until the dry ingredients look evenly combined.
- Cream together softened butter and sugar until light and fluffy. Stop and scrape the bowl if needed for a smooth batter.
- Beat in the eggs and vanilla extract. Mix just until the mixture looks uniform and glossy.
- Alternately add the flour mixture and sour cream, beginning and ending with flour. Mix only until no dry streaks remain, for a tender crumb.
- Pour the batter into the greased 9x13 baking dish. Spread into an even layer so it bakes consistently.
- Bake for 18-22 minutes at 350°F until a toothpick comes out clean. Cool completely, about 1 hour, until no warmth remains.
- Toss the sliced fresh strawberries with sugar. Let sit for at least 30 minutes to release juices and get glossy.
- Beat heavy whipping cream, powdered sugar, and vanilla extract until stiff peaks form. Stop when the peaks hold their shape when you lift the beaters.
- Top the cooled cake with whipped cream in an even layer. Spread to the edges for a full sheet-cake look.
- Arrange the macerated strawberries and their juices over the whipped cream. Add extra drips for a glossy, syrupy top.
- Garnish with fresh whole strawberries. Place them on top so they show through the cream and syrup.
- Chill until ready to serve. Refrigerate until set, at least 1 hour, for clean slices.