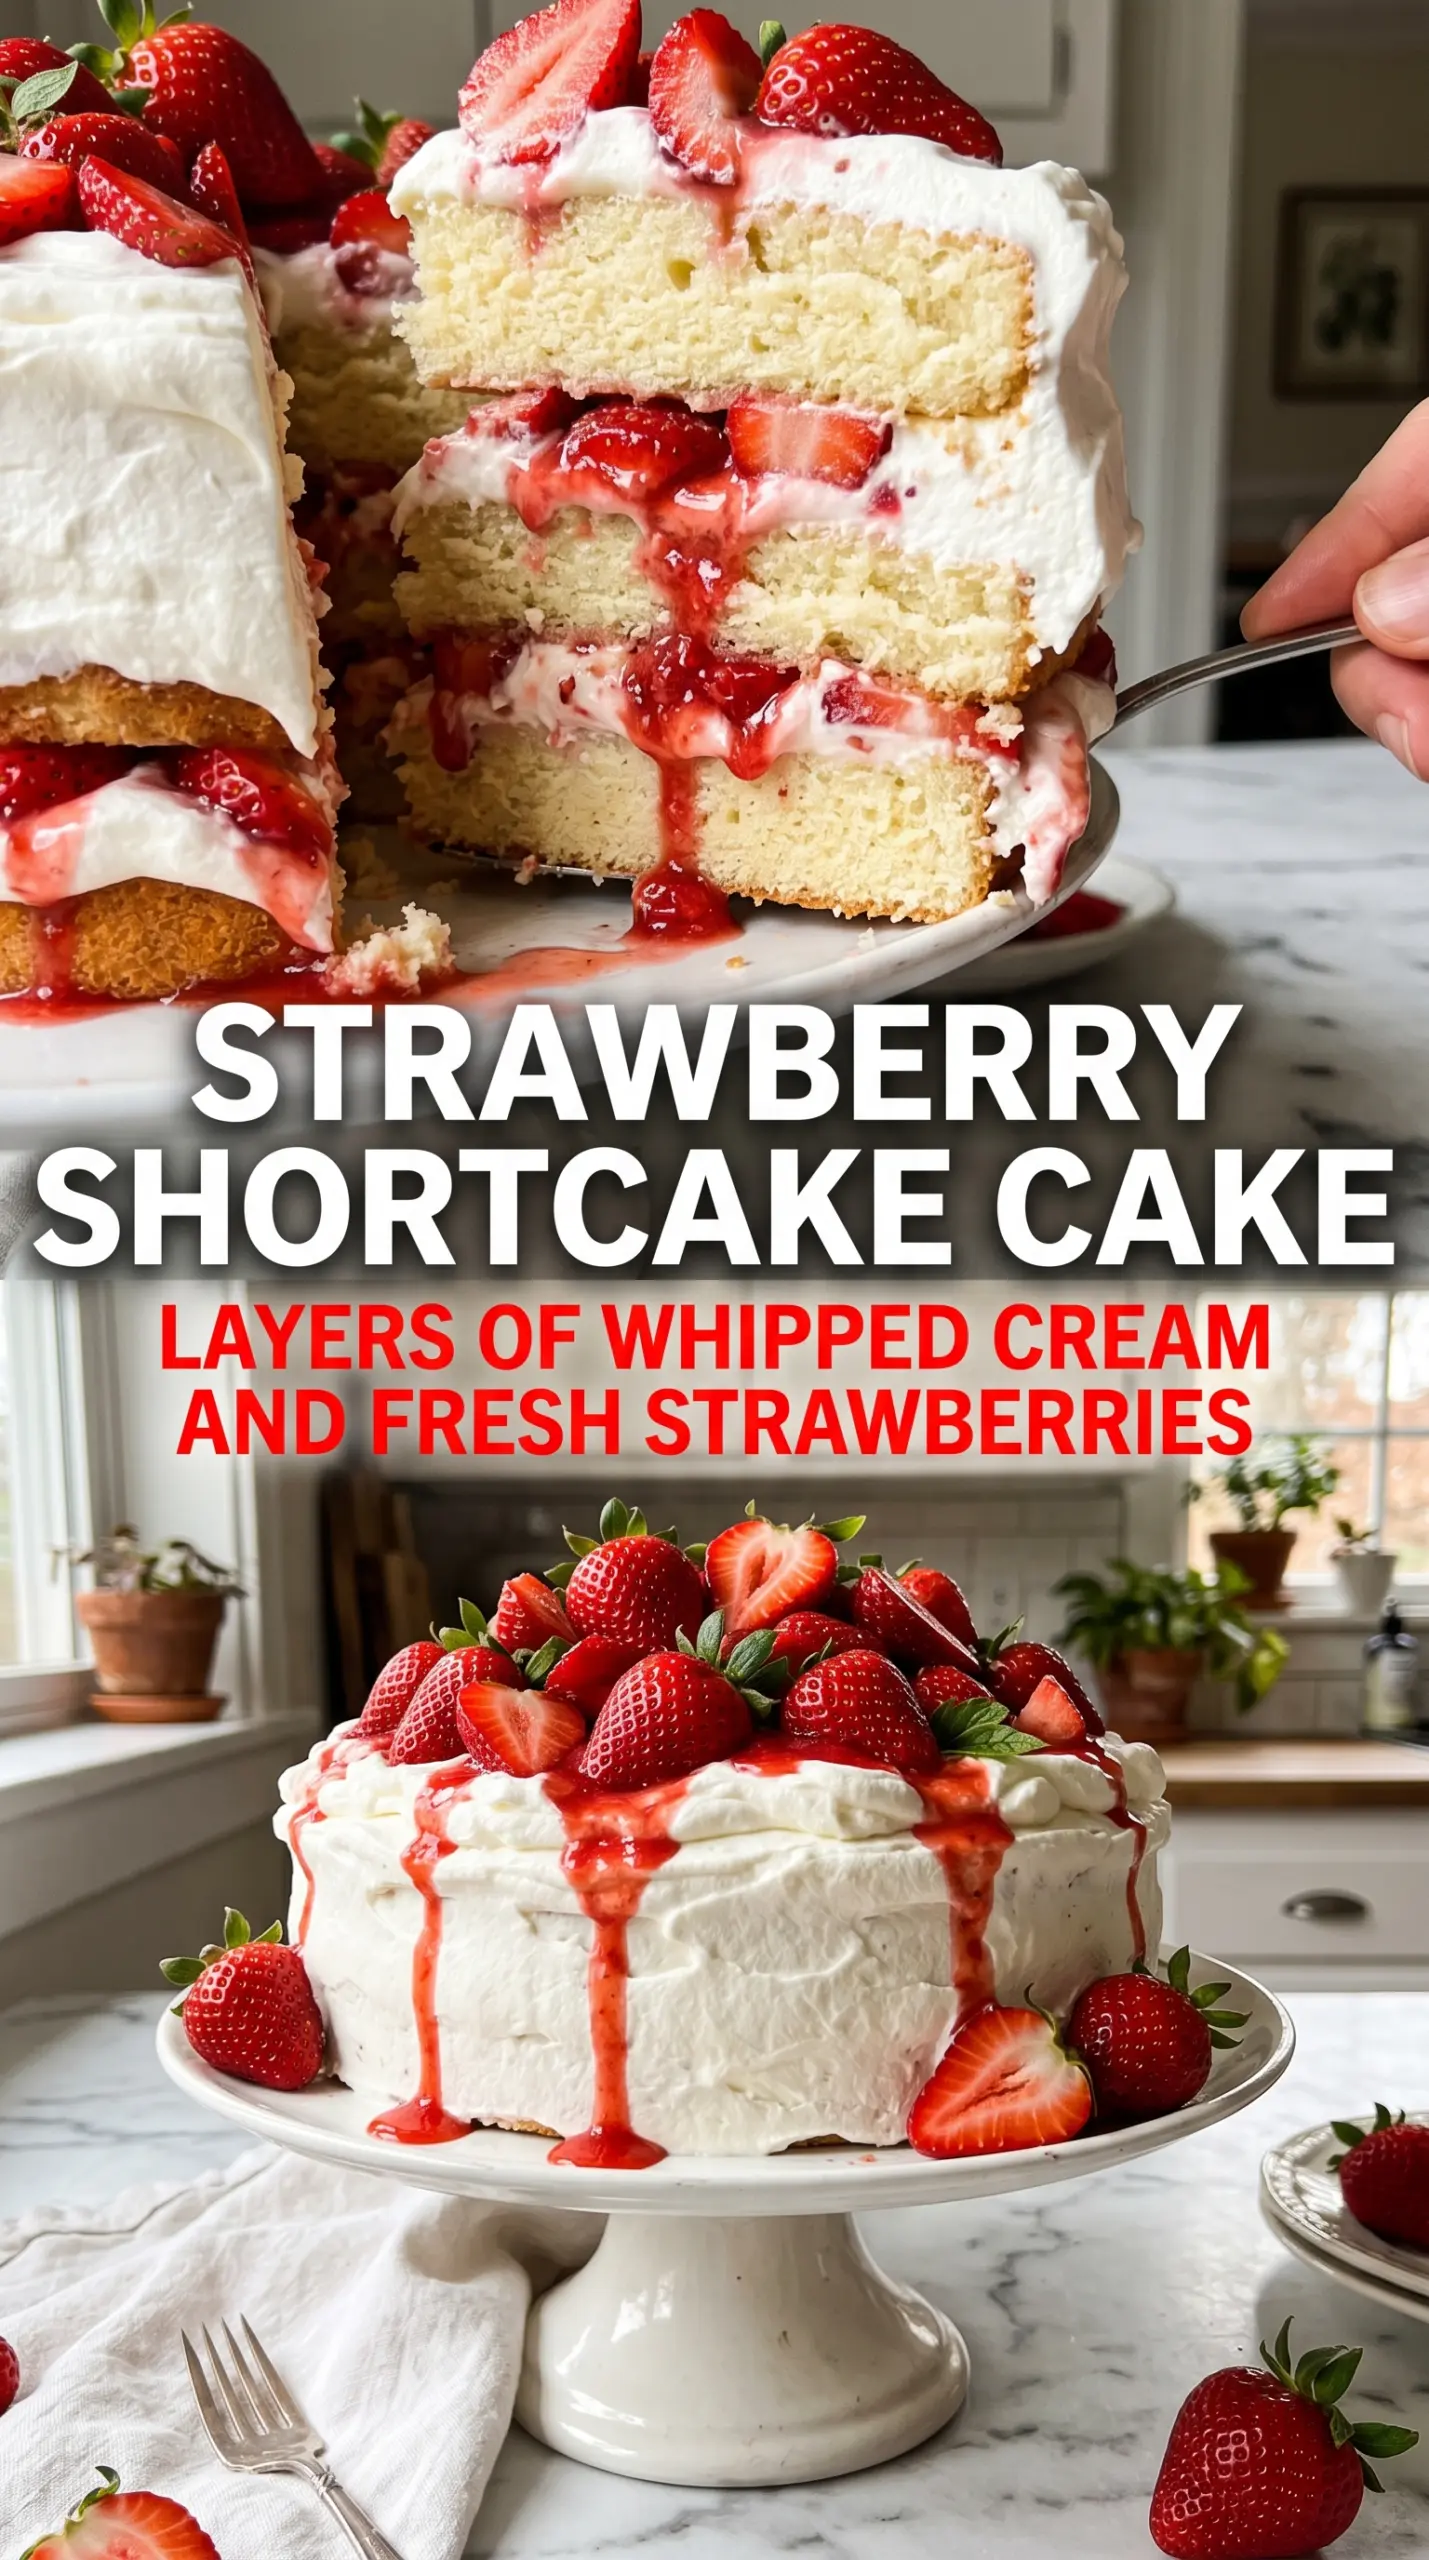
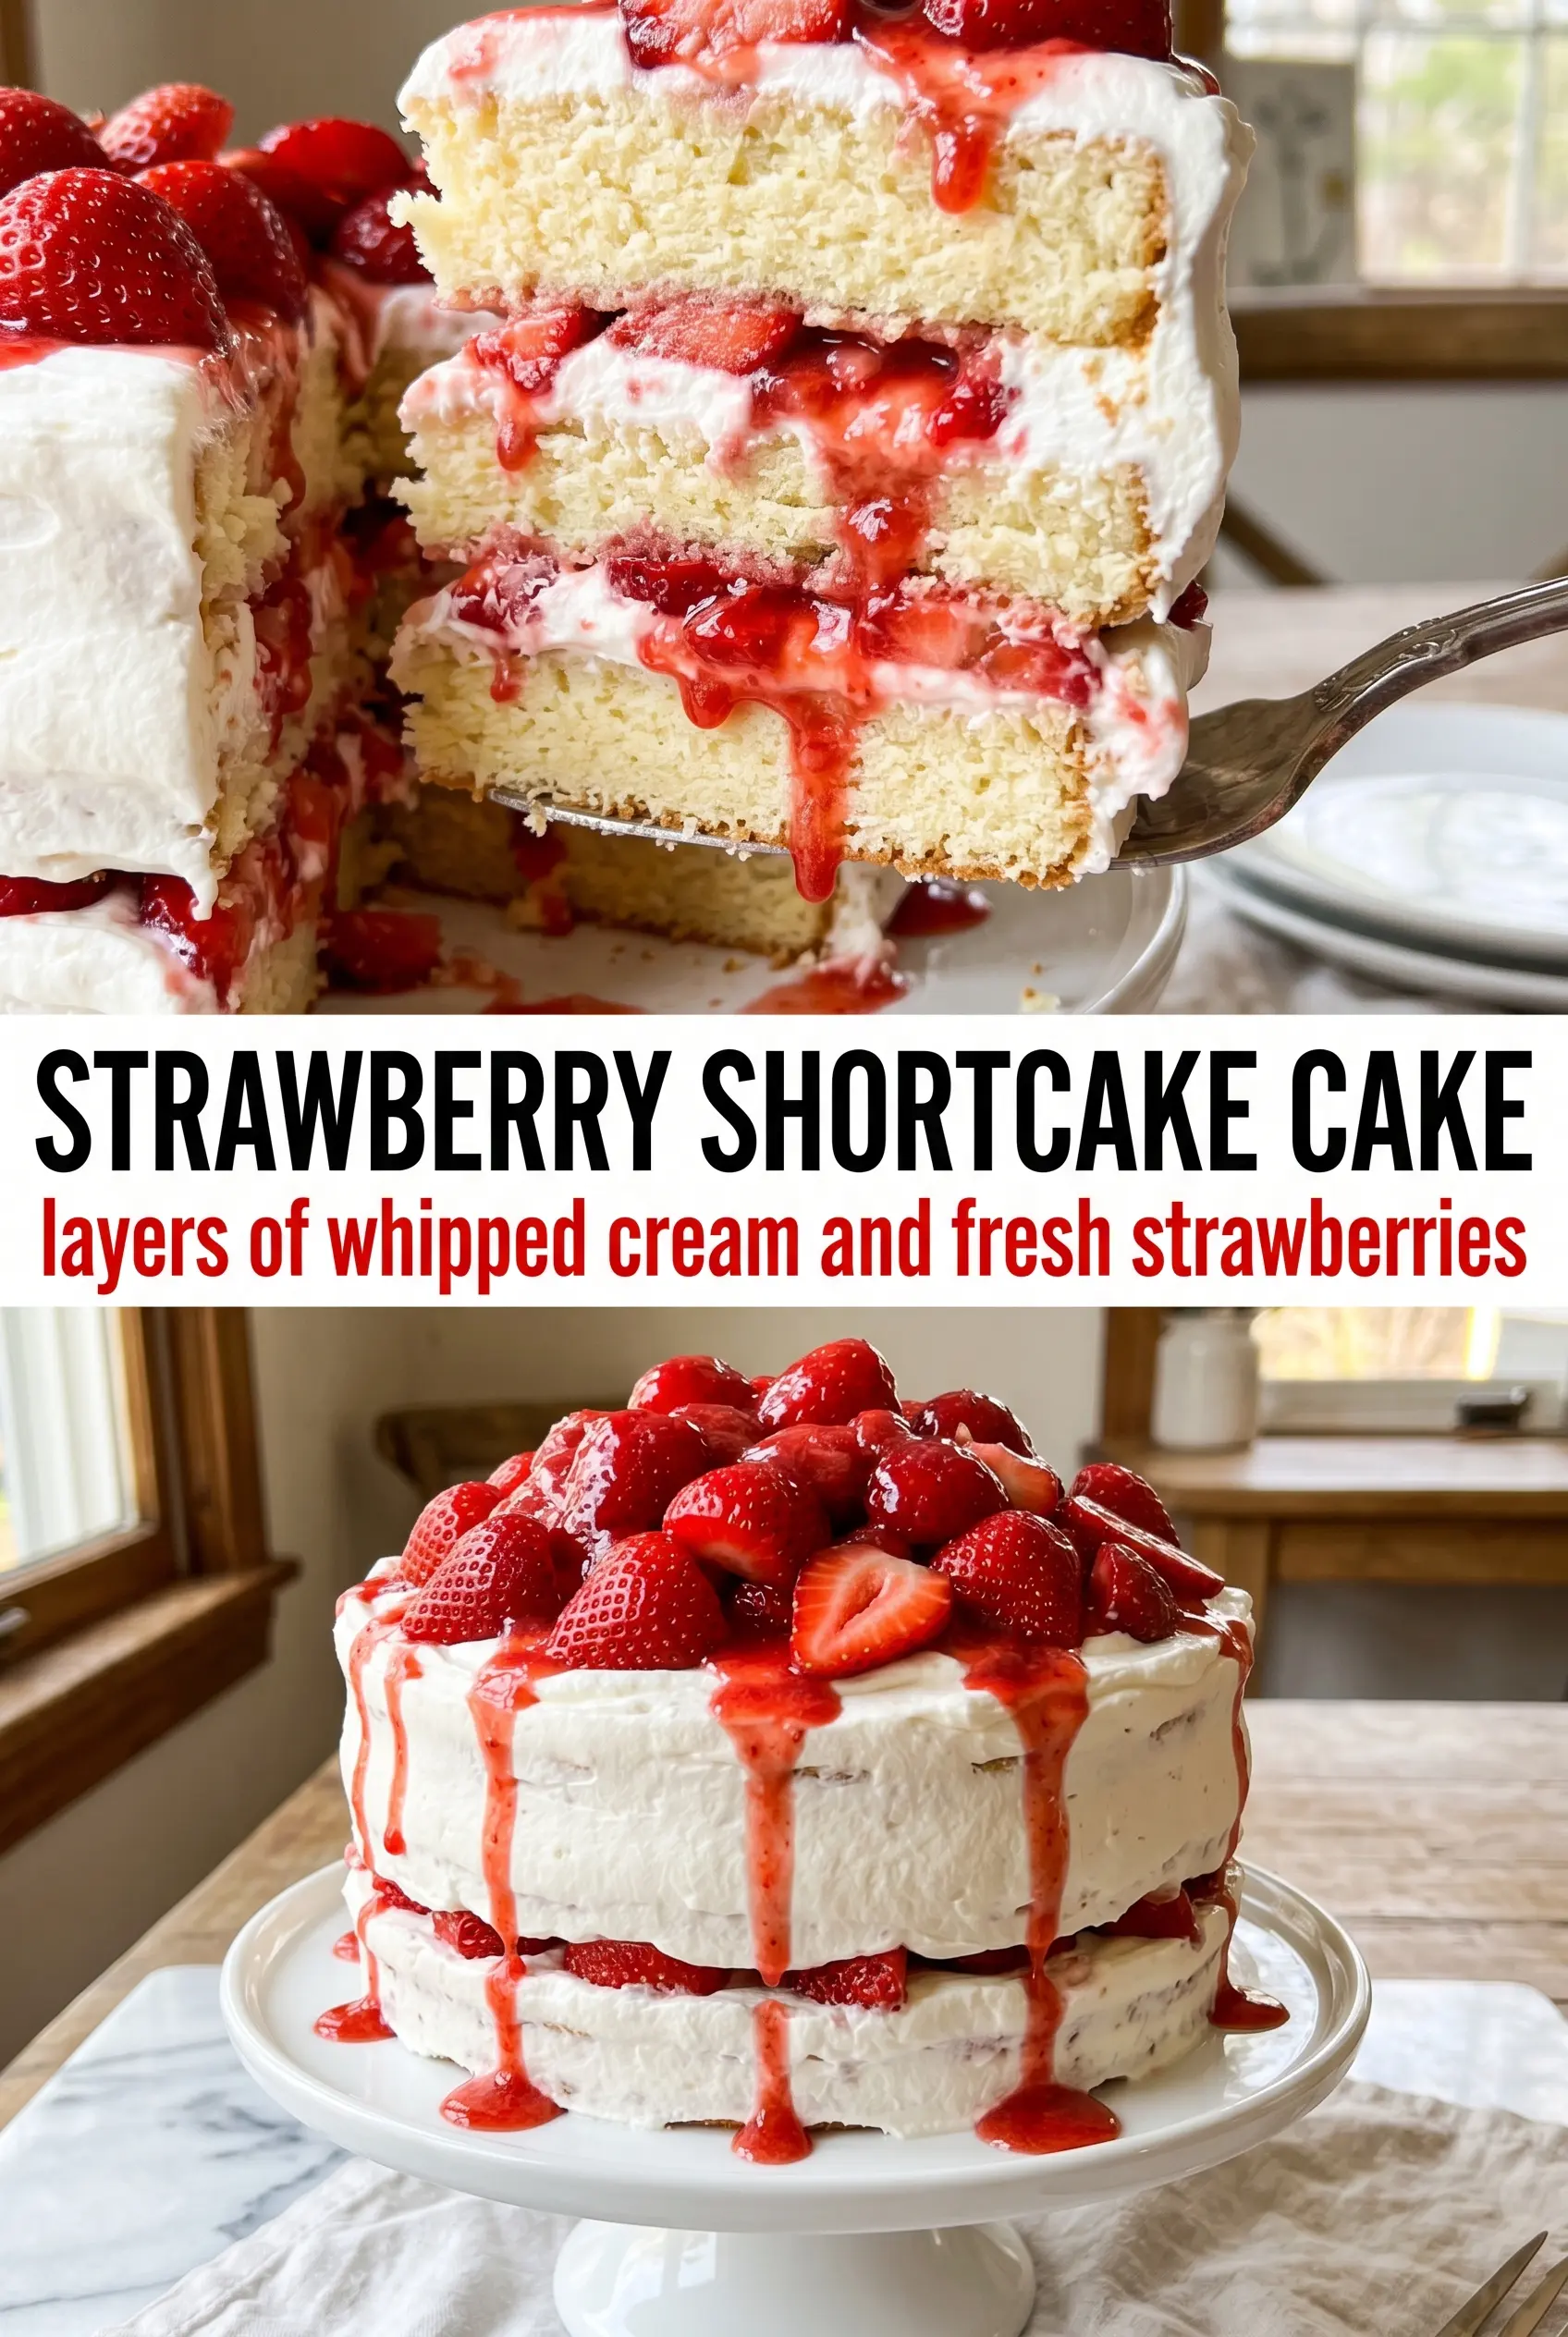
Fluffy cake, billowy whipped cream, and juicy strawberries make this strawberry shortcake cake the kind of dessert that disappears fast and gets remembered even faster. The layers stay soft enough to cut cleanly but sturdy enough to hold cream and berries without collapsing into a puddle on the plate. It tastes like the best part of a bakery shortcake, only in a sliceable layer cake form that looks as good as it eats.
The trick is keeping the cake tender while giving it enough structure to support all that filling. Creaming the butter and sugar until pale and fluffy gives the crumb lift, and alternating the dry ingredients with the milk keeps the batter smooth instead of dense. The strawberries also need their 30 minutes with sugar; that short rest pulls out just enough juice to make them glossy and sweet without turning the whole cake watery.
Below you’ll find the little details that matter: how to keep the whipped cream stable, why the berries should be sliced before they macerate, and what to do if you want to make the cake a little earlier in the day.
The cake baked up soft but still held its shape when I layered it, and the strawberries made just enough juice to soak into the cream without making everything soggy. My sister asked for the recipe before dessert was even finished.
Save this Strawberry Shortcake Cake for the dessert table when you want soft vanilla layers, fresh berries, and cloudlike whipped cream in one slice.
The One Thing That Keeps This Cake Light Instead of Heavy
The difference between a tender strawberry shortcake cake and one that eats like plain layer cake comes down to how the batter is handled. Once the butter and sugar have been creamed, the rest of the ingredients should go in just until combined. Overmixing after the flour hits the bowl develops too much gluten, and that’s what gives you a tight crumb instead of the soft, springy texture this cake needs.
The strawberries also matter here because they bring moisture, but not into the batter. Letting them macerate separately gives you sweet berries and a little syrup for the filling without weighing down the cake layers before they’ve even been assembled. If the berries sit too long, they can get mushy, so 30 minutes is the sweet spot.
What Each Layer Is Doing in the Finished Cake
- All-purpose flour — This gives the cake enough structure to stack cleanly, but it still bakes up soft. Cake flour will make it a touch more delicate if you have it, but all-purpose is the reliable choice and works beautifully here.
- Butter — Softened butter traps air when it’s creamed with sugar, which is where the lift starts. Cold butter won’t incorporate properly, and melted butter will give you a denser cake.
- Whole milk — The fat in whole milk keeps the crumb richer and more tender than low-fat milk. If that’s what you have, 2% will work, but the cake won’t be quite as plush.
- Fresh strawberries — Use ripe berries that smell sweet and have some color all the way through. Frozen strawberries turn too soft and watery for layering, so save those for sauce, not this cake.
- Heavy cream — This is what gives the filling its cloudlike body. Don’t swap in whipped topping if you want the same clean, rich finish; heavy cream whips up with better texture and a cleaner dairy flavor.
Building the Layers Without Squeezing Out the Filling
Mix the Batter Just Enough
Start by creaming the butter and sugar until the mixture looks pale and fluffy, which usually takes 2 to 3 minutes. That step builds the air that helps the cake rise. Once you begin adding the flour and milk, alternate them in small additions and stop mixing as soon as the batter looks smooth. If you keep beating after that point, the cake can turn tough instead of tender.
Bake Until the Center Springs Back
Divide the batter evenly between the pans so the layers bake at the same pace. The cakes are done when a toothpick comes out clean and the center springs back lightly when touched. If the tops dome a little, that’s fine; a flat layer is nice, but a little rise means the crumb stayed light. Let them cool completely before you even think about assembling, because warm cake will melt the cream.
Whip the Cream to Firm Peaks
Beat the heavy cream with powdered sugar until the cream holds stiff peaks that stand up straight when you lift the beater. Stop there. If you whip past that point, the cream starts to look grainy and can go toward butter. A chilled bowl helps, especially if your kitchen runs warm, and it makes the cream easier to stabilize.
Layer, Fill, and Finish
Set the first cake layer on your serving plate and spread on half the whipped cream. Spoon the strawberries over the cream and let a little of their syrup drip in naturally. Add the second layer, then finish with the remaining cream and berries. Pressing down on the top layer will squeeze the filling out the sides, so use a light hand and let the cake settle on its own.
How to Adapt This Cake for Different Needs
Make-Ahead Layer Cake for a Party
Bake the cake layers a day ahead, wrap them well, and store them at room temperature. Macerate the strawberries and whip the cream closer to serving time so the filling stays fresh and the berries don’t soften too much. Assemble within a few hours of serving for the cleanest slices.
Dairy-Free Version
Use a plant-based butter stick and an unsweetened non-dairy milk in the cake, then replace the whipped cream with a coconut whipping cream that’s designed to hold peaks. The cake will still slice well, but the filling will have a faint coconut note, which actually plays nicely with the strawberries.
Gluten-Free Swap
A 1:1 gluten-free baking flour blend can work here if it includes xanthan gum. The crumb may be a little more delicate, so cool the layers completely before moving them and don’t overfill the cake. That extra care keeps the slices intact.
Less Sweet Berry Filling
Cut the sugar on the strawberries back a little if your berries are already very ripe. You’ll get a fresher, brighter filling with less syrup, which keeps the cake lighter on the plate. Don’t skip the rest time entirely; even a small amount of sugar helps draw out enough juice for the layers to taste cohesive.
Storage and Reheating
- Refrigerator: Store covered for up to 3 days. The whipped cream will soften the cake a little over time, but the flavor stays good.
- Freezer: The unfrosted cake layers freeze well for up to 2 months. Wrap them tightly and thaw at room temperature before assembling; the fully assembled cake doesn’t freeze well because the cream and berries lose their texture.
- Reheating: This cake isn’t a reheated dessert. Serve it cold or at cool room temperature, which keeps the cream stable and the berries fresh.
Answers to the Questions Worth Asking
Strawberry Shortcake Cake
Ingredients
Equipment
Method
- Preheat oven to 350°F and grease two 8-inch round cake pans.
- Whisk together all-purpose flour, baking powder, and salt.
- Cream softened unsalted butter and granulated sugar together until light and fluffy, about 2-3 minutes.
- Beat in large eggs one at a time, scraping the bowl as needed.
- Alternate adding the flour mixture and whole milk to the batter, beginning and ending with the flour for a smooth texture.
- Stir in vanilla extract until fully combined.
- Divide batter evenly between prepared pans and bake for 25-30 minutes until a toothpick comes out clean (no wet crumbs).
- Allow cakes to cool completely, until the tops are no longer warm to the touch.
- Combine sliced fresh strawberries with 1/4 cup granulated sugar and let macerate for 30 minutes, until syrupy juices form.
- Beat heavy cream with powdered sugar until stiff peaks form, where the mixture holds ridges when lifted.
- Place one cake layer on a serving plate and spread half of the whipped cream over it.
- Arrange half of the strawberries over the cream, distributing them to the edges.
- Place the second cake layer on top and frost with the remaining whipped cream.
- Top with the remaining strawberries and garnish with additional strawberries before serving.