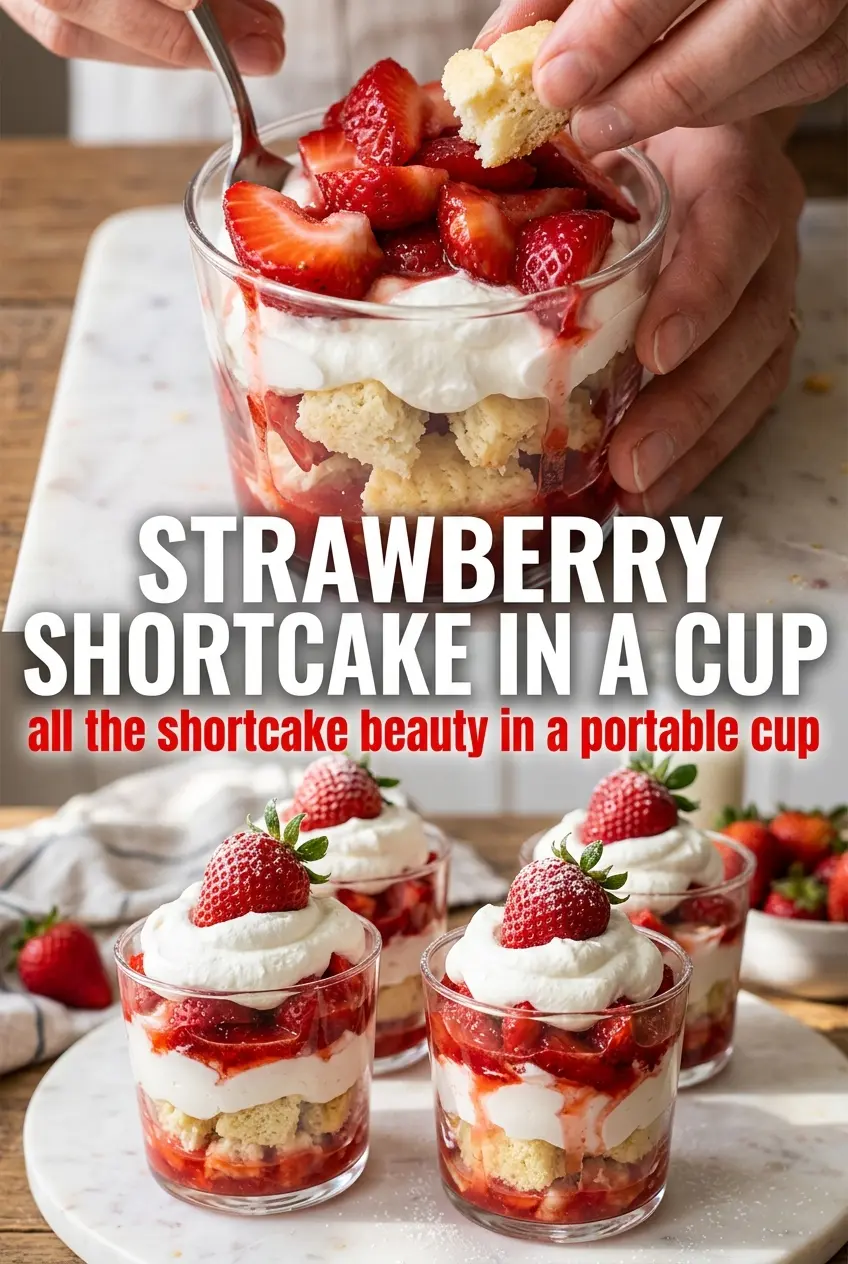
Strawberry shortcake in a cup delivers all the best parts of the classic dessert without any of the fuss of slicing a full cake at the table. You get soft cubes of pound cake, juicy strawberries that seep into every layer, and whipped cream that keeps each bite light instead of heavy. The clear cup does the work the plate usually can’t: every layer stays distinct until the last spoonful.
What makes this version worth making is the balance. The strawberries sit with sugar just long enough to pull out their juices, which turns them into a spoonable syrup instead of a dry fruit layer. The whipped cream is sweetened lightly and whipped to stiff peaks so it holds between layers without collapsing into the berries. A short chill in the fridge gives the cake time to soak up a little juice while still keeping some structure.
Below, you’ll find a few small details that make a big difference, including how to keep the layers tidy, what to swap if you don’t have pound cake, and how long these cups can sit before serving.
The strawberries made their own syrup after 15 minutes, and that juice soaked into the cake just enough without turning everything soggy. I also liked that the whipped cream held its shape all the way through dessert.
Save these strawberry shortcake cups for the days when you want a make-ahead dessert with clean layers and fresh berry flavor.
The Part That Keeps the Cups from Going Soggy
The biggest mistake with layered strawberry shortcake is building it too far ahead without thinking about moisture. Strawberries start releasing juice as soon as sugar hits them, and that’s exactly what you want here, but the timing matters. Give them the full 15 minutes so the syrup develops, then build the cups and chill them only after everything is layered. If you refrigerate the berries too long before assembling, they’ll soften past the point of control and the cake will start to collapse.
The other thing that matters is the order. Cake goes in first so it can catch some juice, whipped cream next to form a barrier, then strawberries and their syrup. That keeps the cake from getting drenched in one spot while still letting it absorb enough to taste like strawberry shortcake instead of plain pound cake with fruit on top.
What Each Layer Is Doing in These Strawberry Shortcake Cups
The ingredients here each have a job, and the dessert falls apart if one of them tries to do another layer’s work. Store-bought pound cake gives you a sturdy, buttery base that holds up under juicy fruit better than a very tender homemade sponge would. A good bakery pound cake works just as well if you want a slightly richer texture, but avoid anything too airy or it turns mushy fast.
- Strawberries — Fresh berries matter here because you need both texture and juice. Frozen strawberries turn soft and watery once they thaw, which makes the cups sloshy instead of layered.
- Sugar — This draws out the berry juices and turns the fruit into a glossy syrup. You don’t need a lot, just enough to help the strawberries macerate without tasting jammy.
- Heavy whipping cream — This is what gives the dessert its light, cloudlike finish. Lower-fat cream won’t whip as firmly, and the cups won’t hold their shape as well after chilling.
- Powdered sugar and vanilla — Powdered sugar dissolves into the cream without graininess, and vanilla rounds out the dairy flavor. Granulated sugar can work in a pinch, but it takes longer to dissolve and can leave the whipped cream slightly gritty.
Building the Layers So They Hold Up
Maceraing the Strawberries
Start with sliced strawberries and sugar, then let them sit until the bowl looks glossy and the fruit has shrunk slightly. You want visible juice at the bottom, not a mound of dry slices. If the berries are bland, a tiny pinch more sugar helps, but don’t rush this stage because the juice is what flavors the cake layers below.
Whipping the Cream to the Right Peak
Whip the cream with powdered sugar and vanilla until stiff peaks form and the whisk leaves clear trails. Stop before it turns grainy or buttery. If the cream is underwhipped, it will slump between layers; if it’s overwhipped, it’ll look lumpy and lose that smooth finish when you spoon it into the cups.
Assembling the Cups Cleanly
Use clear cups so you can see the layers and work from the bottom up with small spoonfuls. Add cake first, then cream, then strawberries and some of their syrup, repeating until the cups are full. Pressing too hard on the cake will pack it down and make the texture dense, so keep the layers loose and let gravity do the work.
Chilling Before Serving
A 30-minute rest in the fridge helps the flavors settle and gives the cake just enough time to absorb the berry juice. Longer than that and the top starts to soften, especially if the cups are small. Garnish right before serving so the whipped cream stays neat and the mint looks fresh.
How to Adapt These Cups Without Losing the Texture
Gluten-Free Strawberry Shortcake Cups
Swap in a gluten-free pound cake or gluten-free vanilla cake with a tight crumb. The key is choosing something sturdy enough to absorb berry juice without disintegrating, because delicate gluten-free cakes can get crumbly once the syrup hits them.
Dairy-Free Version
Use a dairy-free pound cake and a coconut whipping cream or other plant-based whipping topping that holds peaks. The flavor shifts a little more tropical, especially with coconut-based cream, but the layers still work if the topping is whipped cold and used right away.
Extra Strawberry Syrup
If you want a juicier dessert, lightly mash a handful of the strawberries after they macerate. That gives you more syrup to soak into the cake, but it also softens the layers faster, so serve these soon after chilling.
Storage and Reheating
- Refrigerator: Store assembled cups for up to 24 hours. After that, the cake softens and the whipped cream loses its clean edges.
- Freezer: These don’t freeze well once assembled because the strawberries turn watery and the cream loses its texture. Freeze the cake cubes separately only if you’re planning ahead.
- Reheating: No reheating needed. Serve straight from the fridge, and if the cups sit out too long, the cream loosens before the dessert tastes its best.
Answers to the Questions Worth Asking
Strawberry Shortcake in a Cup
Ingredients
Method
- Toss the sliced fresh strawberries with the sugar in a bowl, then let them sit for 15 minutes to release juices.
- Whip the heavy whipping cream with the powdered sugar and vanilla extract until stiff peaks form, about 3–5 minutes, turning the bowl as you whip.
- Add a layer of cubed shortcake to four clear cups (one cup at a time), ensuring visible golden pieces at the bottom.
- Spoon whipped cream over the shortcake layer until it covers the cake, creating a thick, fluffy layer you can see through the glass.
- Top with strawberries and their juice, distributing berries evenly so each cup has bright red pieces and glossy syrup.
- Repeat the layers—shortcake, whipped cream, then strawberries—ending with a dollop of whipped cream and a whole strawberry on top for a clear, side-view stack.
- Garnish each cup with fresh mint leaves if desired, placing them on top near the whipped cream swirl.
- Refrigerate the cups for 30 minutes to set the layers, then serve chilled for distinct strata in each glass.