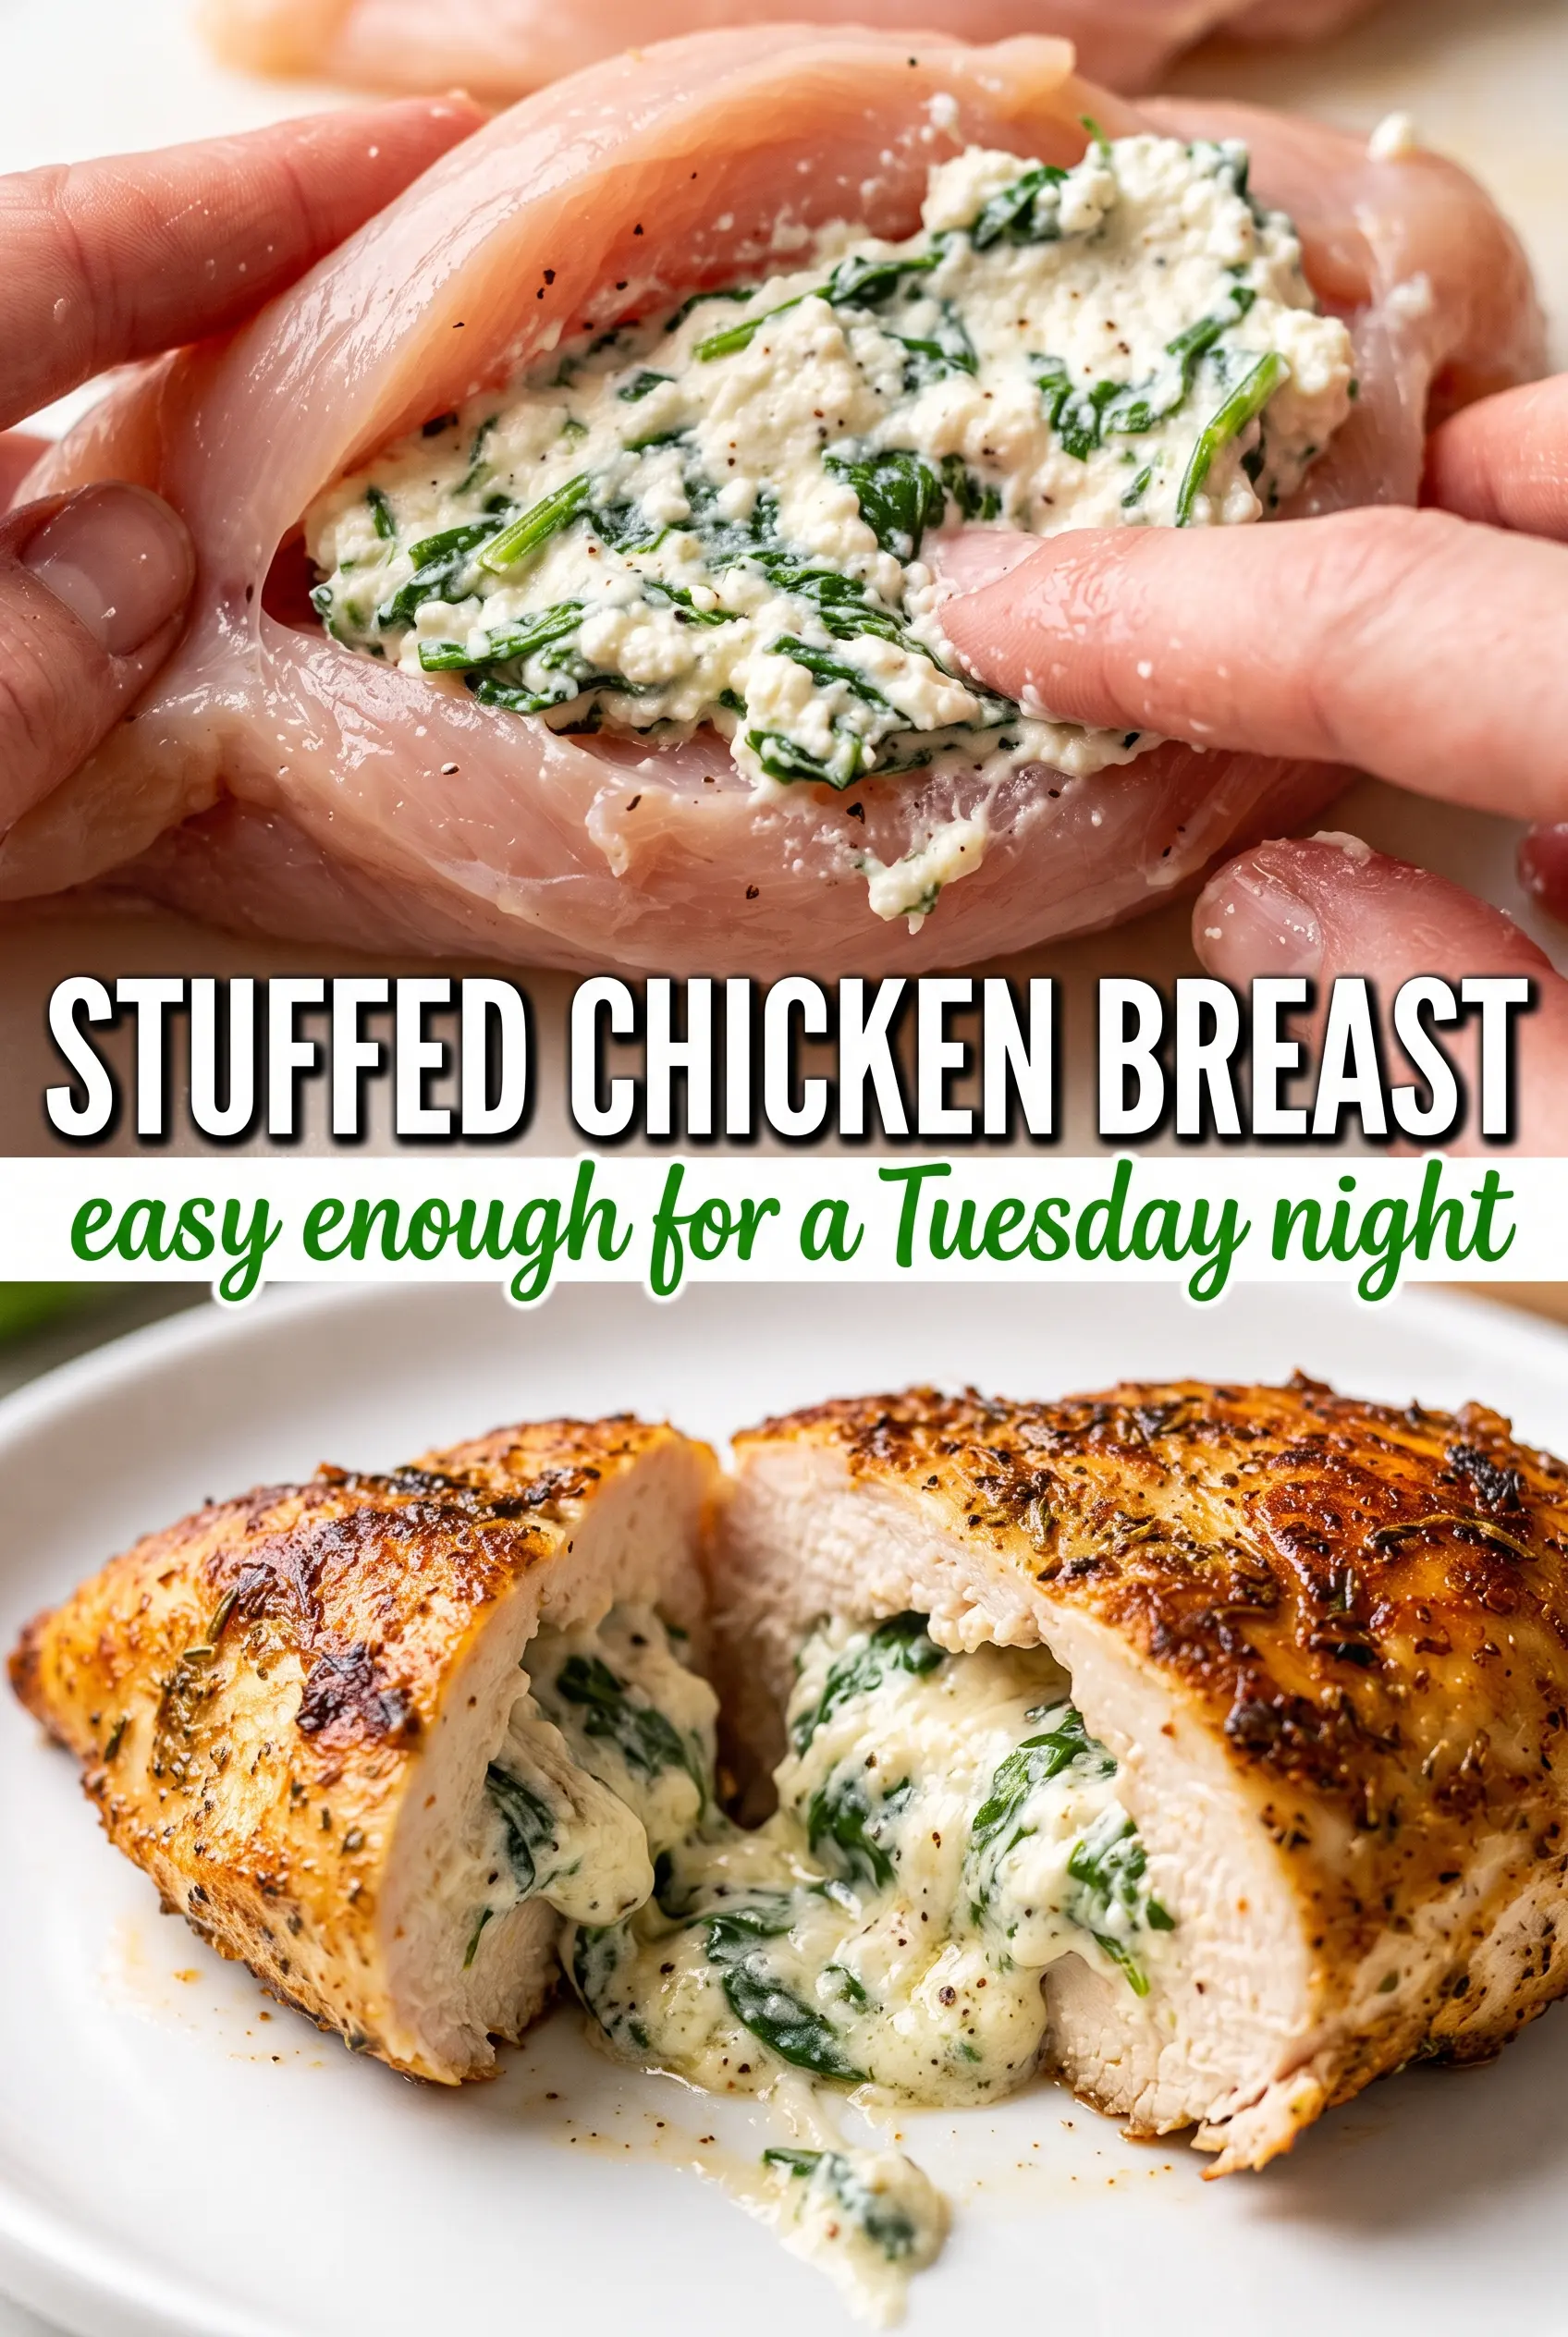
Stuffed chicken breast lands on the plate looking far more complicated than it is, with a golden crust outside and a molten center of spinach, cream cheese, mozzarella, and sun-dried tomatoes inside. The payoff is in that first slice: juicy chicken, a filling that stays creamy instead of leaking out, and just enough garlic and herbs to keep every bite from tasting flat.
What makes this version work is the sequence. The filling is mixed first so it can hold together before it goes anywhere near the chicken, then the breasts are seared before baking so the outside gets color without overcooking the meat. Sun-dried tomatoes bring a little tang and sweetness, which matters because cream cheese and mozzarella can turn heavy if nothing bright cuts through them.
The notes below cover the pocket-cutting trick that keeps the filling inside, why the sear matters, and a few swaps that still keep the chicken juicy. If stuffed chicken has ever come out dry or split open in the oven, this is the part worth reading.
The filling stayed in place and the chicken came out juicy all the way through. I was worried the spinach would make it watery, but it baked up creamy and held together beautifully.
Save this stuffed chicken breast for a creamy, seared dinner that slices cleanly and keeps the filling inside.
The Pocket Cut That Keeps the Filling Where It Belongs
The most common failure with stuffed chicken is cutting too deep or not deep enough. Too shallow and there’s nowhere for the filling to go; too deep and the breast splits open while it cooks. The sweet spot is a long horizontal pocket that stops short of the far edge so the chicken still acts like a sealed envelope.
Pat the chicken dry before seasoning. Moisture on the outside keeps the seasoning from sticking and makes it harder to get a proper sear. And don’t cram the filling in until the breast bulges hard on all sides — a modest amount closes more cleanly and stays put better in the oven.
- Chicken breasts — Choose breasts that are similar in size so they finish at the same time. If one is much thicker, pound the thick end lightly before cutting the pocket.
- Olive oil — This is for color, not just lubrication. A hot sear in oil gives the chicken a crust that helps hold in the filling.
- Toothpicks — Don’t skip them. They keep the pocket closed long enough for the cheese to set in the oven, which is what prevents the filling from spilling out when you slice.
What the Filling Is Doing Inside the Chicken

The filling isn’t just there for richness. Cream cheese gives the center structure, mozzarella adds stretch and melt, spinach brings body without much water if it’s chopped small, and sun-dried tomatoes keep the flavor from turning bland and one-note. If you skip the tomatoes, the filling still works, but it tastes softer and less defined.
Use softened cream cheese, not cold blocks cut into chunks. Cold cream cheese stays lumpy and makes stuffing the chicken awkward. The spinach should be finely chopped so it distributes through the filling instead of turning into long strands that slip out when you cut the breast open.
- Cream cheese — This is the base that holds everything together. Neufchâtel works if you want a lighter filling, but the texture will be a touch looser.
- Mozzarella — Shredded mozzarella melts smoothly and gives that molten pull when you slice. Pre-shredded is fine here.
- Sun-dried tomatoes — These bring a concentrated sweet-tart note that balances the dairy. Oil-packed tomatoes work well; just blot off excess oil before chopping.
- Garlic and Italian seasoning — These season the filling from the inside, where the chicken doesn’t pick up quite as much flavor from the exterior rub.
Getting the Sear and Bake in the Right Order
Building the Crust First
Heat the skillet until the oil shimmers before the chicken goes in. If the pan is only warm, the breast will sit there and steam instead of browning. Three to four minutes per side is enough to color the outside; you’re not trying to cook the chicken through on the stovetop. If it sticks hard when you try to turn it, give it another minute. A properly seared breast releases more easily.
Finishing in the Oven
Move the skillet straight into the oven once both sides are golden. The oven finishes the center gently, which matters because high stovetop heat can push the filling out before the chicken cooks through. Pull the chicken when the thickest part hits 165°F. If the filling starts bubbling out, that’s not a problem on its own; it’s a sign the cheese has melted and the pocket is close to done.
Resting Before the First Slice
Let the stuffed chicken rest for five minutes before cutting. That short pause keeps the juices from running all over the plate and gives the filling a chance to settle slightly. If you slice too soon, the cheese can pour out before the chicken has time to hold its shape. Remove the toothpicks before serving so nobody bites into one.
Spinach and Feta Version
Swap the mozzarella for feta and keep the spinach, garlic, and cream cheese. The filling gets tangier and a little saltier, with less stretch and more crumble, which is great if you want a sharper contrast against the chicken.
Dairy-Free Stuffed Chicken
Use a dairy-free cream cheese and a meltable plant-based mozzarella. The texture is a little softer and the center won’t be as stretchy, but the pocket still slices cleanly if you let it rest before serving.
Low-Carb and Keto-Friendly
This recipe already fits a low-carb pattern as written. Keep the filling as-is and serve it with roasted vegetables or a simple salad so the dish stays rich without needing starch on the side.
Make It Ahead for a Faster Dinner
You can stuff and secure the chicken earlier in the day, then cover and refrigerate it until dinner. Let it sit out for about 15 minutes before searing so the center isn’t ice-cold, which helps the chicken cook more evenly.
Storage and Reheating
- Refrigerator: Store leftovers in an airtight container for up to 3 days. The filling stays creamy, but the chicken is best before it dries out.
- Freezer: It freezes, but the texture of the cream cheese filling softens a bit after thawing. Wrap tightly and freeze for up to 2 months.
- Reheating: Reheat covered in a 325°F oven until warmed through. The microwave works in a pinch, but it tends to make the chicken rubbery and can cause the filling to separate.
Questions I Get Asked About This Recipe
Stuffed Chicken Breast
Ingredients
Equipment
Method
- Preheat the oven to 400°F. In a bowl, beat together cream cheese, fresh baby spinach, shredded mozzarella cheese, sun-dried tomatoes, garlic cloves, Italian seasoning, salt, and pepper until well combined and spreadable.
- Cut a deep horizontal pocket in each boneless skinless chicken breasts, keeping the sides intact. Season inside and out generously with salt, pepper, garlic powder, Italian seasoning, and smoked paprika.
- Spoon the filling into each chicken pocket and secure with toothpicks. Press gently so the filling sits evenly in the center.
- Heat olive oil in an oven-safe skillet over medium-high heat and sear the stuffed chicken for 3-4 minutes per side until golden. Keep the heat high enough to brown the exterior without burning the spices.
- Transfer the skillet to the oven and bake for 18-22 minutes, until the internal temperature reaches 165°F. The chicken should look cooked through with the filling steaming hot at the center.
- Remove the toothpicks and rest the chicken for 5 minutes. Let juices settle so the filling stays molten when you slice.
- Slice and serve immediately. You should see a molten spinach, cream cheese, and mozzarella filling oozing from the center with a caramelized, herb-crusted exterior.