Texas Roadhouse rolls have a very specific kind of pull: soft, pillowy centers, a light sweetness, and a buttery top that melts the second you brush it on. The best ones don’t just taste rich; they tear apart in clean little layers and stay tender instead of turning bready or dry after a few minutes on the table.
What makes this version work is the balance of yeast, sugar, and fat. The dough needs enough sugar to feed the yeast and give the rolls their signature flavor, but not so much that it turns heavy. Warm milk gives the crumb a softer, more tender finish than water alone, and the two rises matter here. If you rush either one, you’ll still get rolls, but they won’t have that airy, squishy texture people go back for.
Below, I’m walking through the small details that matter most: how soft the dough should feel, why the second rise changes everything, and how to get that whipped honey butter light enough to spread without tearing the rolls.
The rolls came out unbelievably soft, and the honey cinnamon butter was whipped enough that it melted right into the warm centers without tearing them apart. I baked mine for 13 minutes and the tops were perfectly golden.
Save these Texas Roadhouse rolls for the nights when you want soft, buttery dinner rolls with that whipped honey cinnamon butter on the side.
The Dough Can’t Stay Tight If You Want That Cloud-Like Center
This style of roll lives or dies by the dough texture. If it feels stiff after kneading, the rolls bake up closer to sandwich bread than the soft pull-apart version people expect. The dough should be smooth, elastic, and just a little tacky, which means it stretches instead of fighting back when you shape it.
The other place people go wrong is during the second rise. That last rest is what gives the rolls their height and that airy bite. If you bake them before they look puffy, the crumb turns dense and the tops crack instead of turning glossy and light.
- Warm milk — This gives the dough a softer crumb than cold milk or water. It should be warm to the touch, not hot, or it can slow the yeast instead of waking it up.
- Butter — Melted butter in the dough adds tenderness, while the brushed butter at the end gives the rolls their signature finish. Use real butter here; the flavor is a big part of the final result.
- Flour — All-purpose flour is the right choice because it keeps the rolls soft. Too much flour makes the dough dry and the baked rolls less pillowy, so stop adding it as soon as the dough clears the bowl and feels smooth.
- Yeast — Active dry yeast needs that first foamy rest to prove it’s alive. If the mixture stays flat, the rolls won’t rise properly, no matter how long you wait.
What Each Ingredient Is Actually Doing in These Rolls
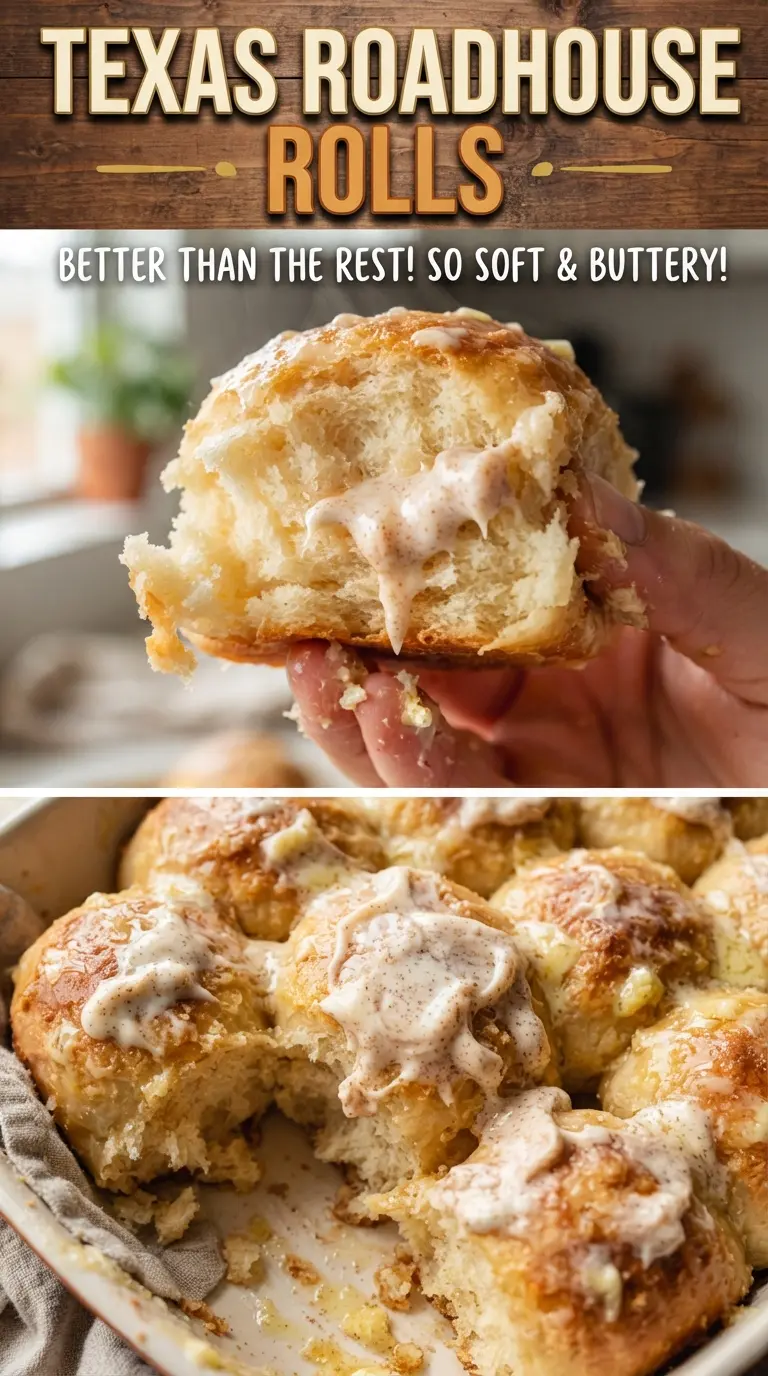
The milk and water work together here, but the milk carries most of the tenderness. Water is fine for activating the yeast, yet milk adds richness and helps the crumb stay soft after baking. If you only have 2% or whole milk, use it; lower-fat milk still works, just with a little less richness.
Sugar does more than sweeten the rolls. It gives the yeast something to feed on and helps the tops brown in the oven. The honey in the butter spread is a separate job: it softens the flavor and makes the topping glossy and easy to whip.
- Egg — This adds structure and a little extra richness, which helps the rolls rise tall without feeling dry.
- Softened butter for the topping — It needs to be properly soft, not melted, so the honey cinnamon butter whips light and fluffy instead of greasy.
- Powdered sugar — This dissolves smoothly into the butter spread, keeping the topping silky instead of gritty.
- Cinnamon — A small amount is enough. Too much takes the spread away from the classic flavor and makes it taste like frosting.
Shaping and Baking These Rolls Without Flattening the Rise
Proving the Yeast First
Stir the warm milk, water, yeast, and a spoonful of sugar together and let it sit until foamy. That foam tells you the yeast is active and ready. If the mixture stays flat after five minutes, start over with fresh yeast and check that your liquid wasn’t too hot.
Kneading to a Smooth, Soft Dough
Add the remaining ingredients and knead until the dough turns smooth and elastic, about eight minutes. It should pull away from the bowl but still feel soft to the touch. If it starts tearing or feels dry, the flour has gone too far; a dry dough makes tougher rolls.
Letting the Dough Rise All the Way
Cover the bowl and let the dough rise until doubled in size. You’re looking for a light, puffy look and a dough that springs back slowly when pressed. If your kitchen is cool, set the bowl in a turned-off oven with the light on to give it a steady place to rise.
Cutting Clean Squares and Baking Hot Enough
Roll the dough into a rectangle, fold it in half, then cut clean two-inch squares. That fold gives the rolls a more tender, layered feel than simple round shaping. After the second rise, bake just until the tops are golden; overbaking dries out the centers fast.
Honey Butter Without the Grainy Texture
Beat the softened butter, powdered sugar, honey, and cinnamon until it turns pale and fluffy. If the butter is too cold, the spread stays lumpy; if it’s melted, it turns greasy and won’t hold air. Soft butter gives you that whipped, spreadable finish that melts into the warm rolls instead of sitting on top.
Dairy-Free Rolls
Use an unsweetened plant milk that behaves like whole milk and swap in a good dairy-free butter for both the dough and brushing. The rolls will still be soft, but the flavor will be a little less rich, so don’t skip the butter coating at the end.
Make-Ahead for Dinner or Holidays
Shape the rolls, cover the pan tightly, and refrigerate after the second rise begins. Bake them the next day after they’ve warmed up a bit and look puffy again. This keeps the schedule flexible without sacrificing the soft crumb.
Storage and Reheating
- Refrigerator: Store in an airtight container for up to 4 days. The rolls lose a little softness in the fridge, so expect them to feel firmer the next day.
- Freezer: These freeze well. Wrap baked rolls tightly and freeze for up to 2 months, then thaw at room temperature before reheating.
- Reheating: Warm the rolls in a 300F oven for a few minutes, covered loosely with foil so the tops don’t dry out. The most common mistake is microwaving too long, which turns the crumb chewy instead of soft.
Answers to the Questions Worth Asking
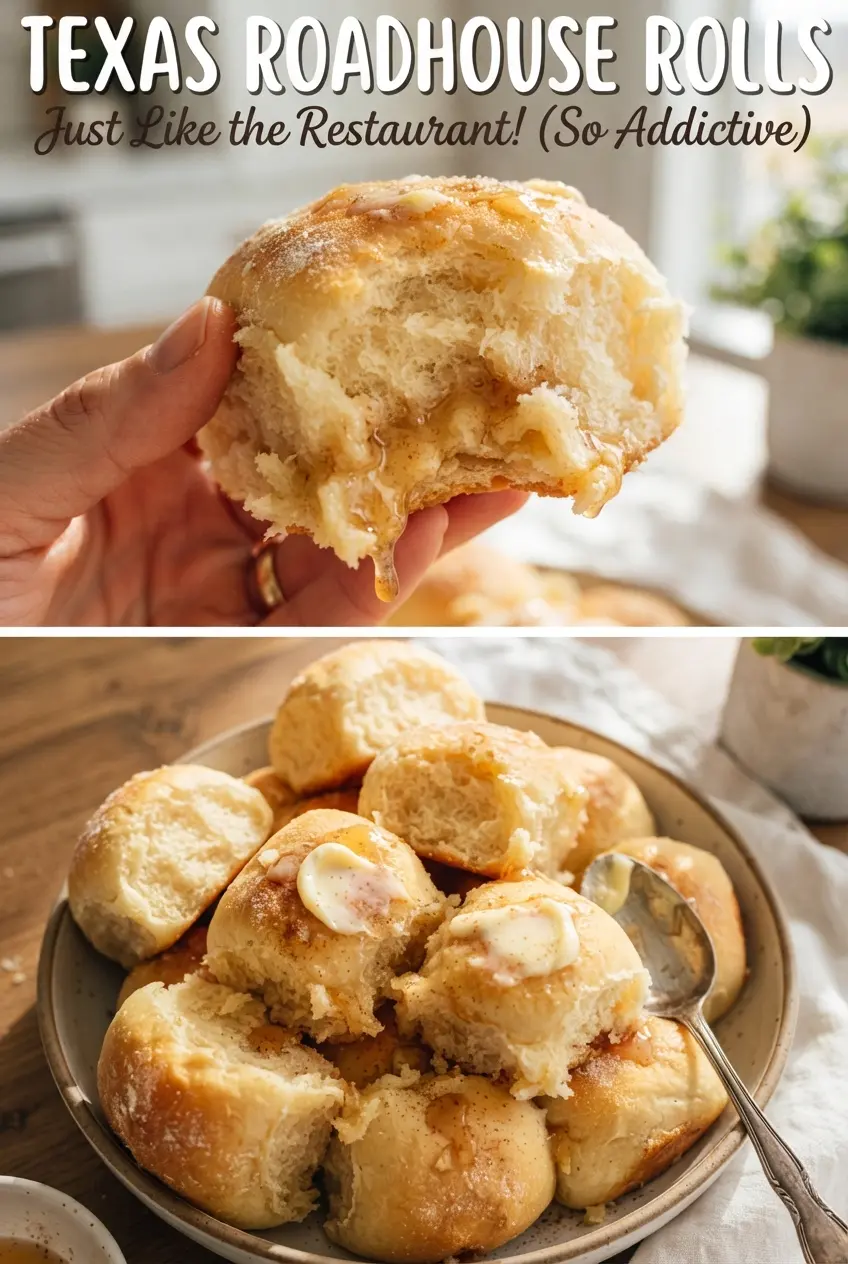
Texas Roadhouse Rolls
Ingredients
Equipment
Method
- Combine whole milk, warm water, active dry yeast, and 1 tablespoon sugar, then let stand 5 minutes until foamy, with a visible bubbly surface.
- Add the remaining sugar, large egg, melted butter, salt, and all-purpose flour, then knead 8 minutes until soft and smooth, with the dough becoming elastic.
- Cover the dough and rise 1 hour until doubled in size, until it looks puffy and doubled.
- Roll the dough into a 1/2-inch thick rectangle, then fold in half and cut into 2-inch squares.
- Place the squares on a parchment-lined sheet, cover, and rise 1 hour until puffy, rising visibly above the tray.
- Preheat oven to 350F and bake the rolls 12-15 minutes until golden, then brush with melted butter right after baking.
- Whip softened butter, powdered sugar, honey, and ground cinnamon until fluffy, until light and spreadable, then serve with the warm rolls.