Double Crunch Honey Garlic Chicken Breasts hit the plate with a crust that stays crisp under the sauce instead of collapsing into a soggy mess. The double-dredged coating gives you that thick, craggy crunch you usually only get from restaurant fried chicken, and the honey garlic glaze clings in a glossy layer that tastes sticky-sweet, salty, and just sharp enough from the vinegar to keep every bite moving.
What makes this version work is the sequence. The chicken gets pounded to an even thickness so it cooks at the same pace, then it’s dredged, dipped, and dredged again to build a heavier coating that fries into those rough ridges everyone wants. The sauce is kept simple on purpose: honey, garlic, soy sauce, butter, and a little vinegar, simmered just long enough to thicken slightly without turning into candy.
Below, I’ve included the small details that matter most, from keeping the crust crisp after frying to the exact swap I’d use if you need a gluten-free version.
The coating stayed on beautifully and got shatter-crisp in the skillet. I loved that the sauce thickened just enough to glaze the chicken without making it soggy, and the garlic flavor came through without overpowering the honey.
Pin these double crunch honey garlic chicken breasts for the nights when you want extra-crispy chicken with a sticky garlic glaze that still crackles under the fork.
The Double-Dredge Trick That Keeps the Crust Chunky
The biggest mistake with breaded chicken is treating the coating like a thin, even jacket. That gives you a smooth shell, not the rugged crunch this dish needs. The first flour layer grabs onto the egg, and the second flour layer clings to that wet surface in little clumps and ridges. Those uneven bits fry up into the extra-thick crust that holds its texture under the sauce.
Even thickness matters here too. If one end of the breast is much thicker than the rest, the outside overcooks before the center is done, and the breading gets dark before the chicken is juicy. Pounding the breasts to an even thickness gives you a cleaner fry and keeps the crust from burning while you wait for the middle to reach 165°F.
- Flour — The flour is what builds the dry base the egg can cling to. All-purpose works best because it fries into a sturdy shell; a lower-protein flour won’t give the same crunch.
- Eggs — The beaten eggs act as glue between the two flour coatings. Don’t rush this step or let too much flour fall off before the second dredge, or the crust will look patchy.
- Smoked paprika — This adds a deeper, slightly warm note to the crust so the chicken tastes seasoned all the way through. Regular paprika works in a pinch, but you’ll lose some of that subtle smoky depth.
What Each Ingredient Is Actually Doing in the Sauce
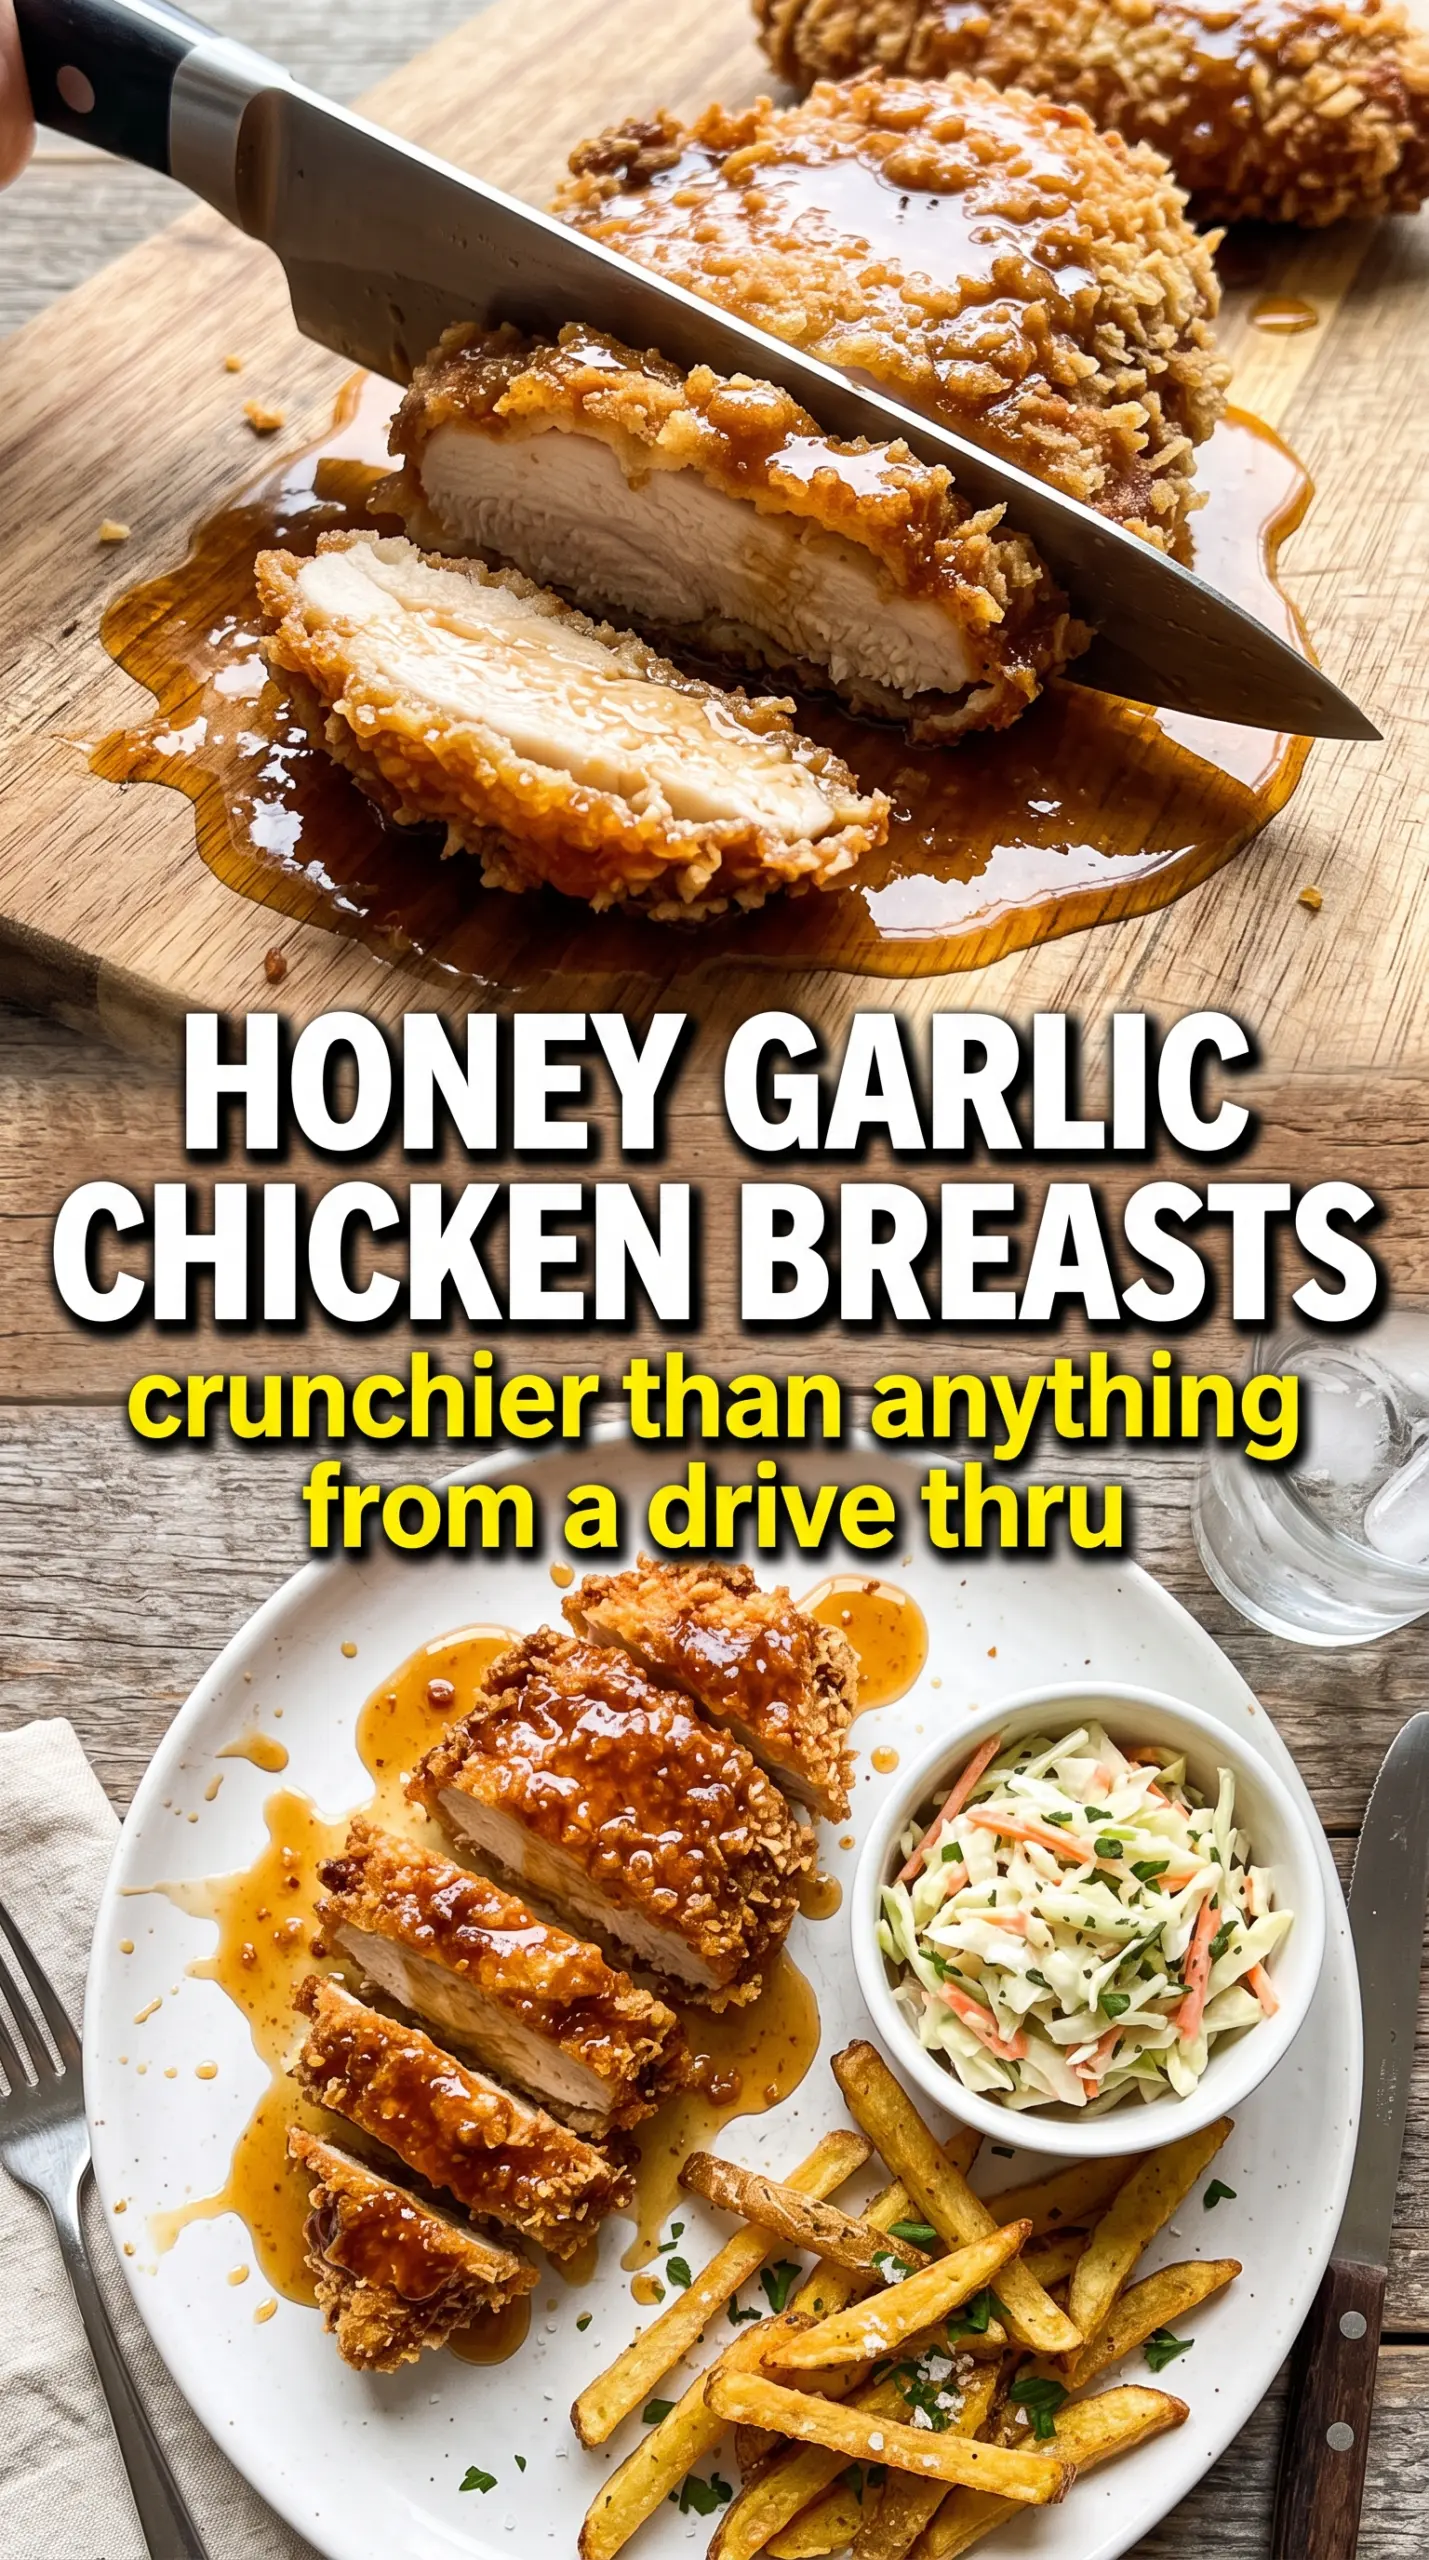
- Honey — This gives the glaze its body and the sticky finish that makes the chicken shine. Use a mild honey so the garlic and soy sauce can still come through.
- Garlic — Fresh minced garlic matters here because it perfumes the sauce fast and gives that punchy finish. Garlic powder won’t give the same bright bite.
- Soy sauce — This brings salt and a deeper savory note that keeps the sauce from tasting one-dimensional. Use low-sodium soy sauce if you want a little more control over the final salt level.
- Butter and apple cider vinegar — Butter smooths the glaze so it coats instead of sticking in shards, and the vinegar keeps the sweetness in check. If you skip the vinegar, the sauce can lean heavy and flat.
Frying First, Saucing Last, and Why the Order Matters
Building the Dredge
Mix the flour with the garlic powder, onion powder, smoked paprika, salt, and pepper before you touch the chicken. That way every layer of coating tastes seasoned instead of relying on the sauce to do all the work. Press the flour on firmly during both dredges, then shake off only the excess that looks loose and dusty. If the coating seems too dry to stick, the egg layer wasn’t generous enough.
Getting the Oil Hot Enough
Heat the oil to 350°F and hold it there as closely as you can. Too cool, and the crust drinks oil and turns greasy before it crisps; too hot, and the outside browns before the chicken cooks through. A cast iron skillet helps keep the temperature steady. You want to hear an immediate, lively sizzle when the chicken hits the pan, not a lazy hiss.
Frying to a Deep Golden Crust
Cook the chicken for 5 to 6 minutes per side, depending on thickness, until the coating is a deep golden brown and the center reaches 165°F. If the crust darkens too quickly, lower the heat a touch and give the oil a minute to settle. Don’t crowd the pan or the temperature will drop and the crust will steam instead of crisp. Drain the chicken on a rack if you have one; paper towels work, but a rack keeps the bottom from softening.
Finishing With the Glaze
Simmer the honey, garlic, soy sauce, butter, and vinegar for 3 to 4 minutes until it looks slightly thicker and glossy. It should coat the back of a spoon, not reduce into a sticky candy. Pour it over the chicken right before serving so the crust stays shattery. Sesame seeds and green onions add a fresh finish, but the real key is serving it immediately over rice while the outside still crackles.
How to Adapt the Crunch for Different Kitchens and Diets
Gluten-Free Version
Swap the all-purpose flour for a 1:1 gluten-free flour blend and use tamari in place of soy sauce. The crust will still get crisp, but it may be a little more delicate, so let the chicken release naturally from the pan before flipping it.
Oven-Finished for Less Mess
If you want to cut down on frying time, pan-fry the chicken until the coating is set and golden, then finish it in a 400°F oven until the center hits 165°F. You’ll lose a little of the ultra-fried crunch, but you’ll still get a sturdy crust and a cleaner stovetop.
Chicken Thigh Swap
Boneless skinless thighs work well if you want juicier meat and don’t mind a richer bite. They usually need a little more time in the pan, so go by temperature instead of the clock and wait for the same deep golden crust before saucing.
Storage and Reheating
- Refrigerator: Store leftovers for up to 3 days. The crust softens once it’s sauced, but the flavor holds up well.
- Freezer: Freeze the fried chicken before saucing for the best texture. Wrap each piece tightly, then thaw and re-crisp in the oven before adding the glaze.
- Reheating: Reheat in a 375°F oven or air fryer until hot and re-crisped. The microwave will make the coating limp, which is the fastest way to lose what makes this recipe worth making.
Answers to the Questions Worth Asking
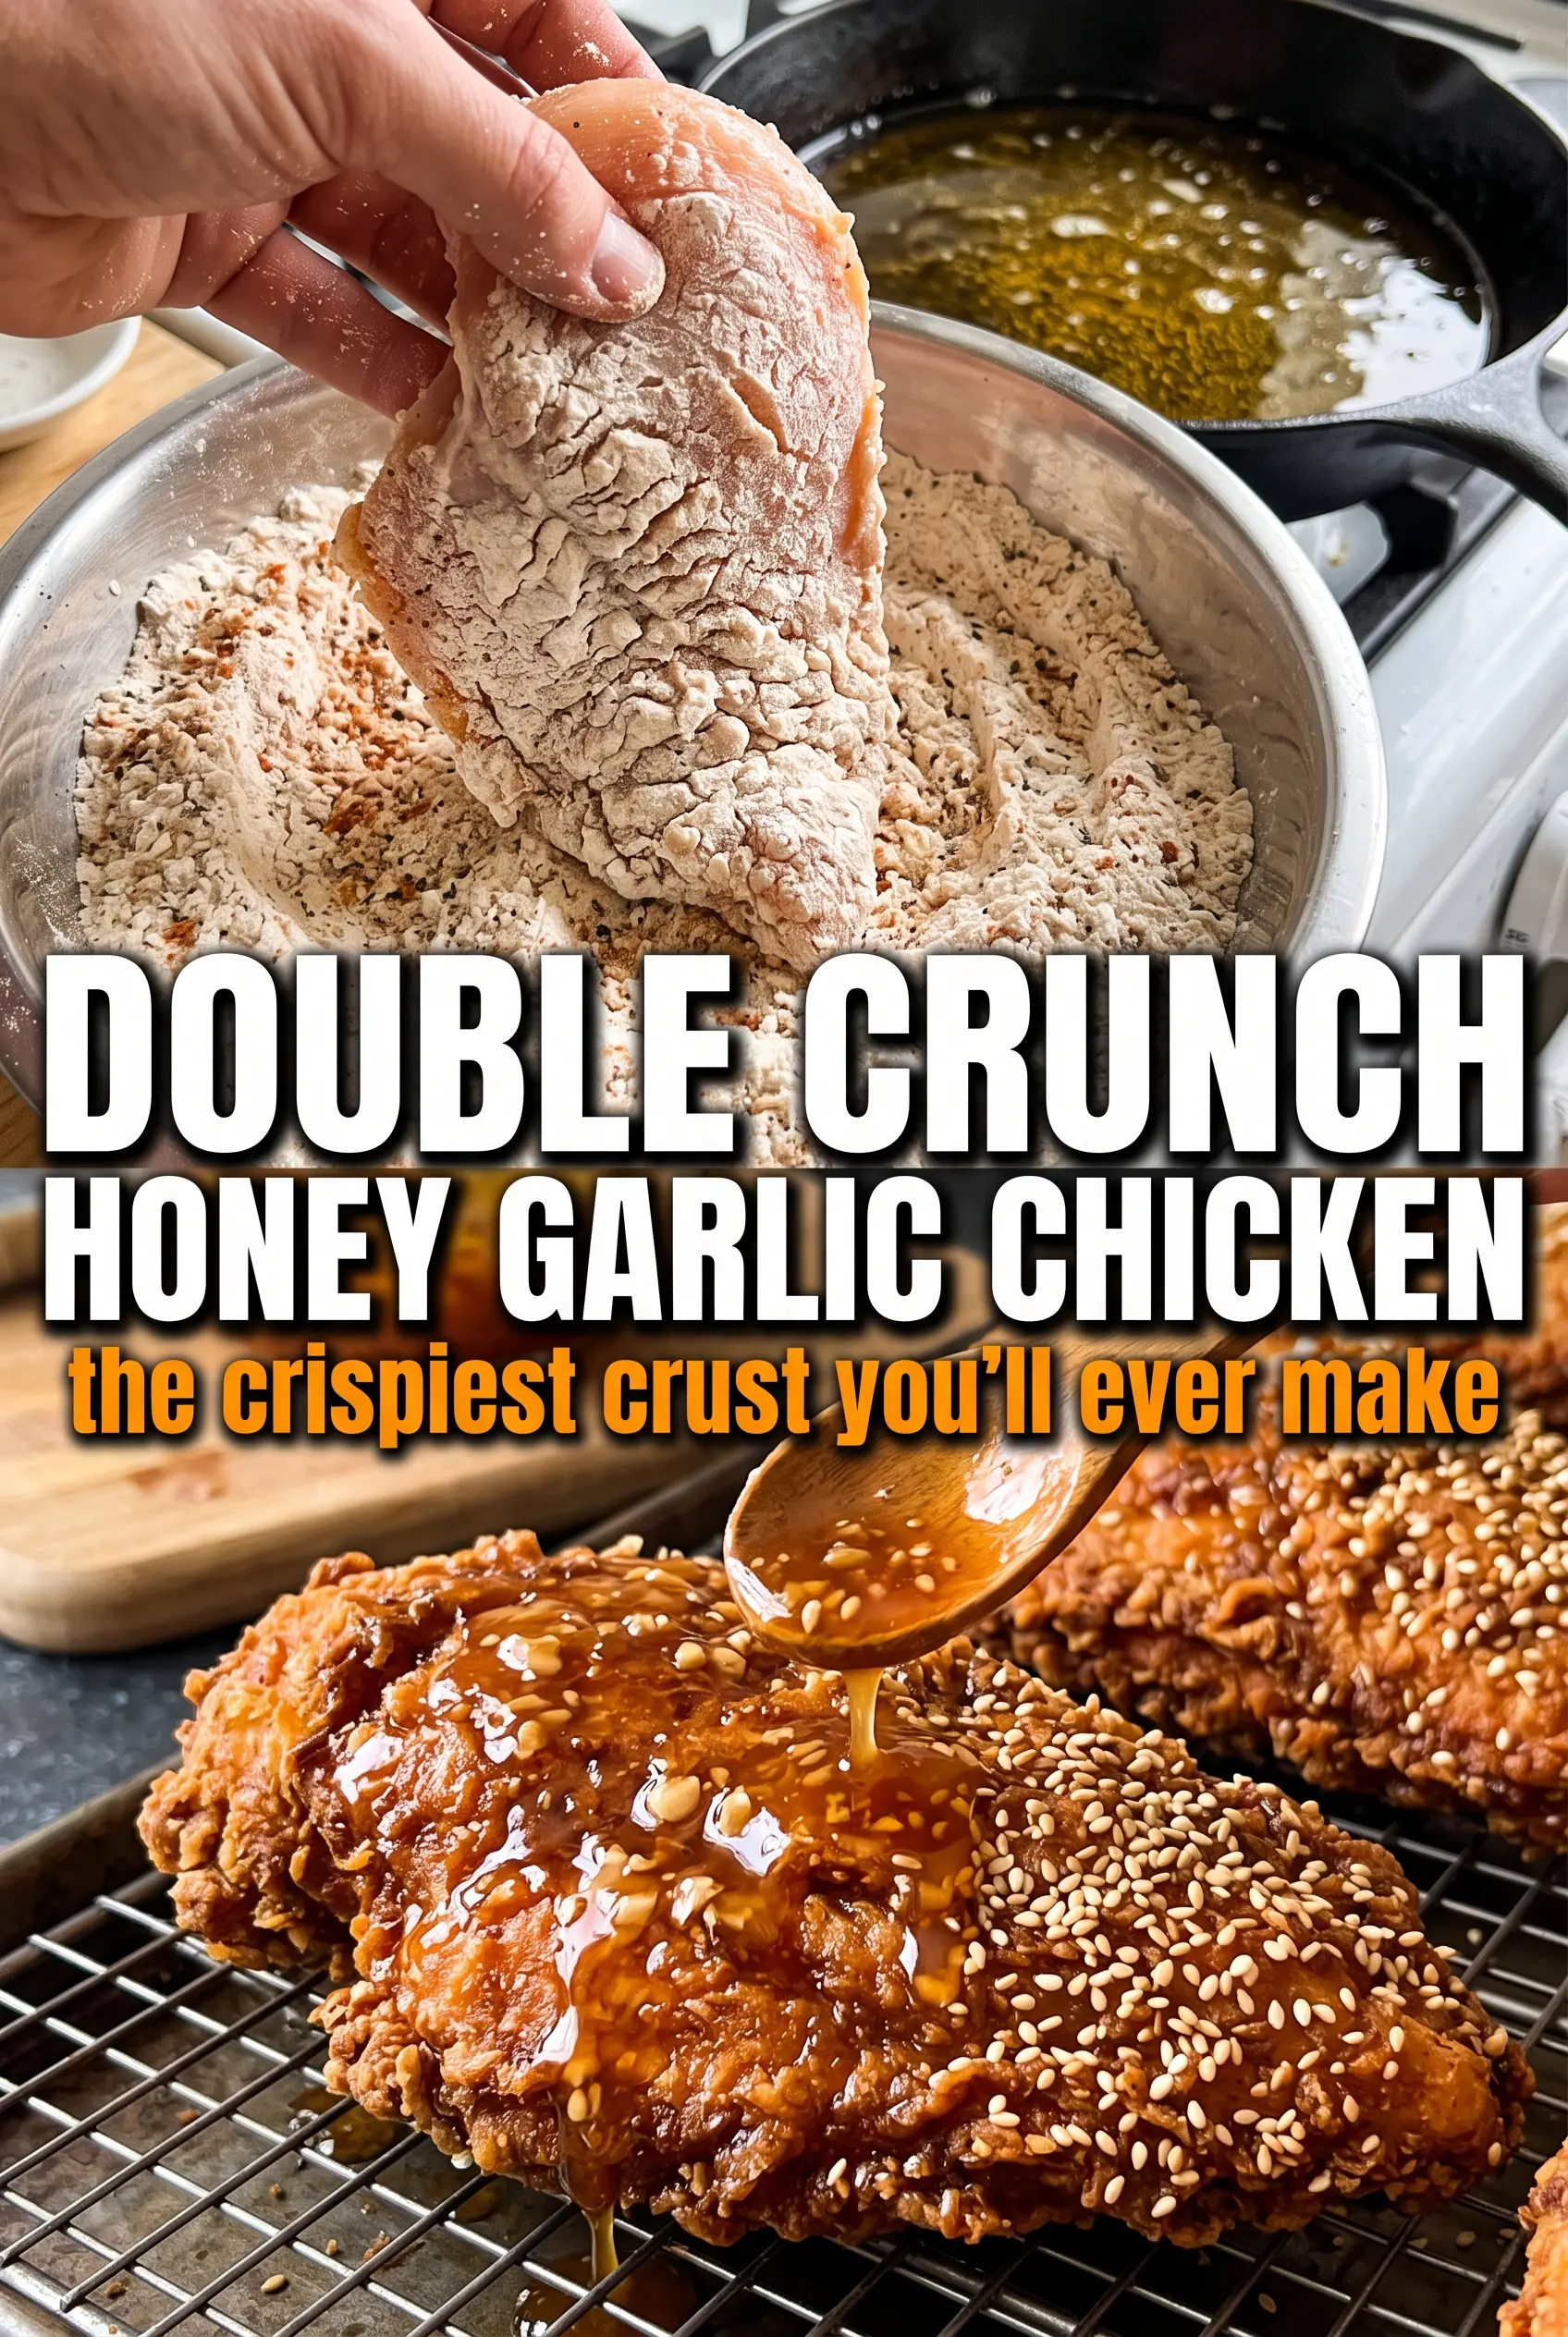
Double Crunch Honey Garlic Chicken Breasts
Ingredients
Equipment
Method
- Mix all-purpose flour, garlic powder, onion powder, smoked paprika, salt, and pepper until evenly combined. Coat all surfaces so the seasoning is distributed throughout the crust.
- Dredge each boneless skinless chicken breast in the seasoned flour. Ensure it is fully covered with a dry, even layer.
- Dip the chicken into the beaten large eggs. Let excess egg drip back so the coating stays thick and doesn’t turn gummy.
- Return the chicken to the seasoned flour and press lightly for a second coating. Lift off any loose flour to keep the crunch intact during frying.
- Heat 1/2 inch of vegetable oil in a large cast iron skillet over medium-high heat to 350°F. You should see steady, active sizzling when the chicken is added.
- Pan-fry the chicken for 5-6 minutes per side until golden and crunchy. Flip once and cook until internal temperature reaches 165°F.
- Drain the fried chicken briefly after frying. This helps the coating stay shatter-crisp instead of steaming.
- Simmer honey, garlic, soy sauce, butter, and apple cider vinegar in a saucepan over medium heat for 3-4 minutes until slightly thickened. Stir as it reduces so the sauce turns glossy and clings.
- Pour the honey garlic sauce over the hot crispy chicken. Let it drip down the sides for a sticky, glazed finish that starts to shatter at the first bite.
- Garnish immediately with sesame seeds and sliced green onions. Serve right away while the crust is at peak crunch.