Honey butter chicken earns its place in the weeknight rotation because it hits that rare sweet spot: crisp-edged, golden chicken wrapped in a glossy sauce that tastes rich without feeling heavy. The glaze clings to every bite instead of pooling in the pan, and the finish is the kind of sticky, buttery coating that makes plain rice or mashed potatoes disappear fast.
The trick is balance. A hot sear builds the savory base, then the sauce comes together in the same skillet with butter, garlic, honey, soy sauce, and a little vinegar to keep the sweetness from turning flat. That acid matters more than people think; without it, the sauce can taste one-note and the butter can feel greasy instead of lush. The chicken goes back into the pan only long enough to coat and caramelize, which keeps the breasts juicy instead of overcooked.
Below, I’m breaking down the small choices that make this dish work: how to get real color on the chicken, why the sauce thickens the way it does, and what to do if you want to swap in thighs or make it dairy-free.
The sauce thickened up beautifully and stayed glossy instead of turning watery. I cooked the chicken for the full 5 minutes per side, and the honey butter coating was perfect over mashed potatoes.
Save this honey butter chicken for the nights when you want a glossy skillet glaze and tender chicken with almost no cleanup.
The Secret to Keeping the Honey Glaze Glossy, Not Sticky
Honey burns faster than most people expect, especially once it hits a hot skillet. That’s why this dish works best in two stages: first you build deep browning on the chicken, then you lower the heat before the honey goes in. If the pan is too hot when the sauce starts, the sugars can seize and turn tacky before they’ve had time to coat the chicken evenly.
The other key is the vinegar. It doesn’t make the sauce taste sour; it keeps the butter and honey from turning cloying and helps the glaze stay bright after it reduces. The soy sauce adds salt and a little savory depth, which is what keeps the whole thing from tasting like melted candy.
- Chicken breasts — Boneless, skinless breasts cook quickly and stay easy to slice, but they do need even thickness. If one end is much thicker, pound it lightly so the whole piece reaches 165°F at the same time.
- Butter — This is where the sauce gets its silkiness. You can use salted or unsalted butter; just ease up on the finishing salt if yours is salted.
- Honey — Use a regular liquid honey, not a strongly flavored specialty one unless you want that flavor to lead. Thick, raw honey still works, but it may need an extra minute to loosen in the pan.
- Apple cider vinegar — This is the acid that keeps the glaze from tasting heavy. Lemon juice can work in a pinch, but it reads sharper and a little less rounded.
How to Build the Sauce So It Clings to the Chicken
Seasoning and Searing
Start with dry chicken and a hot skillet. The surface needs to sizzle the moment it hits the oil, or you’ll steam the outside instead of browning it. Let the first side go untouched until it releases easily and has a deep golden crust; if it sticks hard, it needs another minute. The chicken doesn’t need to be cooked through here, just browned well enough to give the sauce something savory to cling to.
Making the Honey Butter Base
Once the chicken comes out, lower the heat before the butter goes in. Garlic can go from fragrant to bitter fast, so give it just a minute in the melted butter until it smells sweet and toasty, not browned. Stir in the honey, soy sauce, and vinegar and let the mixture come to a gentle simmer. If it boils hard, the honey can reduce too quickly and turn the sauce sticky before the chicken is back in the pan.
Finishing in the Skillet
Slide the chicken back into the sauce and turn each piece a few times. Spoon the glaze over the top as it bubbles so the sauce can thicken on the chicken itself, not just in the pan. You’re looking for a shiny amber coating that drapes over the meat instead of running off in thin streaks. Pull it from the heat as soon as the chicken is cooked through and the sauce looks lacquered; a few extra minutes can push the honey past glossy and into burnt.
How to Adapt This for Different Pans, Proteins, and Diets
Chicken thighs instead of breasts
Thighs bring more built-in richness and stay juicier if you let them simmer a minute longer in the glaze. They also handle a little more caramelization, so this swap gives you a deeper, darker finish and a slightly less lean bite.
Dairy-free honey glaze
Use a good plant-based butter that melts cleanly and doesn’t separate. The sauce will taste a little lighter and less creamy, but it still coats well if you keep the heat moderate and don’t rush the simmer.
Gluten-free version
Swap the soy sauce for tamari or coconut aminos. Tamari keeps the same savory depth, while coconut aminos taste a touch sweeter, so the glaze may need an extra splash of vinegar to stay balanced.
Storage and Reheating
- Refrigerator: Store in an airtight container for up to 4 days. The sauce will thicken as it chills.
- Freezer: It freezes well for about 2 months, though the glaze will lose a little of its fresh shine. Freeze the chicken with the sauce in a tightly sealed container.
- Reheating: Warm gently in a covered skillet over low heat with a splash of water to loosen the sauce. High heat can make the honey tighten up and the chicken dry out before the center warms through.
Questions I Get Asked About This Recipe
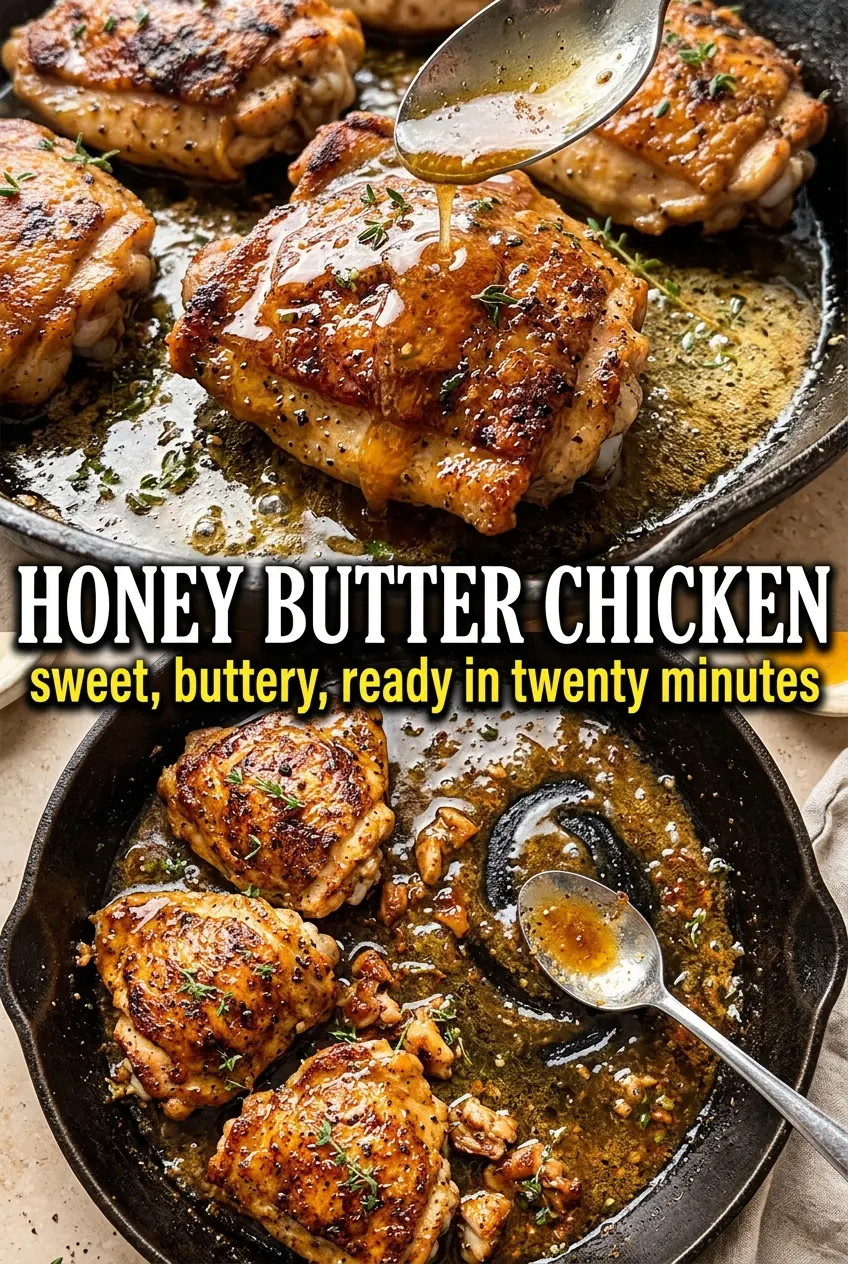
Honey Butter Chicken
Ingredients
Equipment
Method
- Season the boneless skinless chicken breasts with salt, pepper, garlic powder, and smoked paprika. Heat the olive oil in a large cast iron skillet over medium-high heat and sear until deeply golden, 5-6 minutes per side, until the internal temperature reaches 165°F, then remove.
- Melt the butter in the same pan over medium heat and add the minced garlic, cooking for 1 minute while it becomes fragrant. Stir in the honey, soy sauce, and apple cider vinegar and bring to a simmer.
- Return the chicken to the skillet and cook 2-3 minutes, turning and basting with the simmering sauce until caramelized and evenly coated. Plate and drizzle with any remaining sauce, then finish with fresh thyme leaves and flaky sea salt.