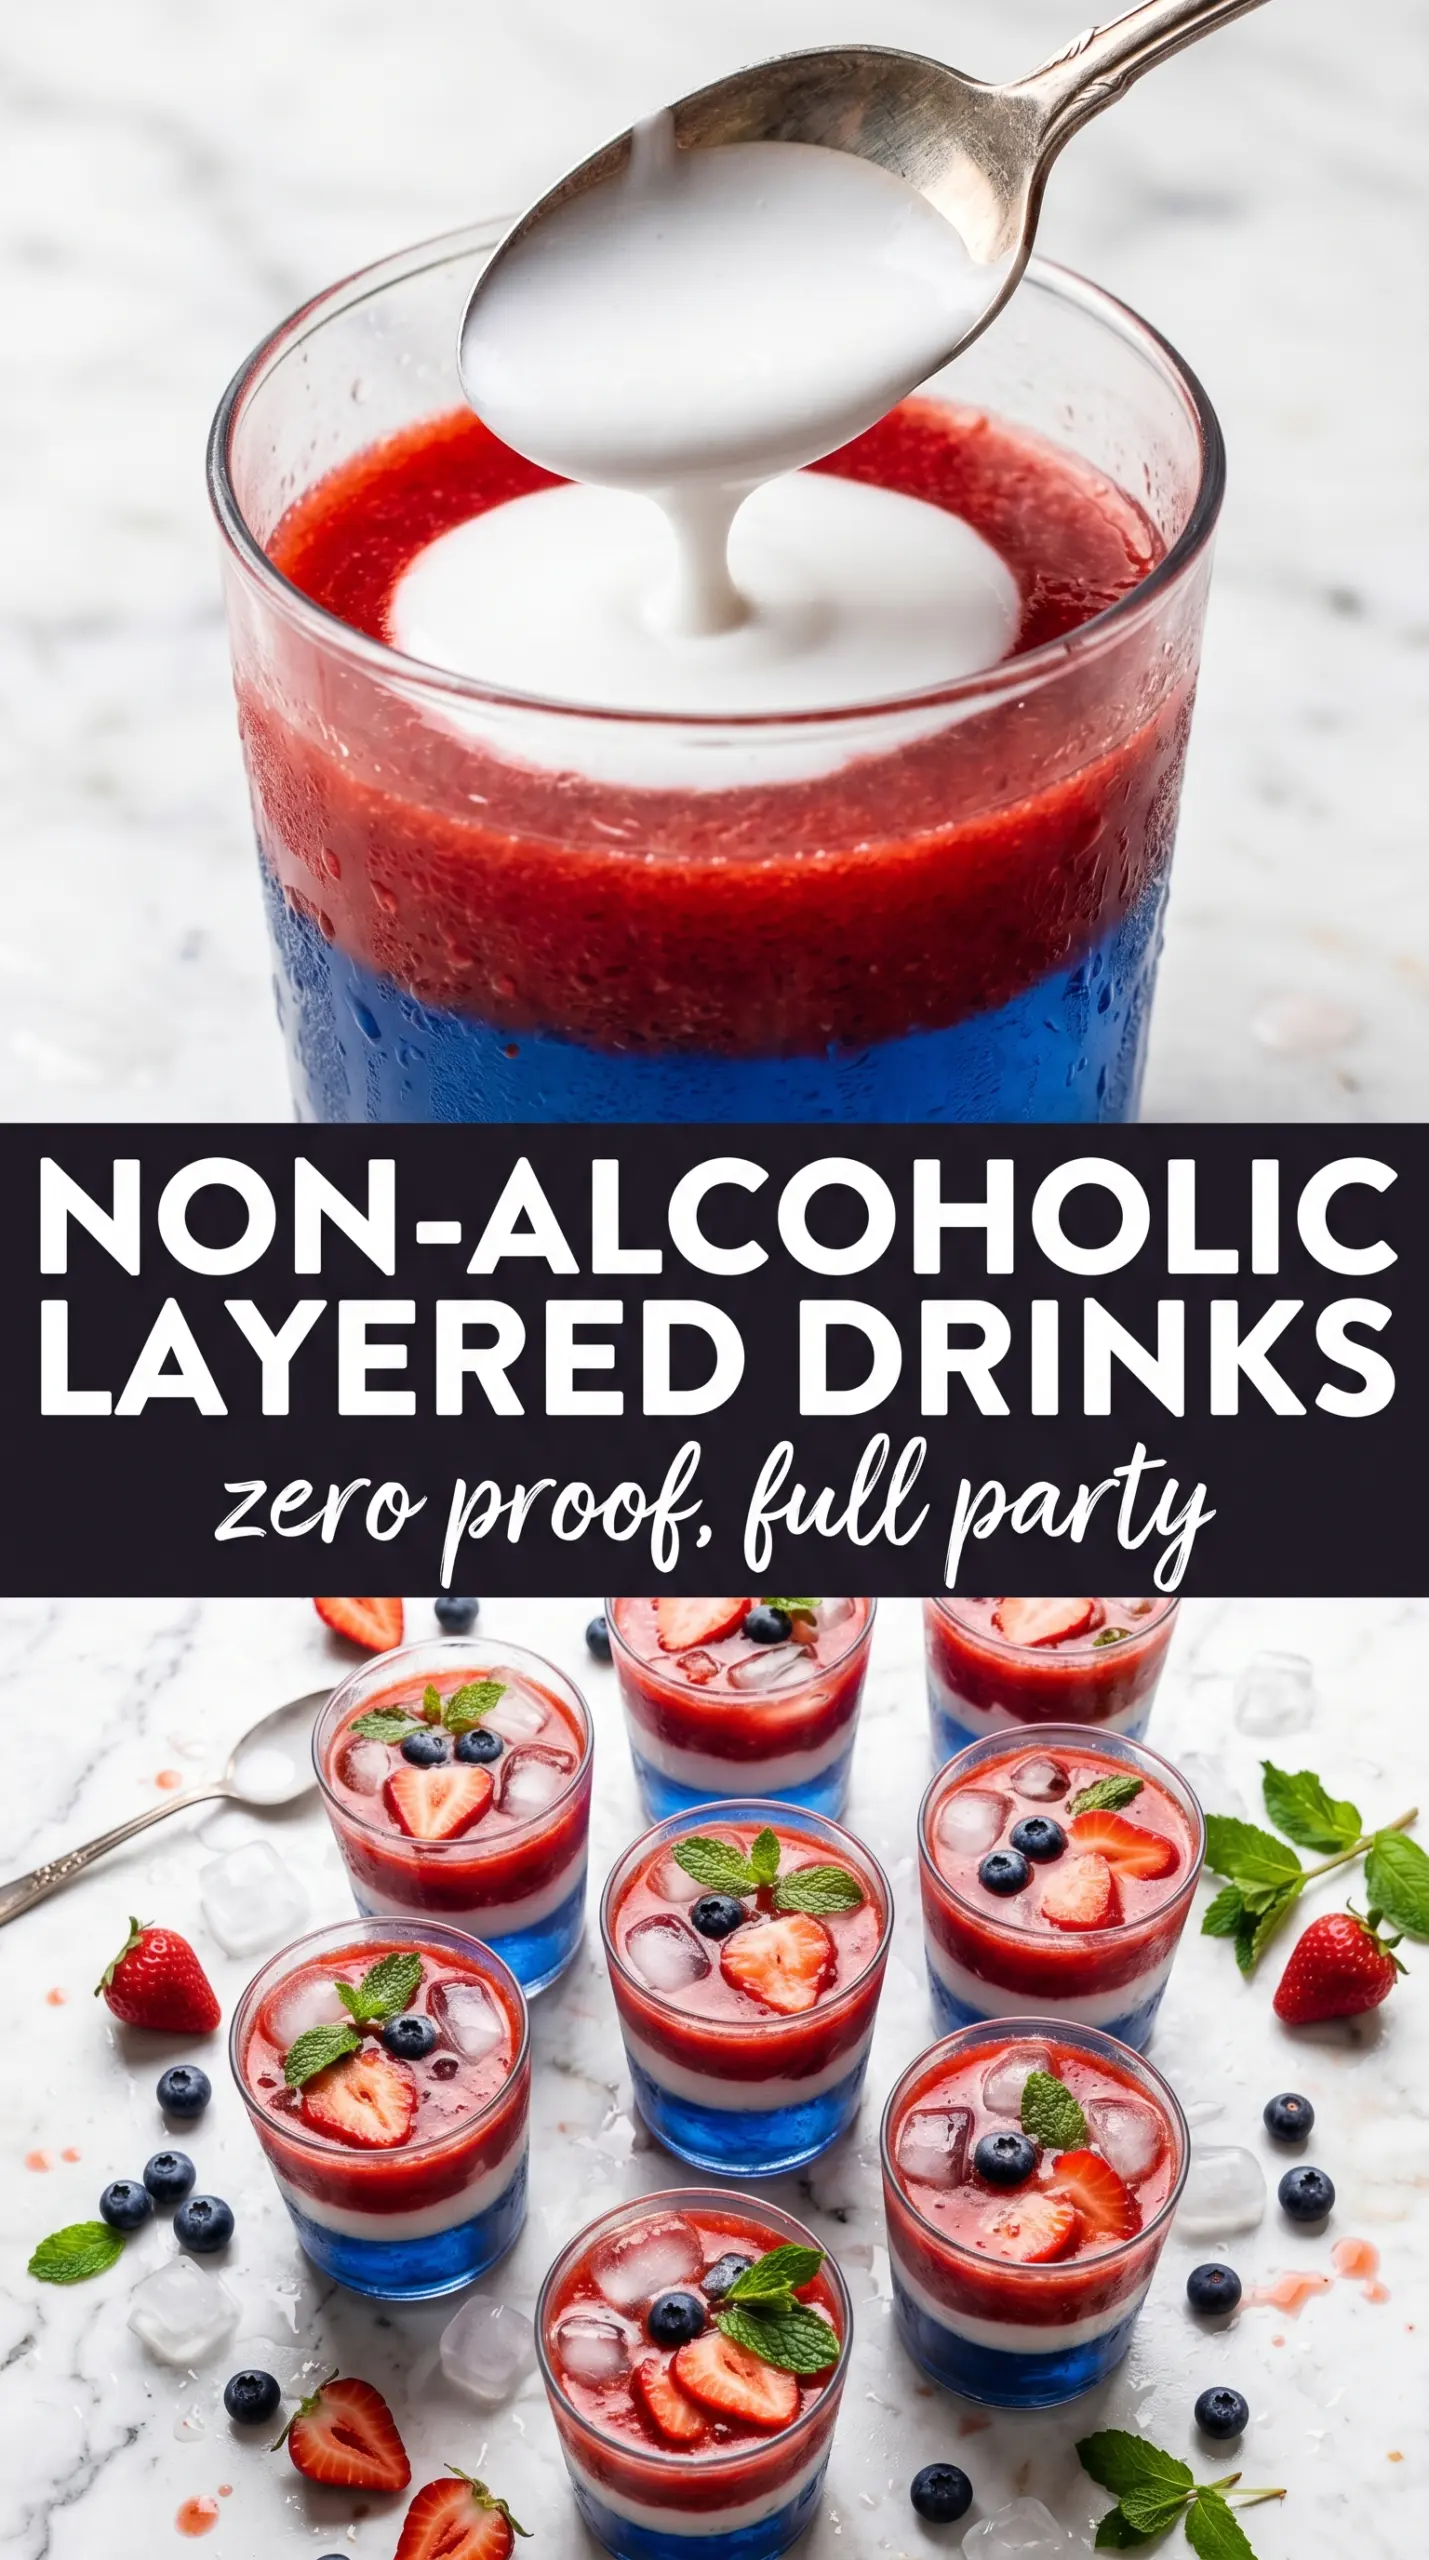
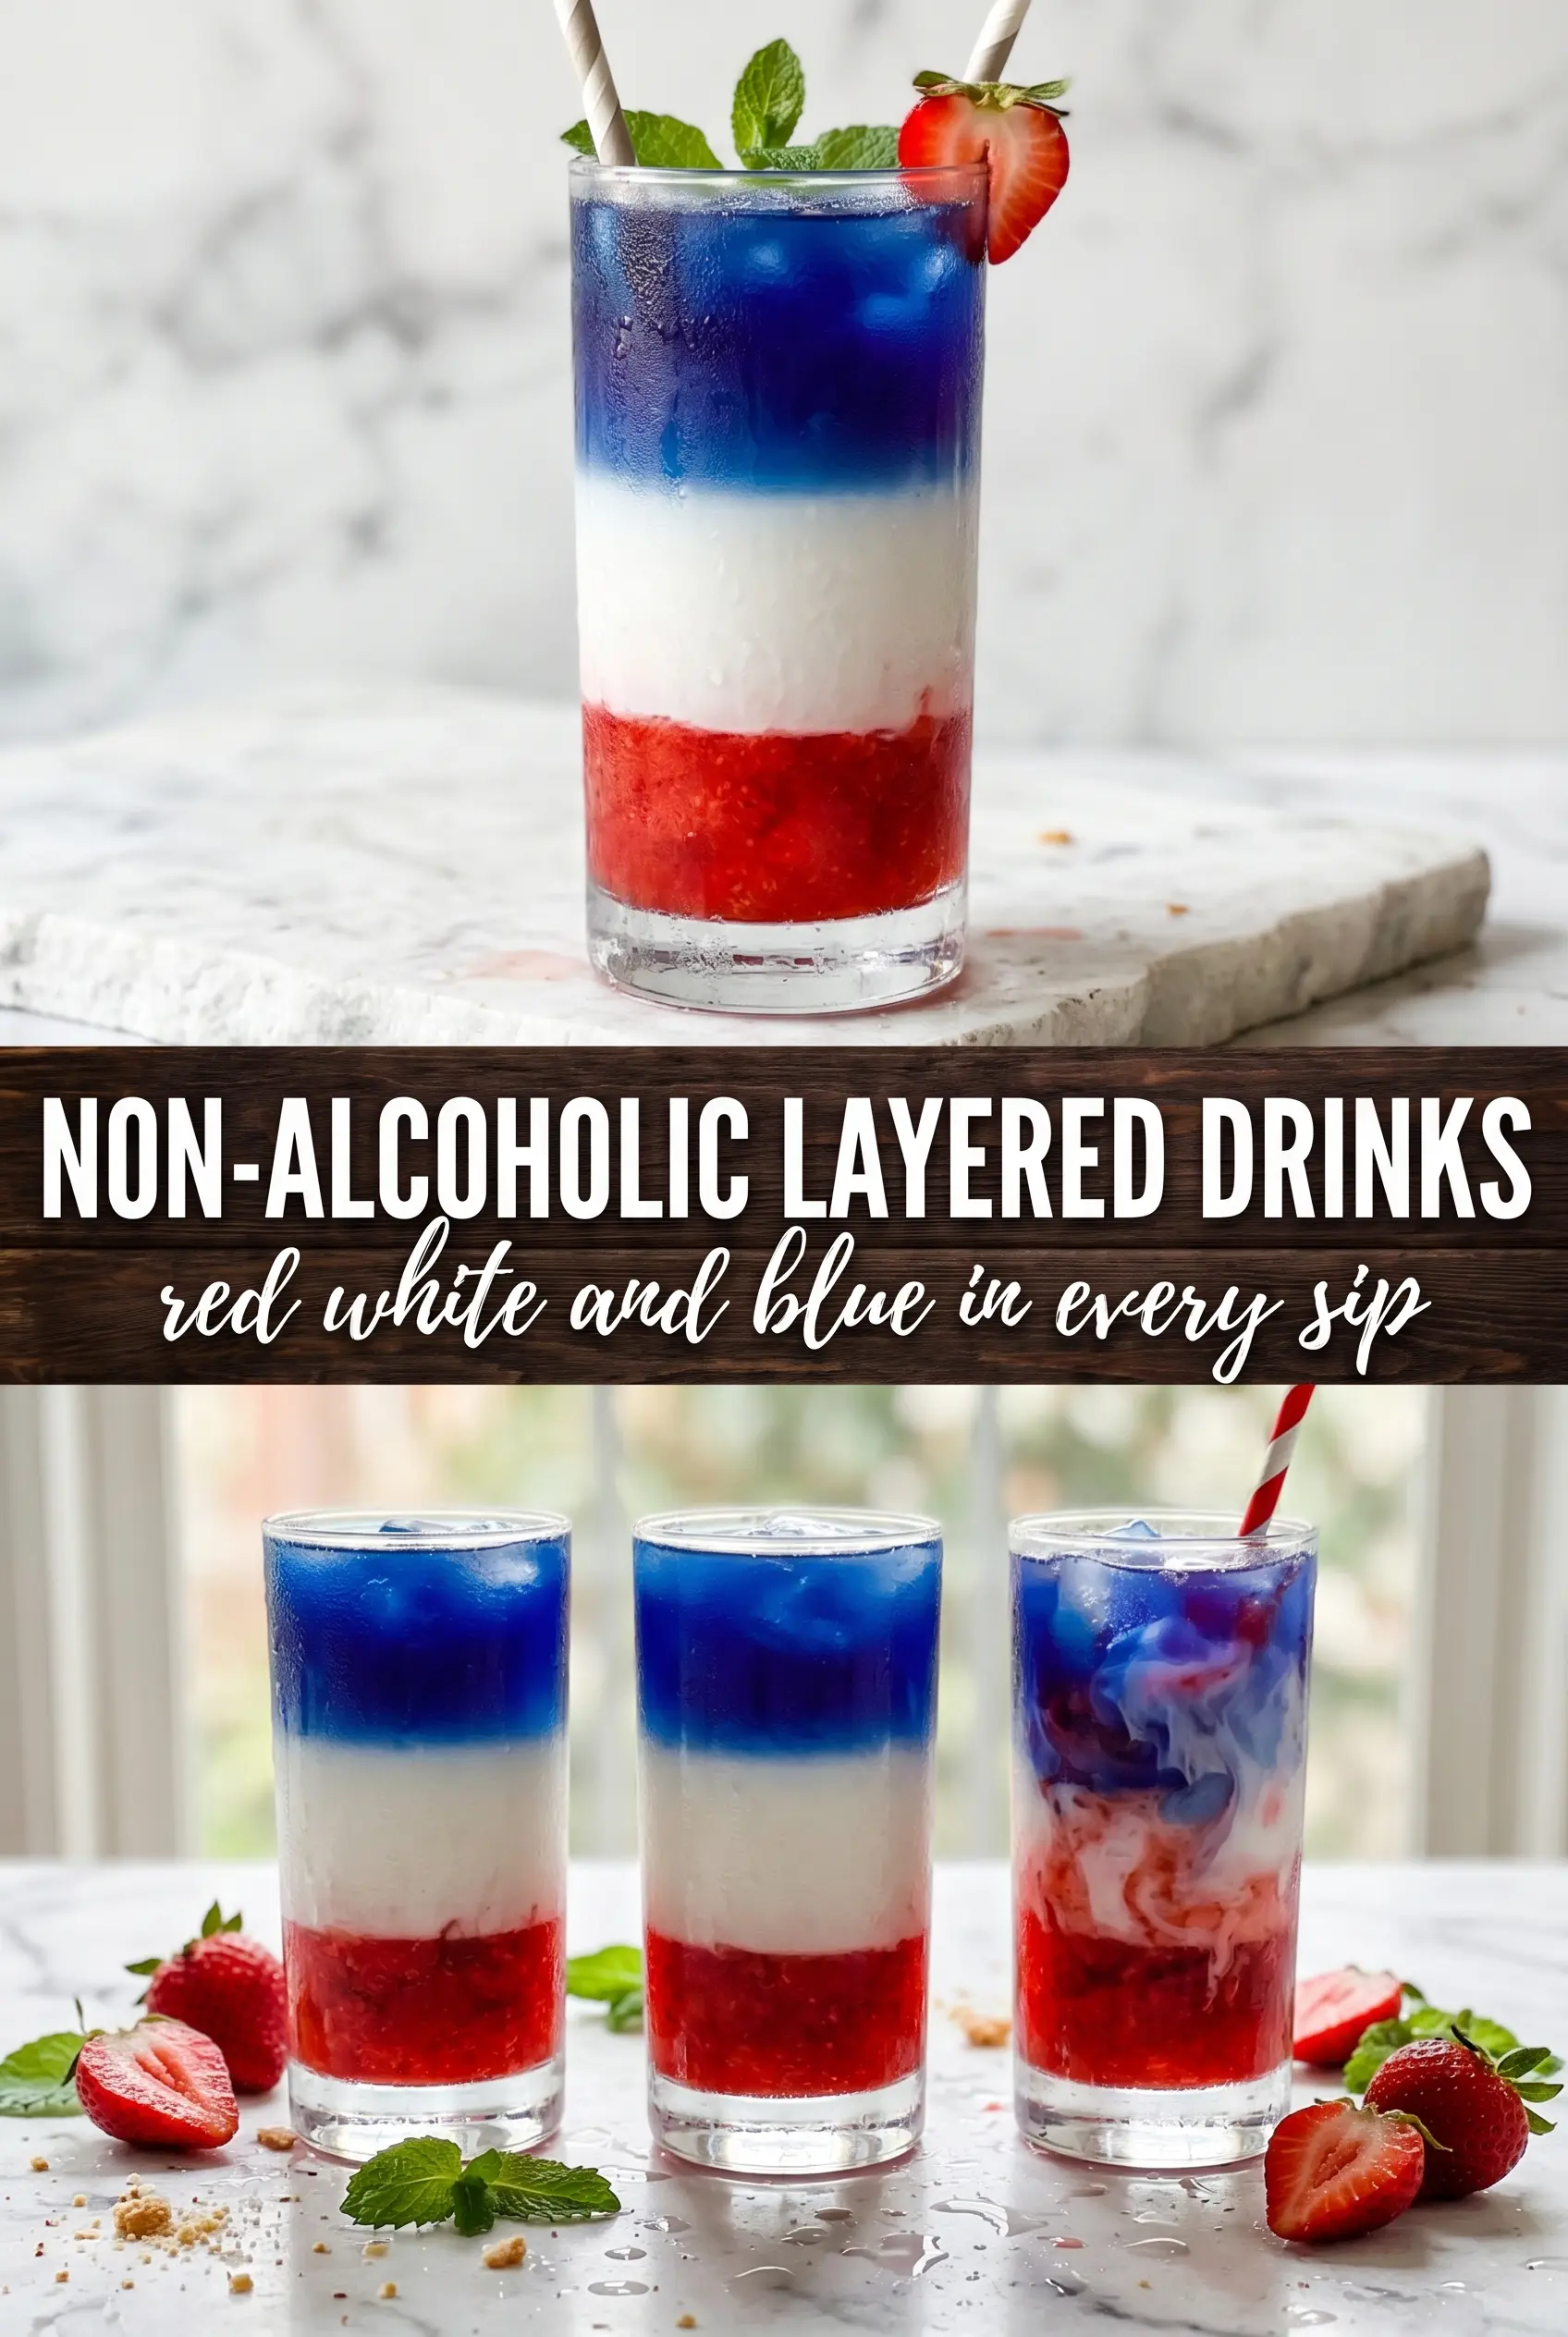
Three bright layers in one glass make these non-alcoholic layered drinks feel like a little party before anyone even takes a sip. The grenadine settles into a deep red base, the lemonade stays clean in the middle, and the blue raspberry layer floats on top with that sharp, playful color contrast you only get when each ingredient is poured with a little patience. Stirring is the enemy here. The whole point is to keep the colors separate until the glass hits the table.
What makes this work is temperature, density, and a slow pour. Everything needs to be well chilled, and the glass needs plenty of ice so the liquids land softly instead of crashing together. I use the back of a spoon for the middle and top layers because it breaks the pour just enough to keep the edges from bleeding. Once you understand that, the drink becomes easy to repeat for birthdays, cookouts, or any time you want something festive without alcohol.
Below, I’ve included the little details that keep the layers crisp, plus a few smart swaps if you want to change the colors or make a bigger batch.
The layers held perfectly, and the blue raspberry stayed right on top instead of mixing into the lemonade. I served these at my daughter's birthday, and everyone thought they were from a fancy party bar.
Save these layered mocktails for the next time you want a clear-glass drink with bold red, gold, and blue stripes.
Why These Layers Stay Separate Instead of Turning Purple
The mistake most people make is pouring too fast or using room-temperature ingredients. Warm liquid moves faster through the glass, mixes with the layer below, and turns the whole drink muddy before you can finish. Chilled ingredients move more slowly, and that gives each layer a chance to sit on top of the one below it.
Ice matters too, but not just for coldness. It acts like a cushion, softening the pour so the syrup and drinks slide around each other instead of crashing together. If your layers keep blending, the fix is almost always slower pouring, colder ingredients, or a taller glass with more ice.
- Grenadine — This is the heaviest layer and the one that should go in first. A true grenadine syrup gives you that deep red base and the right weight; a thin cherry drink mix won't settle the same way.
- Lemonade — The bright middle layer needs to be cold and poured gently over the back of a spoon. Freshly mixed lemonade can work, but if it's watery or still foamy, it's much harder to keep the line clean.
- Blue raspberry drink — Blue raspberry sports drink gives the most vivid top layer because it's bright, chilled, and light enough to float. Blue raspberry lemonade works too, but it may be slightly denser and need a slower pour.
- Ice cubes — Fill the glass nearly to the top. Too little ice leaves too much open space and the layers break apart while settling.
What Each Ingredient Is Actually Doing in This Recipe
- Primary ingredient (the star) — Quality matters most. Choose the best you can find.
- Cooking medium (oil, butter, or broth) — This carries flavors and prevents dryness.
- Seasonings (salt, pepper, spices, herbs) — Layer flavors so nothing overpowers. Build depth gradually.
- Aromatics (garlic, onion, herbs) — Cook with fat to bloom flavors. Become the foundation.
- Supporting ingredients — Complement the main ingredient without overpowering it.
- Sauce or liquid (if applicable) — Brings flavors together. Balance richness with acid.
- Acid (lemon, vinegar, wine, or other) — Brightens and prevents flat-tasting results.
- Final finish (garnish, glaze, or sauce) — Prevents one-dimensional taste and adds visual appeal.
Pouring Each Layer Without Breaking the Colors
Building the Red Base
Start with a tall clear glass packed nearly to the top with ice. Pour the grenadine slowly over the ice and let it sink naturally to the bottom. Don't rush this part; the syrup needs to slide down through the ice instead of splashing from above. If it hits the glass wall hard, you'll see streaks where the color starts to climb.
Floating the Lemonade
Hold a spoon just above the ice and pour the chilled lemonade over the back of it in a thin stream. The spoon spreads the liquid out so it lands softly on the grenadine instead of punching through it. Stop as soon as the middle layer looks clean and even. If the lemonade pours too fast, it will cut straight through the red and leave you with a pink blend instead of a middle stripe.
Finishing with the Blue Top
Use the same spoon trick for the blue raspberry drink and pour it slowly over the top. Keep the stream narrow and steady, and pause if the glass starts to rise too full. The blue layer should sit on top like a cap, not sink into the lemonade. Garnish right away with a maraschino cherry and a striped straw, then serve it before the layers have time to blur.
How to Change the Colors Without Losing the Layered Effect
Make it dairy-free and still vivid
This drink is naturally dairy-free, so you don't need to change much. The key is to keep every ingredient bright and clear rather than cloudy, because opaque liquids don't stack as neatly. Stick with chilled syrups and juices for the cleanest stripes.
Use different colors for a holiday theme
Swap the blue raspberry layer for another light-colored blue or green drink if you want a different party look. The important part is keeping the heaviest ingredient on the bottom and the lightest on top, so test the density in one glass before making a full batch.
Make it less sweet
Use plain lemonade with a sharper tart edge, or cut the grenadine a little with an extra splash of ice-cold water before pouring. That keeps the drink from tasting like pure syrup while still preserving the layered look.
Scale it up for a crowd
Layer these individually in glasses instead of trying to build a whole pitcher. Pitchers mix by design, which wipes out the stripes. If you need more than four servings, line up the glasses and assemble them one by one so each one keeps its own clean bands of color.
Serving ahead for a party
You can chill the drinks and prep the garnishes a few hours ahead, but don't assemble the glasses until right before serving. The layers hold best when the ice is fresh and the drinks haven't had time to mingle.
Batching Ahead
- Prep ahead: Chill all three liquids and have the glasses, ice, and garnishes ready before you start assembling.
- Best timing: Build each drink just before serving so the layers stay crisp and the ice doesn't melt enough to thin the colors.
- Leftover components: Store any unused syrup and drinks separately in the refrigerator for another round.
Answers to the Questions Worth Asking
Non-Alcoholic Layered Drinks (Grenadine, Lemonade & Blue Raspberry)
Ingredients
Method
- Fill a tall clear glass with ice cubes almost to the top.
- Pour grenadine syrup slowly over the ice, letting it sink to the bottom to form the first layer.
- Hold a spoon just above the ice and gently pour the chilled lemonade over the back to create a clean middle layer.
- Use the same spoon-and-pour method to float the chilled blue raspberry drink over the spoon as the top layer.
- Garnish with a maraschino cherry and a striped straw, then serve immediately without stirring.