Shatteringly crisp on the outside and juicy in the middle, Parmesan crusted chicken earns its place in the regular dinner rotation fast. The crust bakes up deep golden and fragrant, with the Parmesan melting into the panko instead of sliding off the chicken, which gives you that crunchy, savory shell every time you cut into it.
What makes this version work is the balance: flour for grip, egg for adhesion, and a panko-Parmesan mix that actually browns instead of turning heavy. A little olive oil on top helps the coating toast in the oven, and pounding the chicken to even thickness keeps the thick ends from drying out before the center is done.
Below, I’ve included the little details that keep the crust from going patchy, plus a few easy ways to change it up without losing that crisp finish.
The crust stayed crispy all the way to the last bite, and the chicken was still juicy after baking. I loved that the Parmesan browned without burning, and the lemon at the end made it taste restaurant-worthy.
Like this crispy Parmesan chicken? Save it for the nights when you want a golden baked crust, juicy chicken, and almost no cleanup.
The Part That Keeps the Crust Crisp Instead of Soggy
The wire rack matters more than people think. If the chicken sits flat on a sheet pan, the bottom steams in its own moisture and the crust softens before it ever gets a chance to brown properly. A rack lets hot air move all around the chicken, which is how you get a crust that stays crisp instead of turning gummy underneath.
The other detail that saves this recipe is how firmly the coating gets pressed onto the chicken. Loose crumbs fall off in the oven; a pressed-on crust clings, browns evenly, and gives you those crunchy edges around the thicker parts of the breast. If your breading looks patchy before it goes in, it will bake patchy too.
What Each Ingredient Is Actually Doing in This Dish
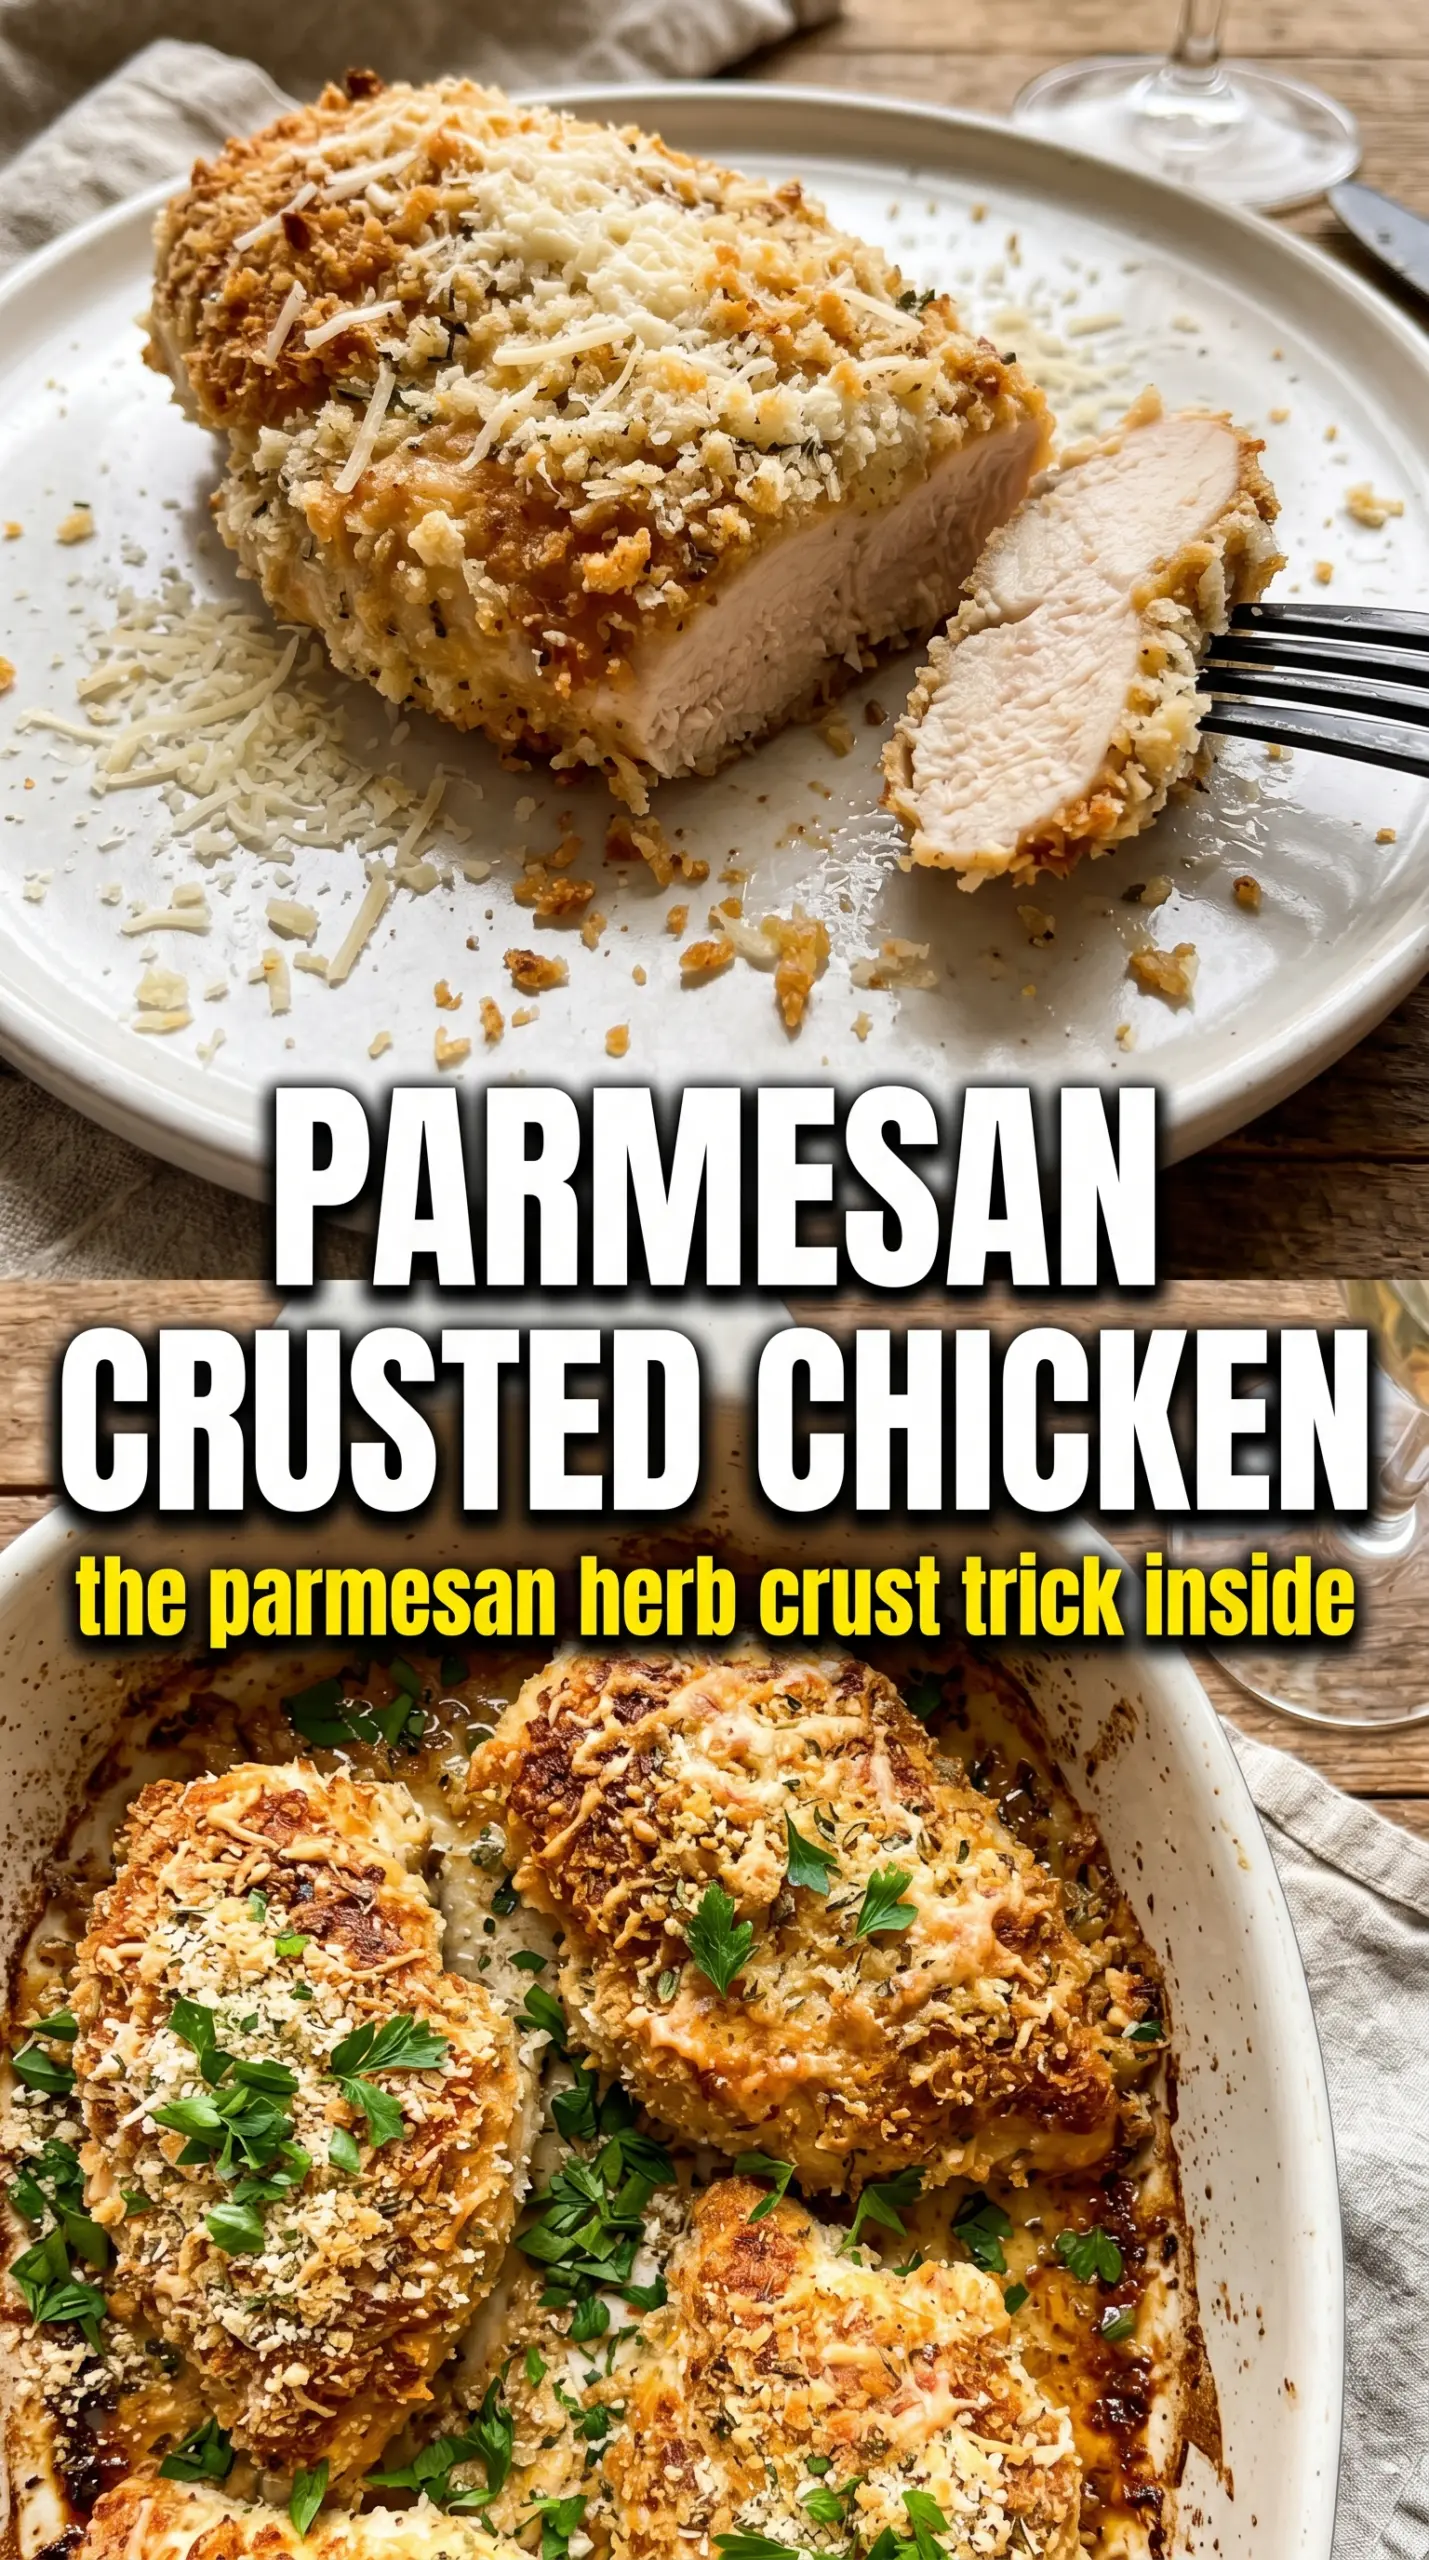
- Chicken breasts — Pounding them to an even thickness keeps the thicker ends from drying out while the center catches up. If one side is much thicker, the crust may look perfect and the inside still needs time.
- Flour — This is the grip layer. It gives the egg something dry to cling to, which helps the crust stay on during baking. Don’t skip it unless you’re changing the whole method.
- Eggs — The egg layer is the glue. Beat them until smooth so they coat evenly; streaky egg can leave bare spots in the breading.
- Panko breadcrumbs — Panko is what makes the crust light and shattery instead of dense. Regular breadcrumbs work in a pinch, but the texture will be tighter and less crisp.
- Freshly grated Parmesan — Fresh Parmesan melts and browns into the crumbs in a way the shelf-stable grated kind can’t. Pre-shredded cheese often contains anti-caking agents, which can make the crust drier and less cohesive.
- Olive oil — A little on top helps the coating toast in the oven and keeps the crust from tasting dusty. Spray or drizzle it evenly so the top browns at the same pace.
Building the Crust So It Browns Instead of Falling Off
Set Up the Breading Line First
Work left to right with the flour, eggs, and Parmesan-panko mixture so the process stays clean and fast. Season the chicken before it ever touches the flour, because the coating itself won’t carry all the seasoning. If the chicken is wet on the surface, pat it dry first or the flour will clump instead of forming a thin, even layer.
Press, Don’t Just Dip
After the egg, press each piece firmly into the crumb mixture so the crust really grabs onto the chicken. Turn it over and press again, especially around the edges and thicker ends. The most common mistake here is a light dusting of crumbs that looks fine in the pan but falls off as soon as you move the chicken.
Bake on the Rack Until Deep Golden
Place the coated chicken on the prepared rack and give the tops a light coat of olive oil before baking. Watch for a deep golden crust and an internal temperature of 165°F at the thickest point. If the crust looks pale at the end, leave it in for a couple more minutes rather than cranking the heat, which can dry out the meat before the coating catches up.
Rest Briefly Before Serving
Let the chicken rest for about 3 minutes after it comes out of the oven. That short pause keeps the juices from running out the second you slice in. Finish with parsley and lemon wedges; the lemon cuts through the richness and wakes up the Parmesan.
How to Adapt This for a Bigger Crowd or a Different Diet
Gluten-Free Version
Swap the all-purpose flour for a gluten-free flour blend and use gluten-free panko. The method stays the same, but the crust may brown a little faster, so start checking a couple of minutes early.
No Panko, No Problem
Use regular breadcrumbs if that’s what you have, but expect a tighter, less airy crust. For the closest texture, pulse day-old bread into coarse crumbs and toast them lightly before mixing with the Parmesan.
Making It Ahead for a Busy Night
Bread the chicken up to a few hours ahead and keep it uncovered in the fridge on the rack. That short chill actually helps the coating set, which means fewer bare spots when it bakes.
Dairy-Free Swap
Parmesan does a lot of the flavor work here, so a dairy-free version changes the dish more than most swaps do. Use a dairy-free Parmesan-style substitute and add an extra pinch of salt plus a little nutritional yeast for a closer savory finish.
Storage and Reheating
- Refrigerator: Store leftovers for up to 3 days. The crust will soften, but it still tastes great.
- Freezer: Freeze the baked chicken in a single layer, then wrap well and store for up to 2 months. Reheat from frozen for the best texture rather than thawing and letting the coating get soggy.
- Reheating: Warm in a 375°F oven or air fryer until heated through and the crust crisps back up. The biggest mistake is microwaving it, which makes the breading rubbery and the chicken unevenly hot.
Answers to the Questions Worth Asking
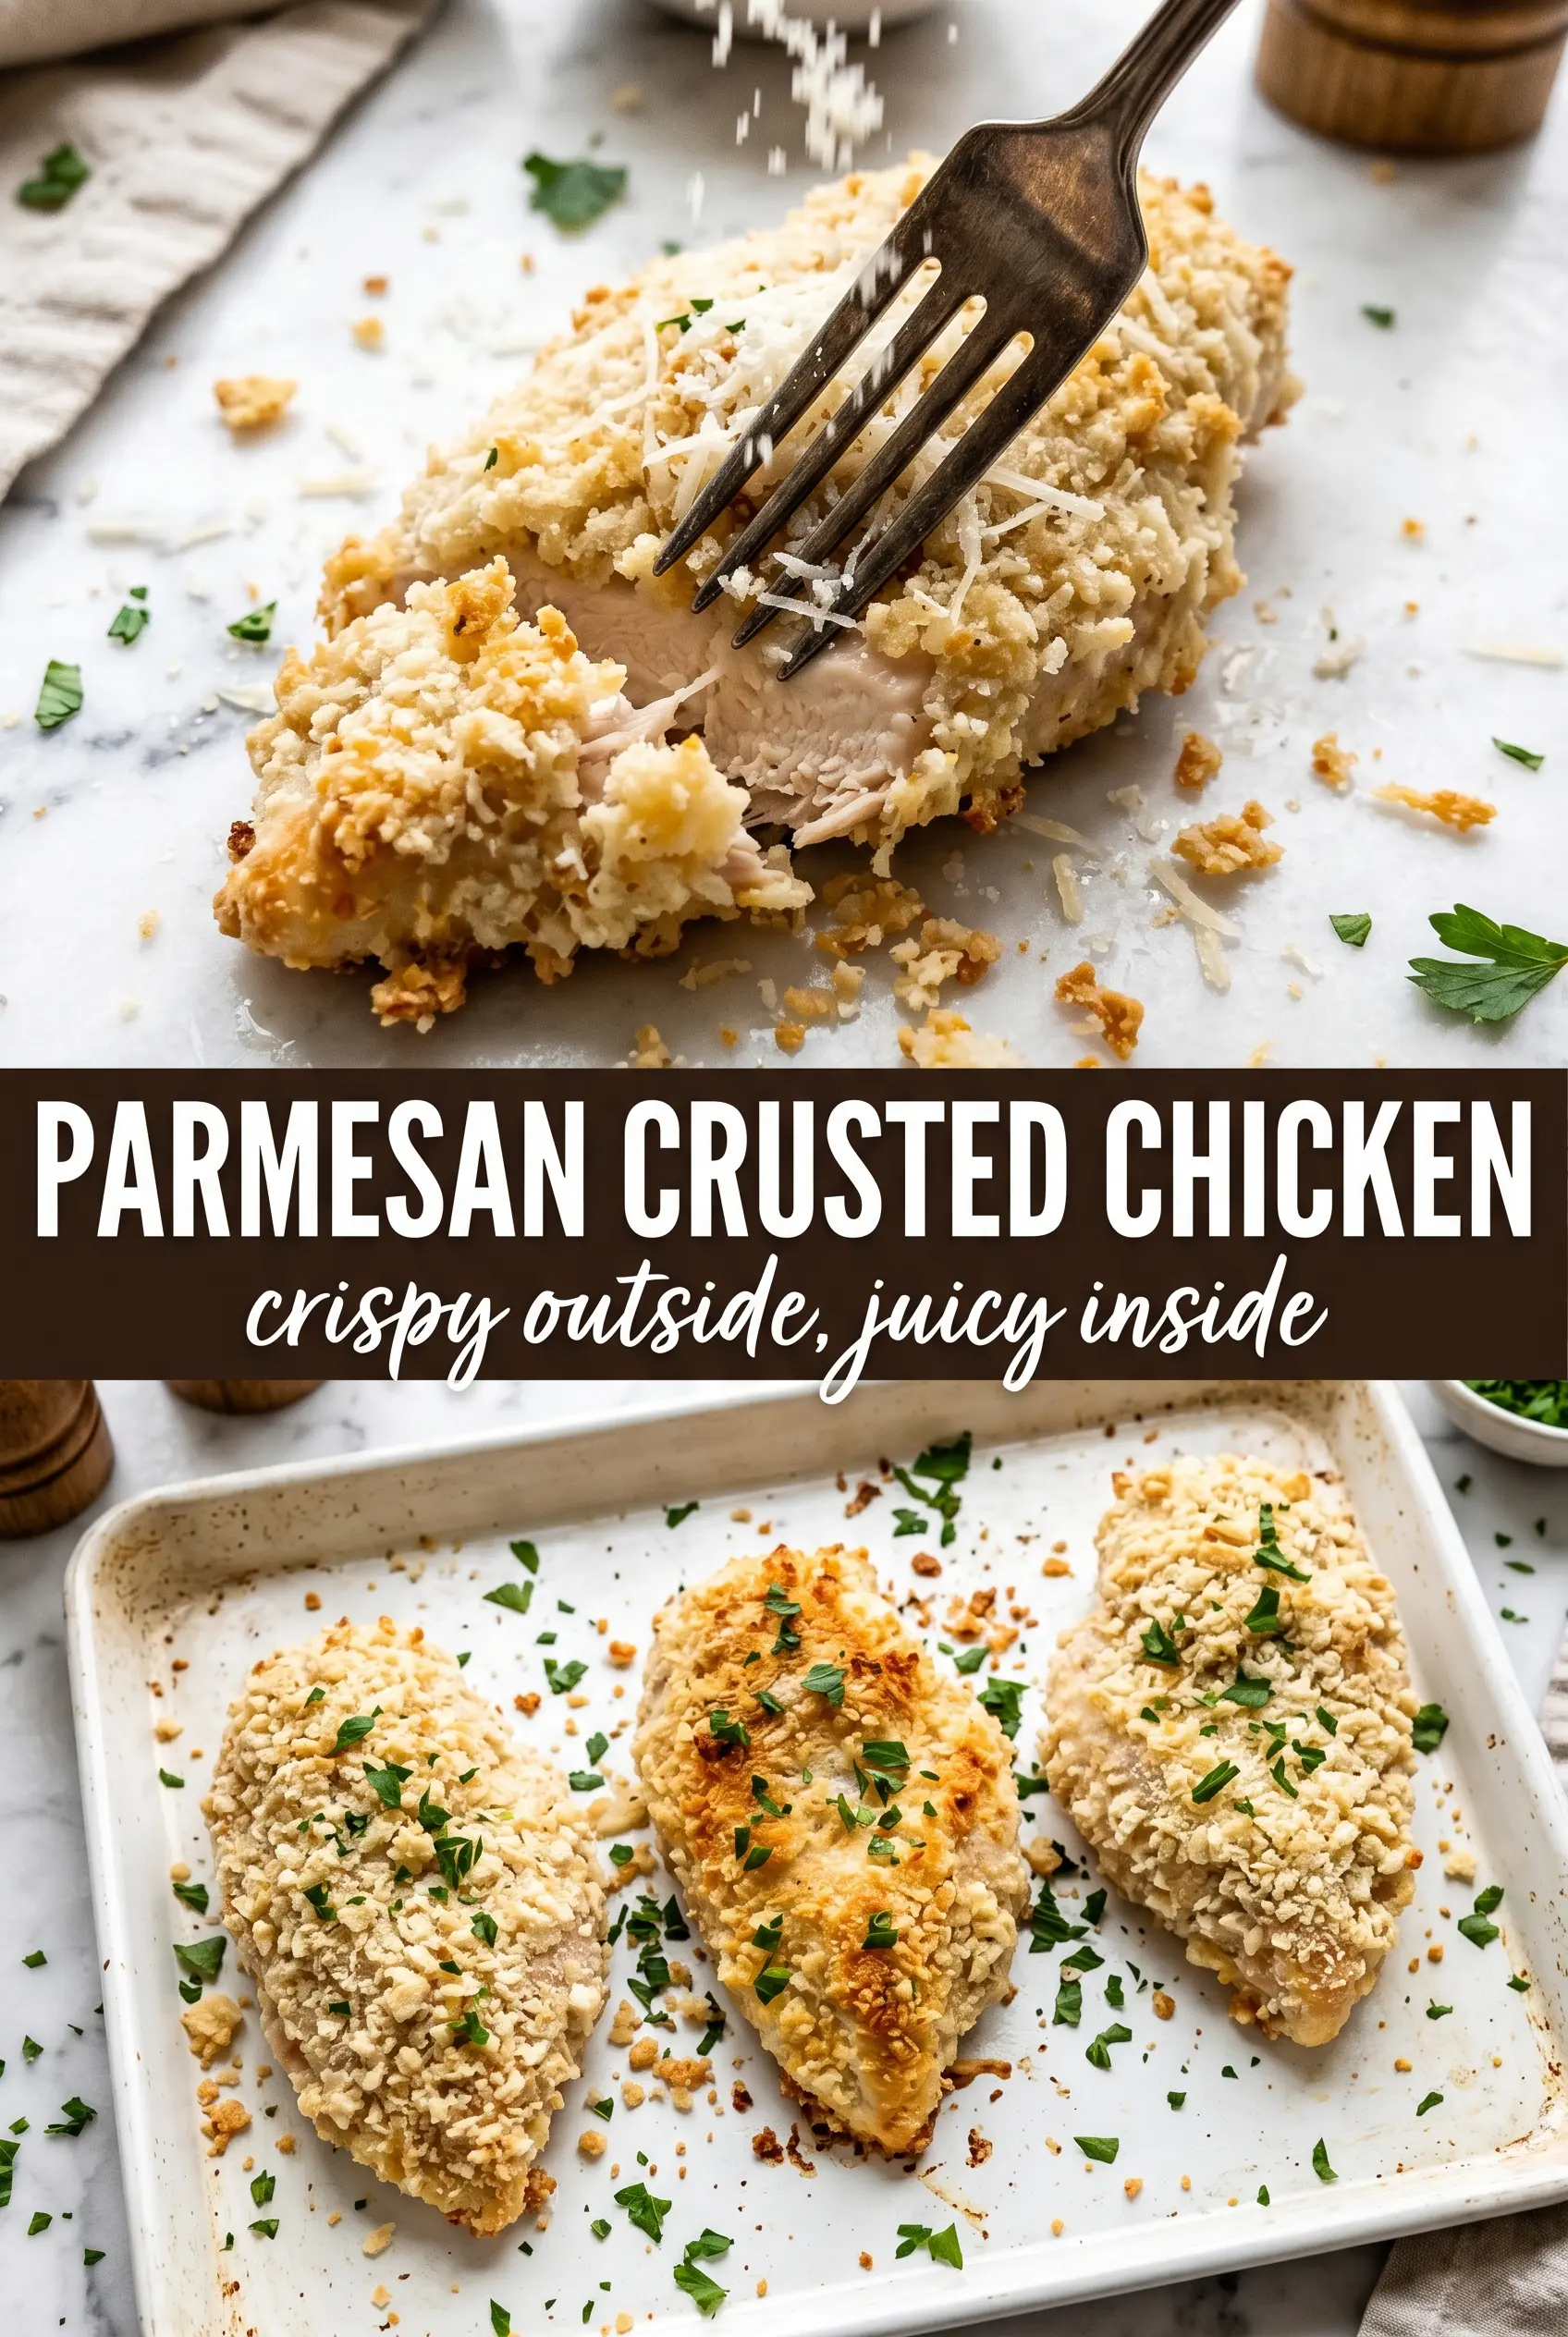
Parmesan Crusted Chicken
Ingredients
Equipment
Method
- Preheat the oven to 425°F and line a baking sheet with a wire rack; spray the rack with cooking spray.
- Season the chicken breasts with salt, pepper, and garlic powder to taste.
- Set up a three-station breading line with flour in one station, beaten eggs in the second, and the panko plus Parmesan, Italian seasoning, garlic powder, and smoked paprika in the third.
- Dredge each chicken breast in flour, then dip into the beaten eggs so it’s fully coated.
- Press the chicken firmly into the Parmesan panko mixture to coat all sides.
- Drizzle or spray the olive oil over the breaded chicken and place it on the prepared rack.
- Bake for 20-22 minutes at 425°F until the crust is deep golden and the internal temperature reaches 165°F.
- Rest the chicken for 3 minutes before serving.
- Garnish with fresh parsley and serve with lemon wedges.